Discover how easy it is to prepare your own homemade lemon curd! This creamy, silky-smooth, sweet condiment is bursting with fresh and zesty flavour and can be made with lots of different types of fruit. Use it as a topping for your pancakes, waffles, scones, or as a filling in your bakes and many, many more!

What makes lemon curd so good?
If you tried fruit curds before, then you will know how incredibly delicious and versatile this condiment is. Homemade lemon curd is probably the most popular one and there are good reasons behind it!
With its silky-smooth and creamy texture, sharp yet sweet and tangy taste and super fragrant aroma, curd can really brighten up any meal or bake. It's that sweet and sour combination that makes it impossible to resist!
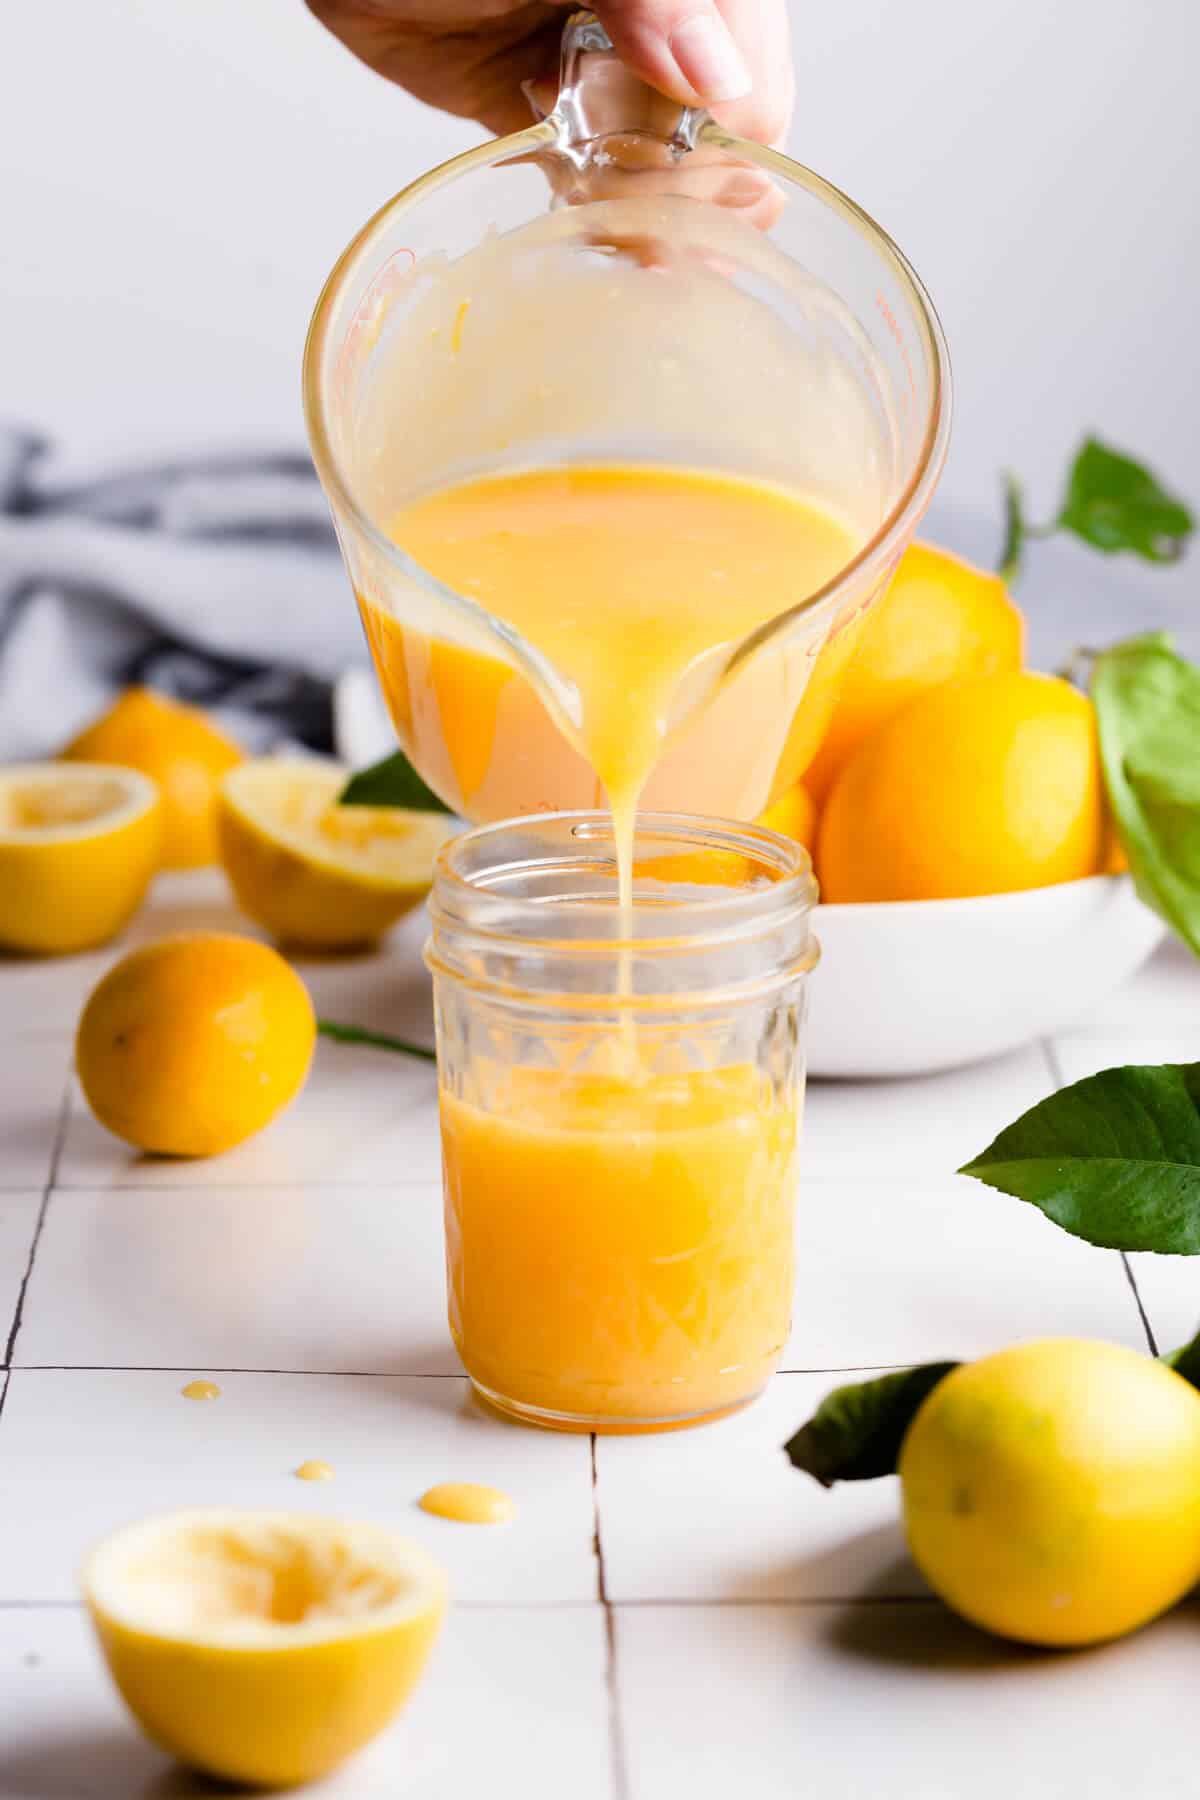
For those of you who never had it before, think about it as a rich spread or dessert topping. If you like lemons, then I guarantee this recipe will quickly become one of your favourite uses for it.
Tips for making the curd
If you never cooked your own homemade curd before, you will be pleasantly surprised by how easy and simple it is. With this recipe, you won't need a kitchen thermometer, which lots of recipes out there call for. We are simply going to mix all of the ingredients in a heatproof bowl placed over the saucepan with gently simmering water (homemade version of double boiler).
Here are few tips to make sure your succeed every time:
- Use a large, glass or ceramic, heatproof bowl to cook your ingredients in- If you use the metal bowl, the eggs and the lemon will react with the metal, resulting in your curd having metallic aftertaste. Also, using a silicone whisk and spatula will be much better than using metal ones, for the exact same reason.
- Make sure the bottom of your bowl doesn't touch the water in a saucepan- This is very important. Curd should never be cooked on direct heat and using home version of double boiler method is a perfect way to avoid that. So make sure there is a gap between the simmering water and your bowl on top.
- Use freshly squeezed lemon juice- It only takes few moments to squeeze the juice out of lemons and it will make all the difference to the taste! You don't even need a juicer or any fancy equipment to do this. Simply roll a whole lemon on your work surface, then slice it in half crosswise. Set a strainer over a small bowl or a jug to catch any seeds, then, holding a lemon half over the strainer, simply stick a fork into the fruit and twist gently to extract the juice.
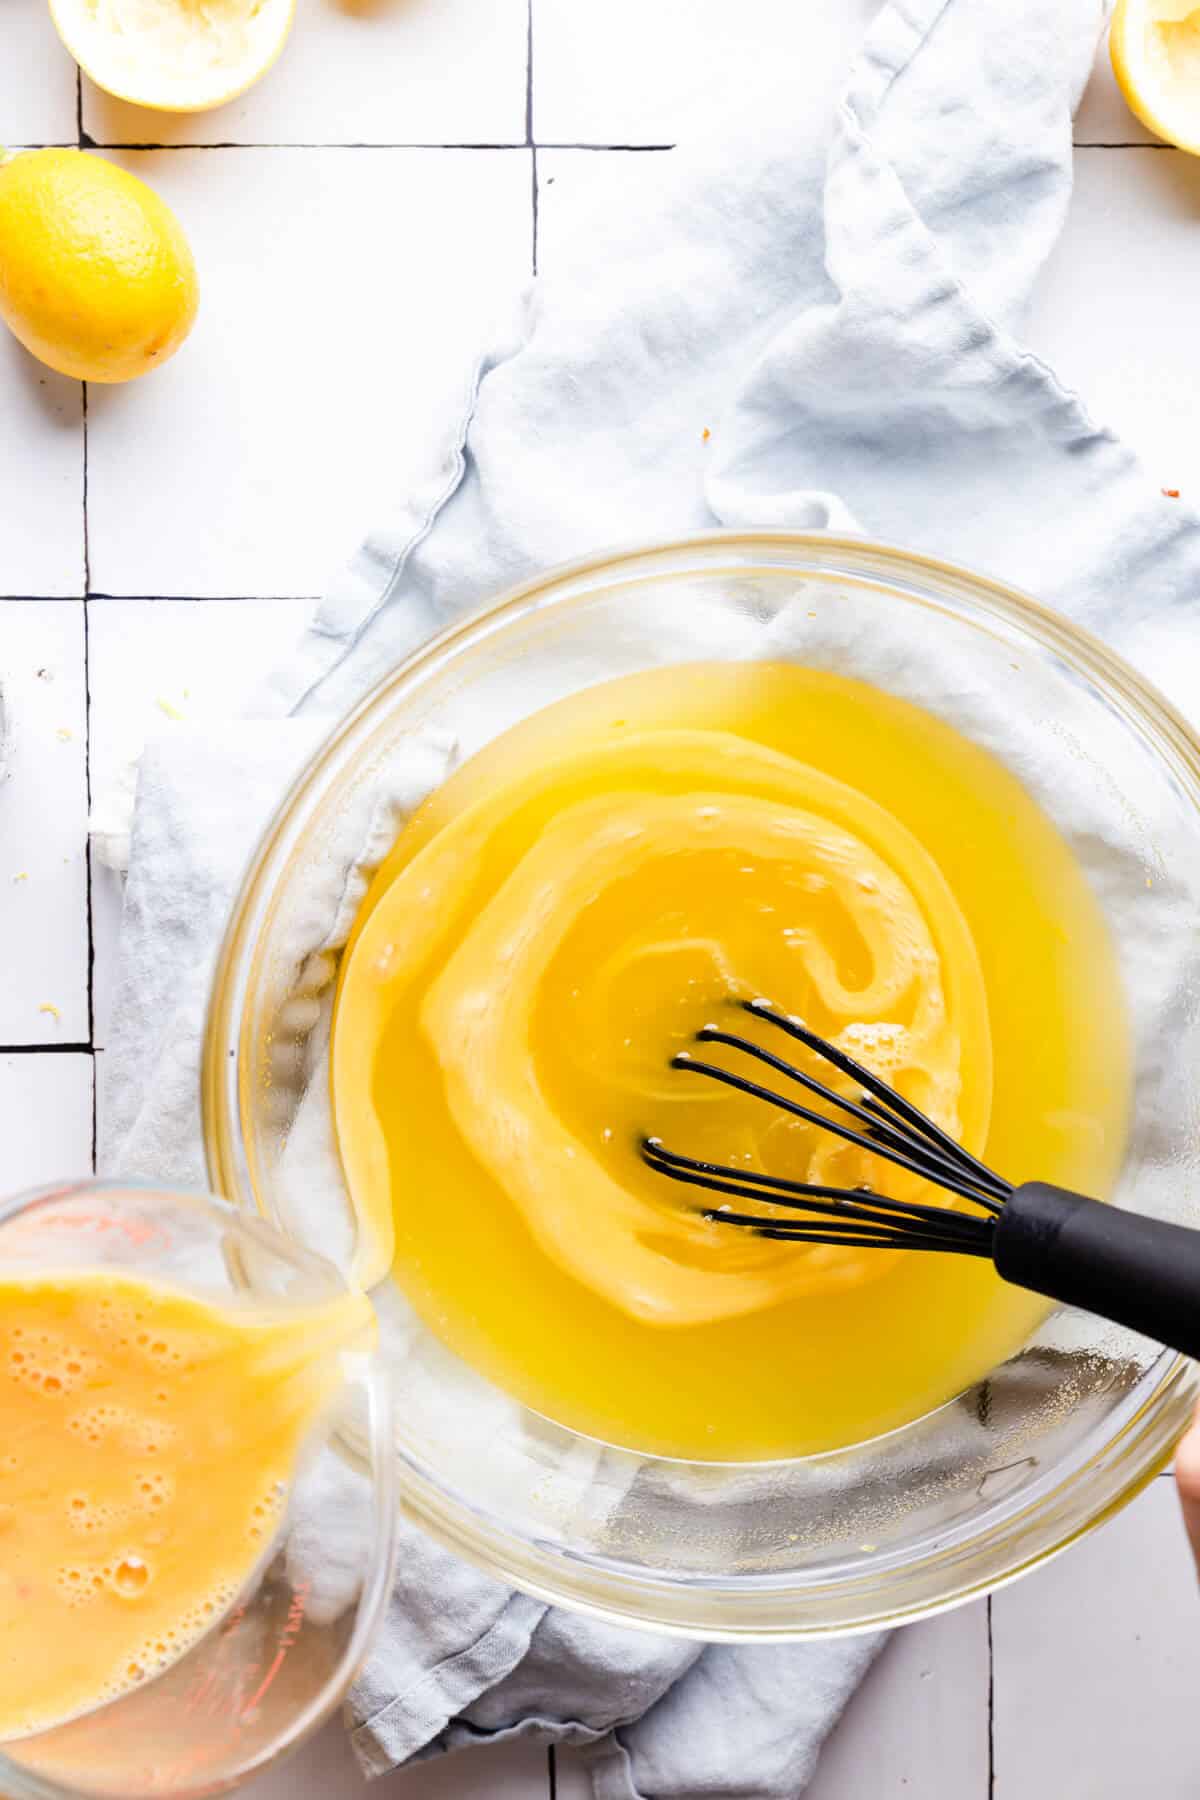
4. Keep whisking the mixture once you've added the eggs to it. Continuous whisking will prevent the eggs from setting or curdling.
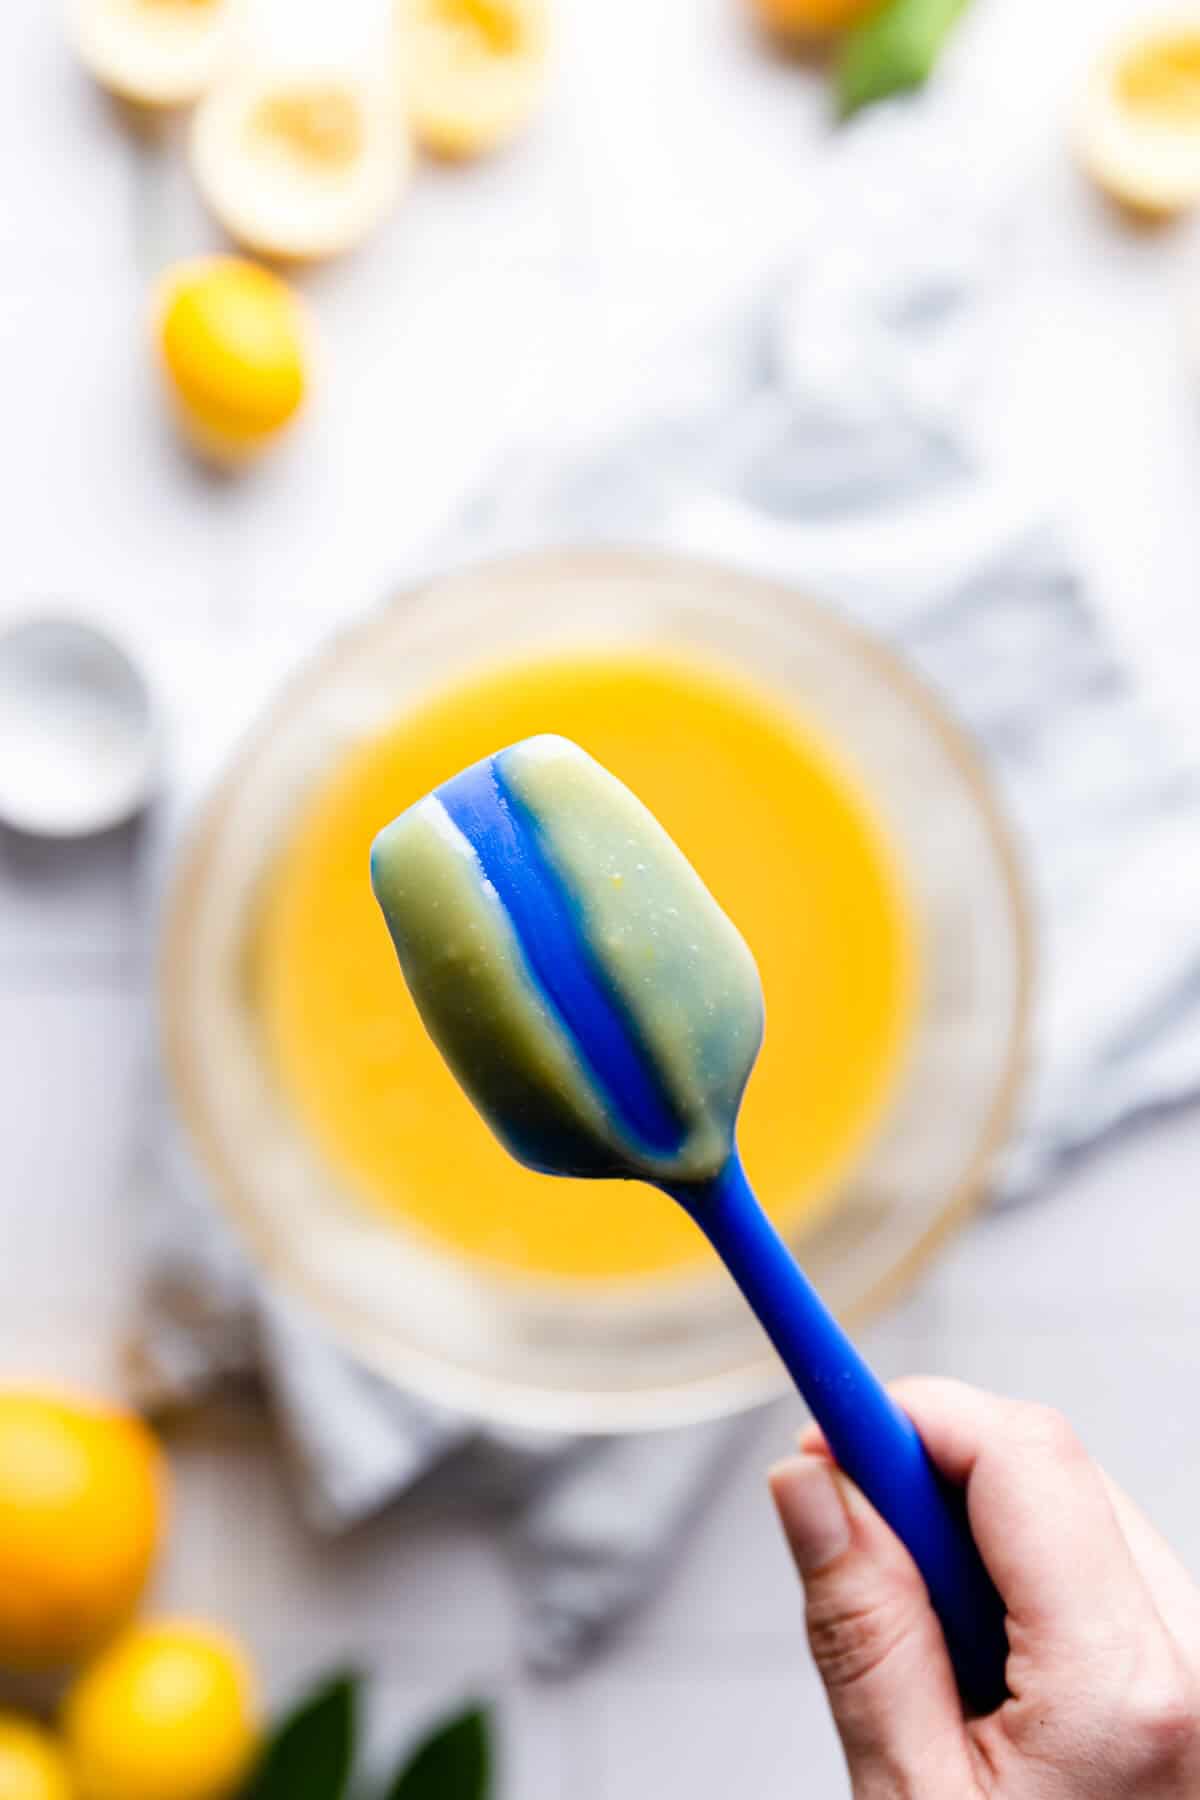
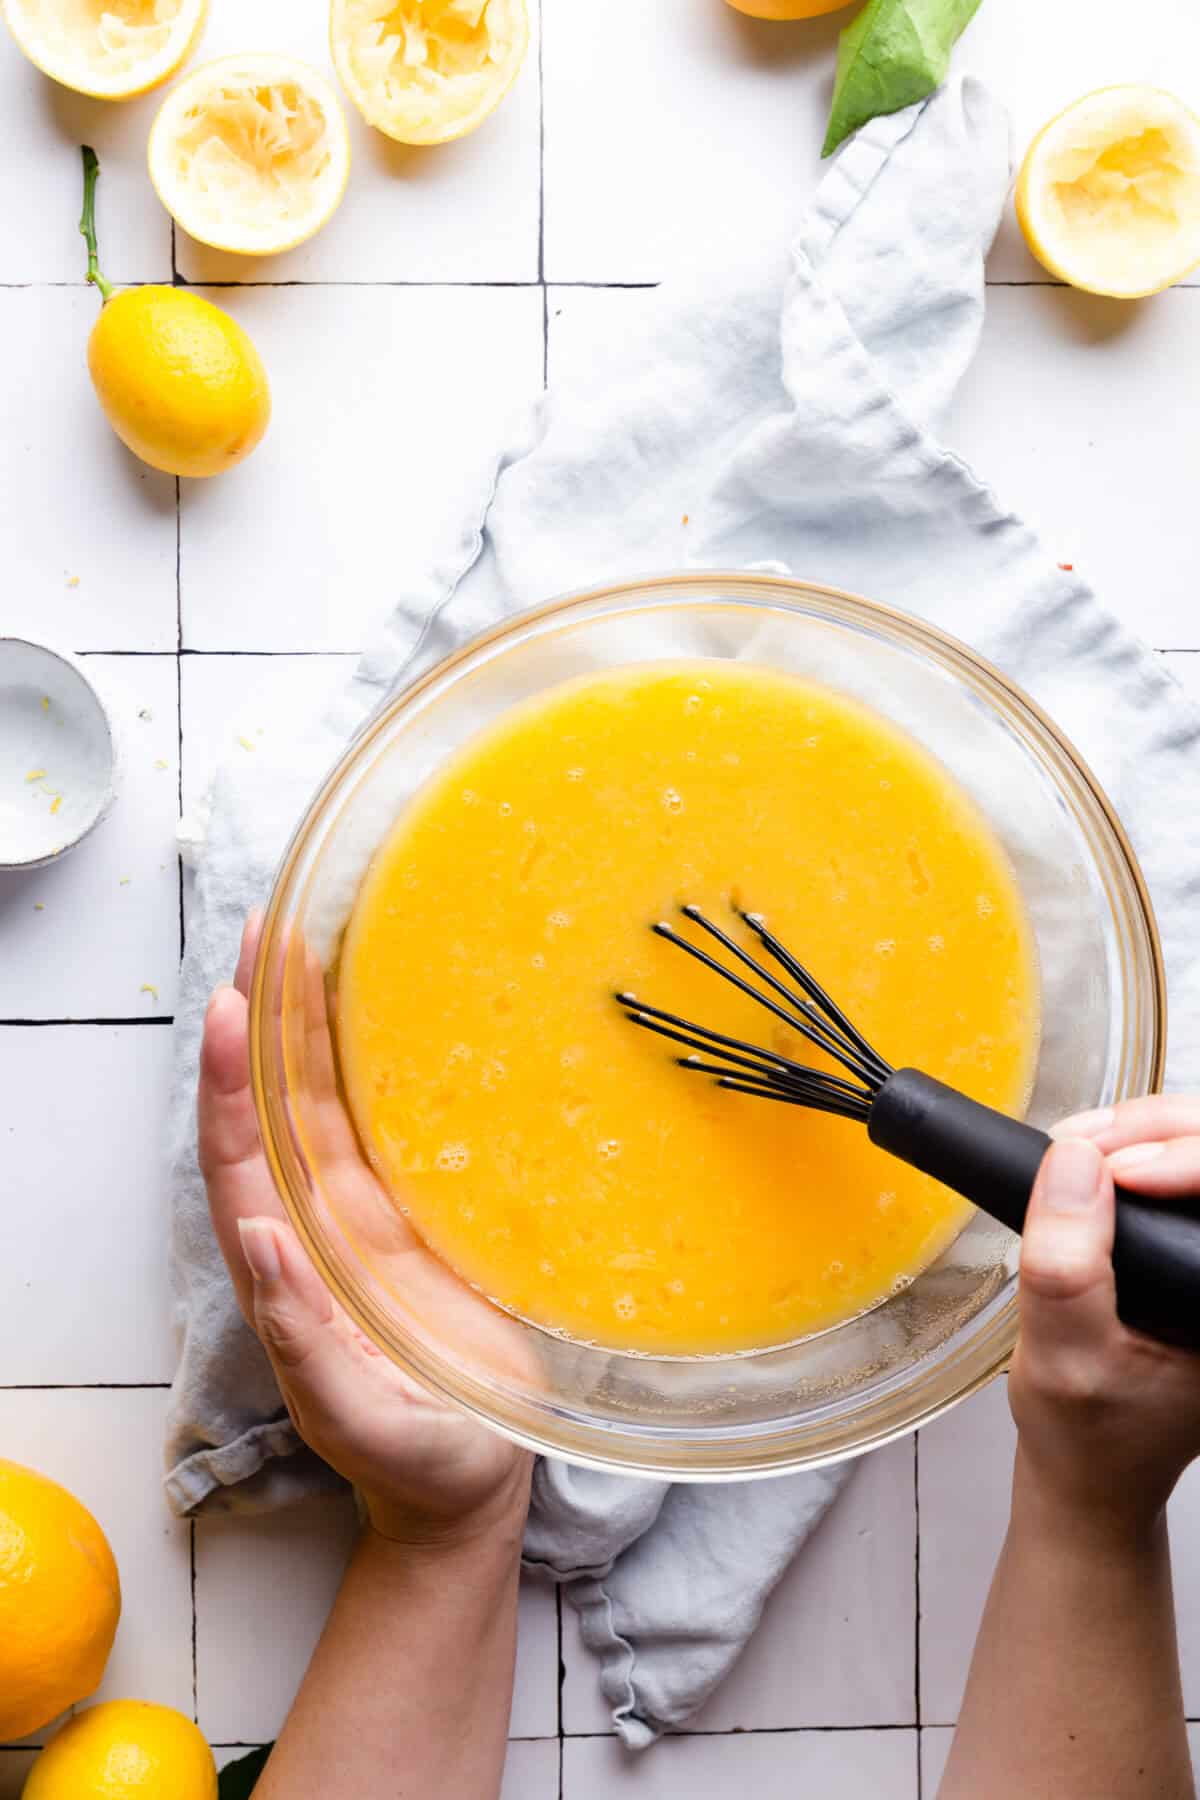
5. Test your curd with the back of a wooden spoon or a spatula- It's ready and done when the back of your spoon or spatula dipped in curd stays covered with it. Run your finger across the back of spatula, if it holds a trial in curd, it's ready. The curd will thicken as it cools down, so don't panic if it is a little bit on a runny side.
What other fruit and citrus can I use
Citrus is great for curds, because it balances out the sweetness really well. If you would like to branch out to some other flavours, most of the citrus will work really well.
Oranges, blood oranges, tangerines, nectarines, grapefruits and limes will be perfect variations. Yuzu, bergamots, passion fruit or cranberries will also do a great job.
This great article from Epicurious lists few other delicious variants of homemade curds you may want to try.
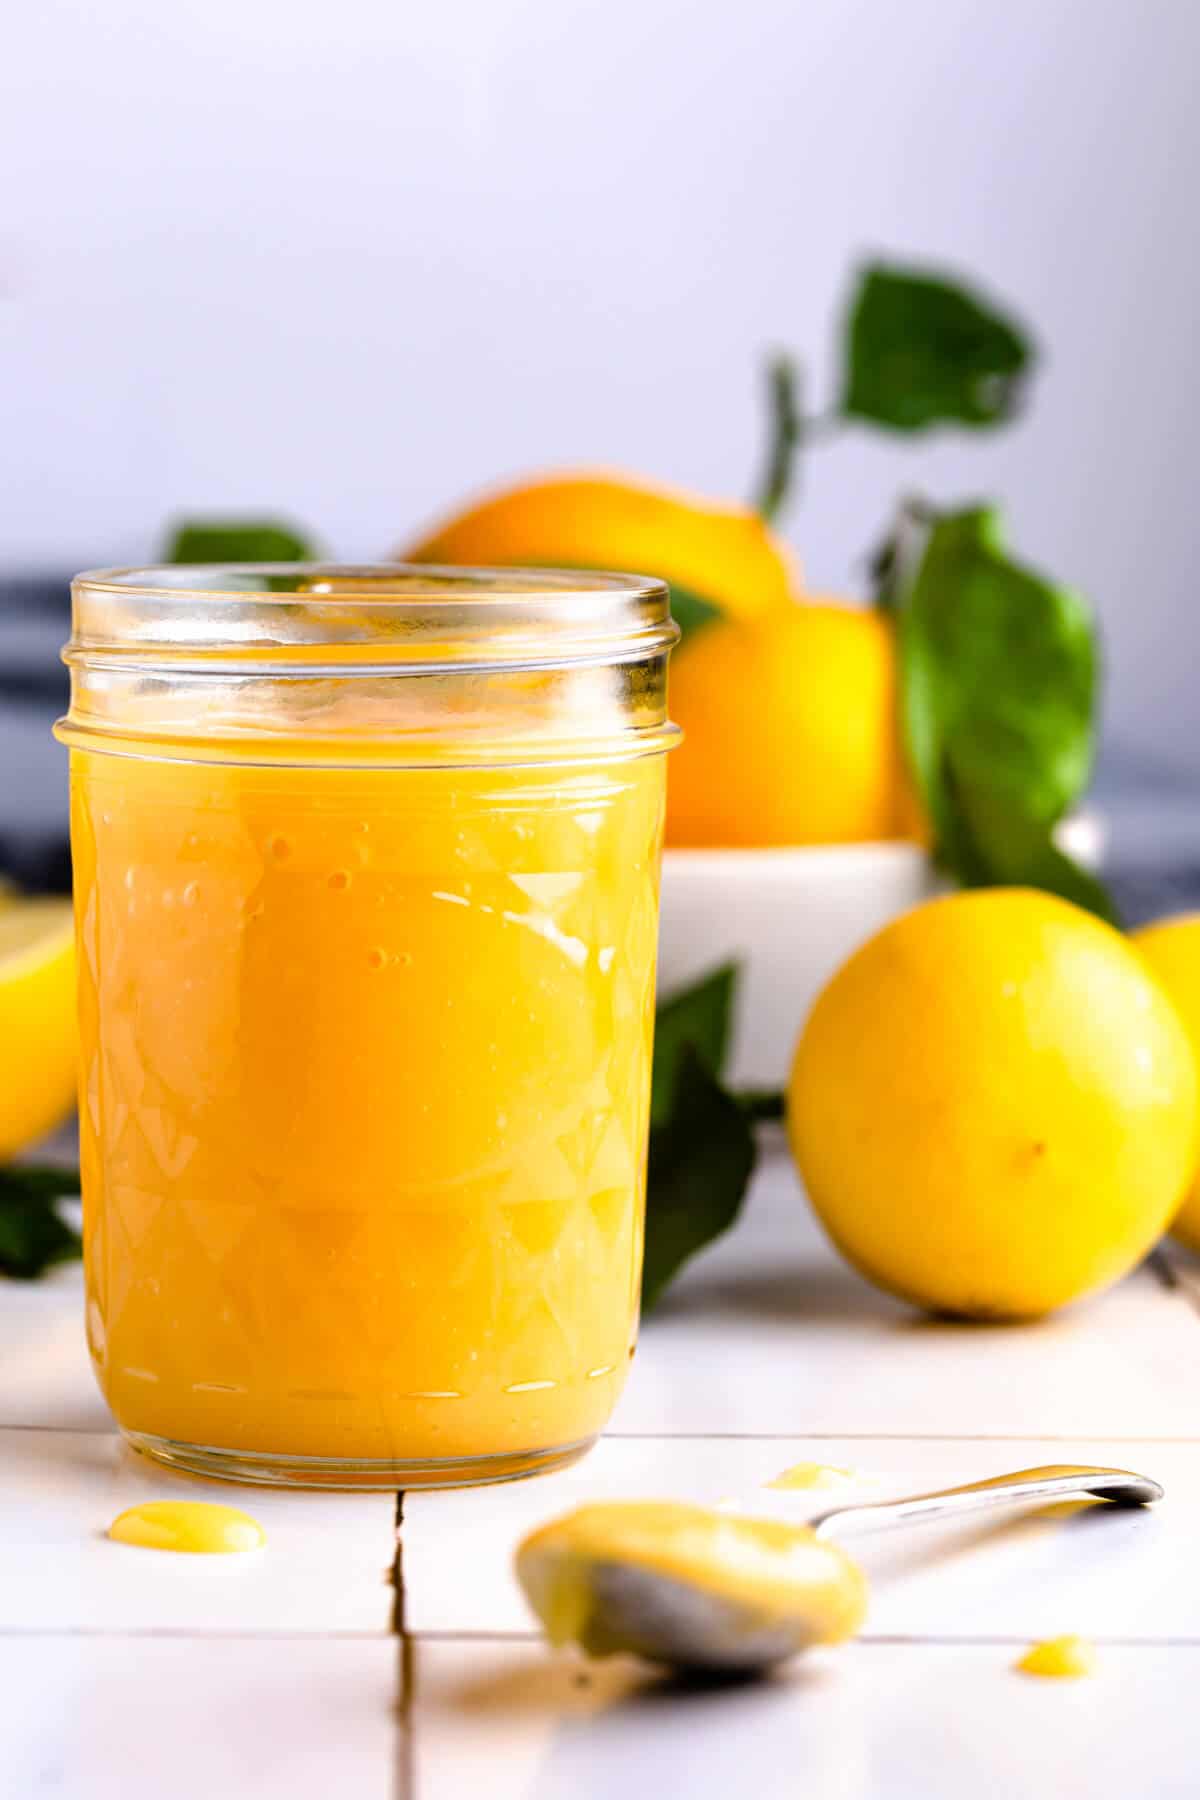
What can I use the curd in?
There are soo many different uses for this wonderful condiment. Here are few suggestions to get you started:
- as a topping on pancakes or crepes
- filling for tarts, pies, cakes and cupcakes
- topping for pavlova or meringue
- as a filling or spread on cookies and biscuits
- stir it into some yogurt, cheesecake or ice cream

Quick troubleshooting
Here are two of the most common problems you may come across, when making this recipe:
My curd is too runny- If this happens, simply cook it for longer. I made few fair batches of homemade curds in my life, and some may take as little as 10 minutes to be ready, while others will require almost twice as long.
If it still won't thicken up, you may want to add a little bit more butter to your mixture (start by adding 20g- 30g). You can also thicken it by adding an extra egg yolk.
My curd is too thick- It's worth mentioning again that curd always thickens up more as it cools down. If you find yours has become too thick for your liking, try adding more lemon juice to the mixture. Start with adding small amount, only about ½tsp - 1 teaspoon at a time, until you have reached the desired consistency.
Split or lumpy curd- This can happen for few reasons. If you cook your curd over a too high heat or cook it for too long or don't stir it enough, it may become lumpy with bits of cooked egg white in it. The easiest way to fix this is to pop it into a blender and blitz it until it becomes smooth (stick blender will work too).
You can also eliminate any small lumps by straining your curd through a fine mesh sieve.

How to store fruit curd
Cooked and cooled curd should be transferred into sterilized jars with seals. Store it in the fridge at all times. Unopened, sealed jars will last for up to 6 months. Once opened, use it within a couple of weeks.
You can also freeze the curds. Pour the cooled curd into a freezer-friendly container with a lid, and freeze it for up to 6 months. Thaw it overnight in the fridge before using it.
📖 Recipe
Homemade Lemon Curd
Equipment
- medium saucepan
- large, glass heatproof bowl x 2
- sterilized jar/ jars
- whisk
Ingredients
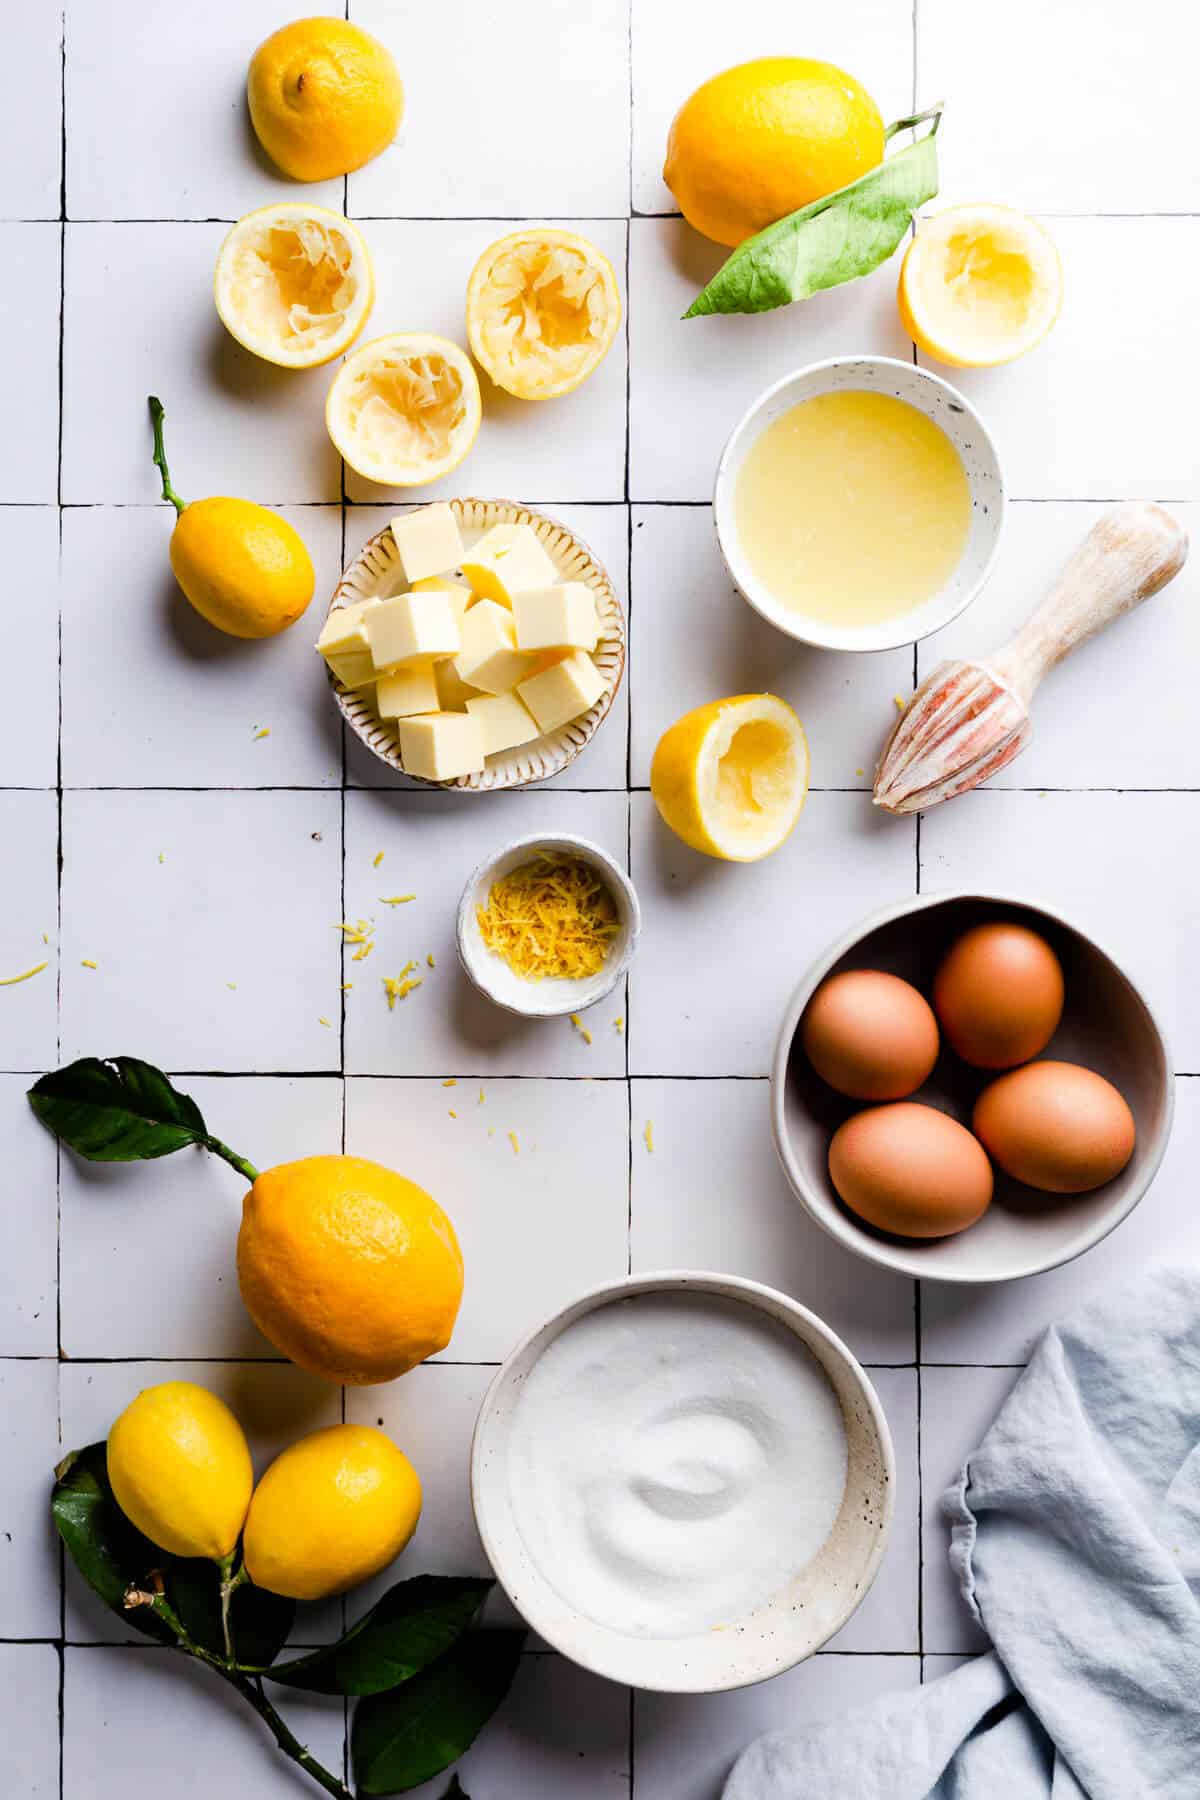
- 1 tablespoon lemon zest
- 180 ml fresh, strained lemon juice about 4 medium lemons
- 200 g caster sugar
- 120 g unsalted butter cubed
- 3 large eggs plus 1 extra egg yolk
Instructions
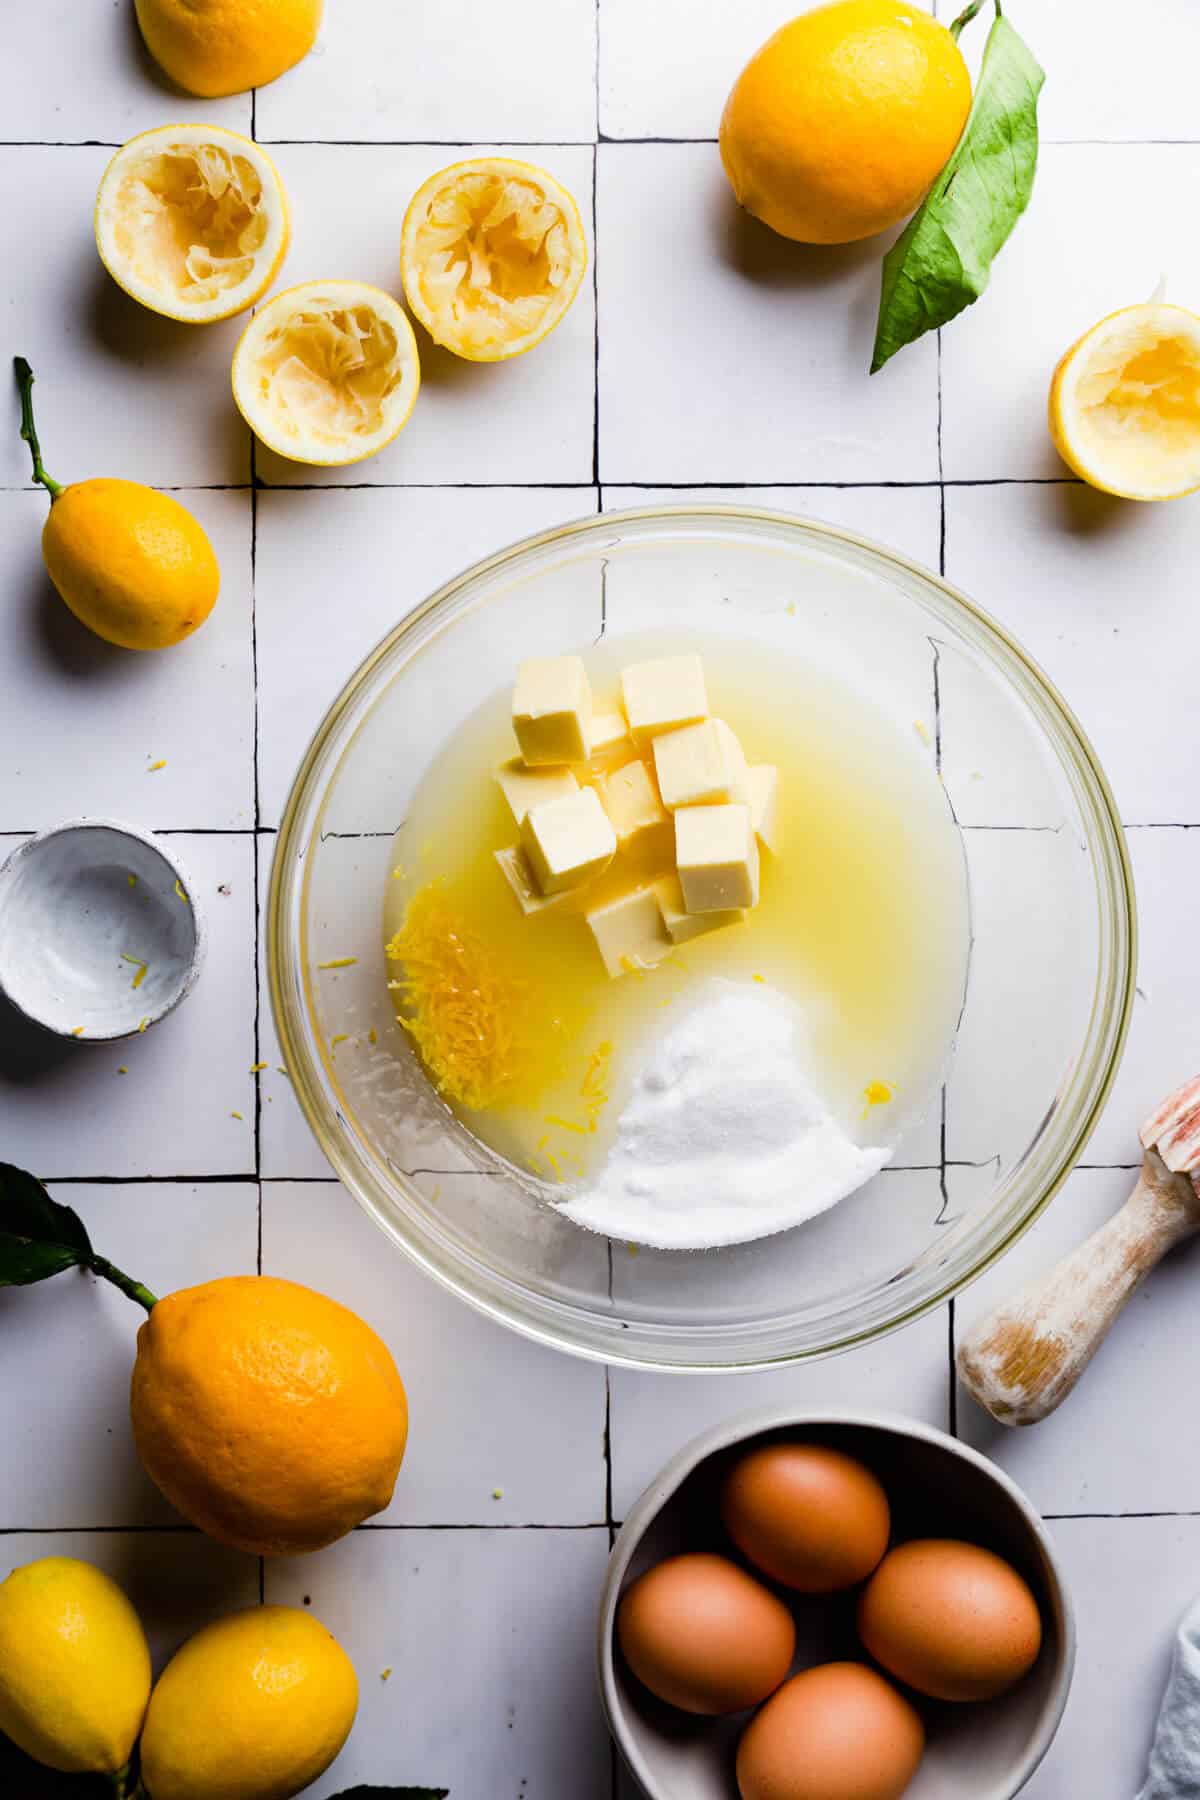
- Place lemon zest and strained lemon juice with caster sugar and cubed butter in a large, heatproof bowl over a saucepan with gently simmering water. Stir often, until all of the butter has melted.
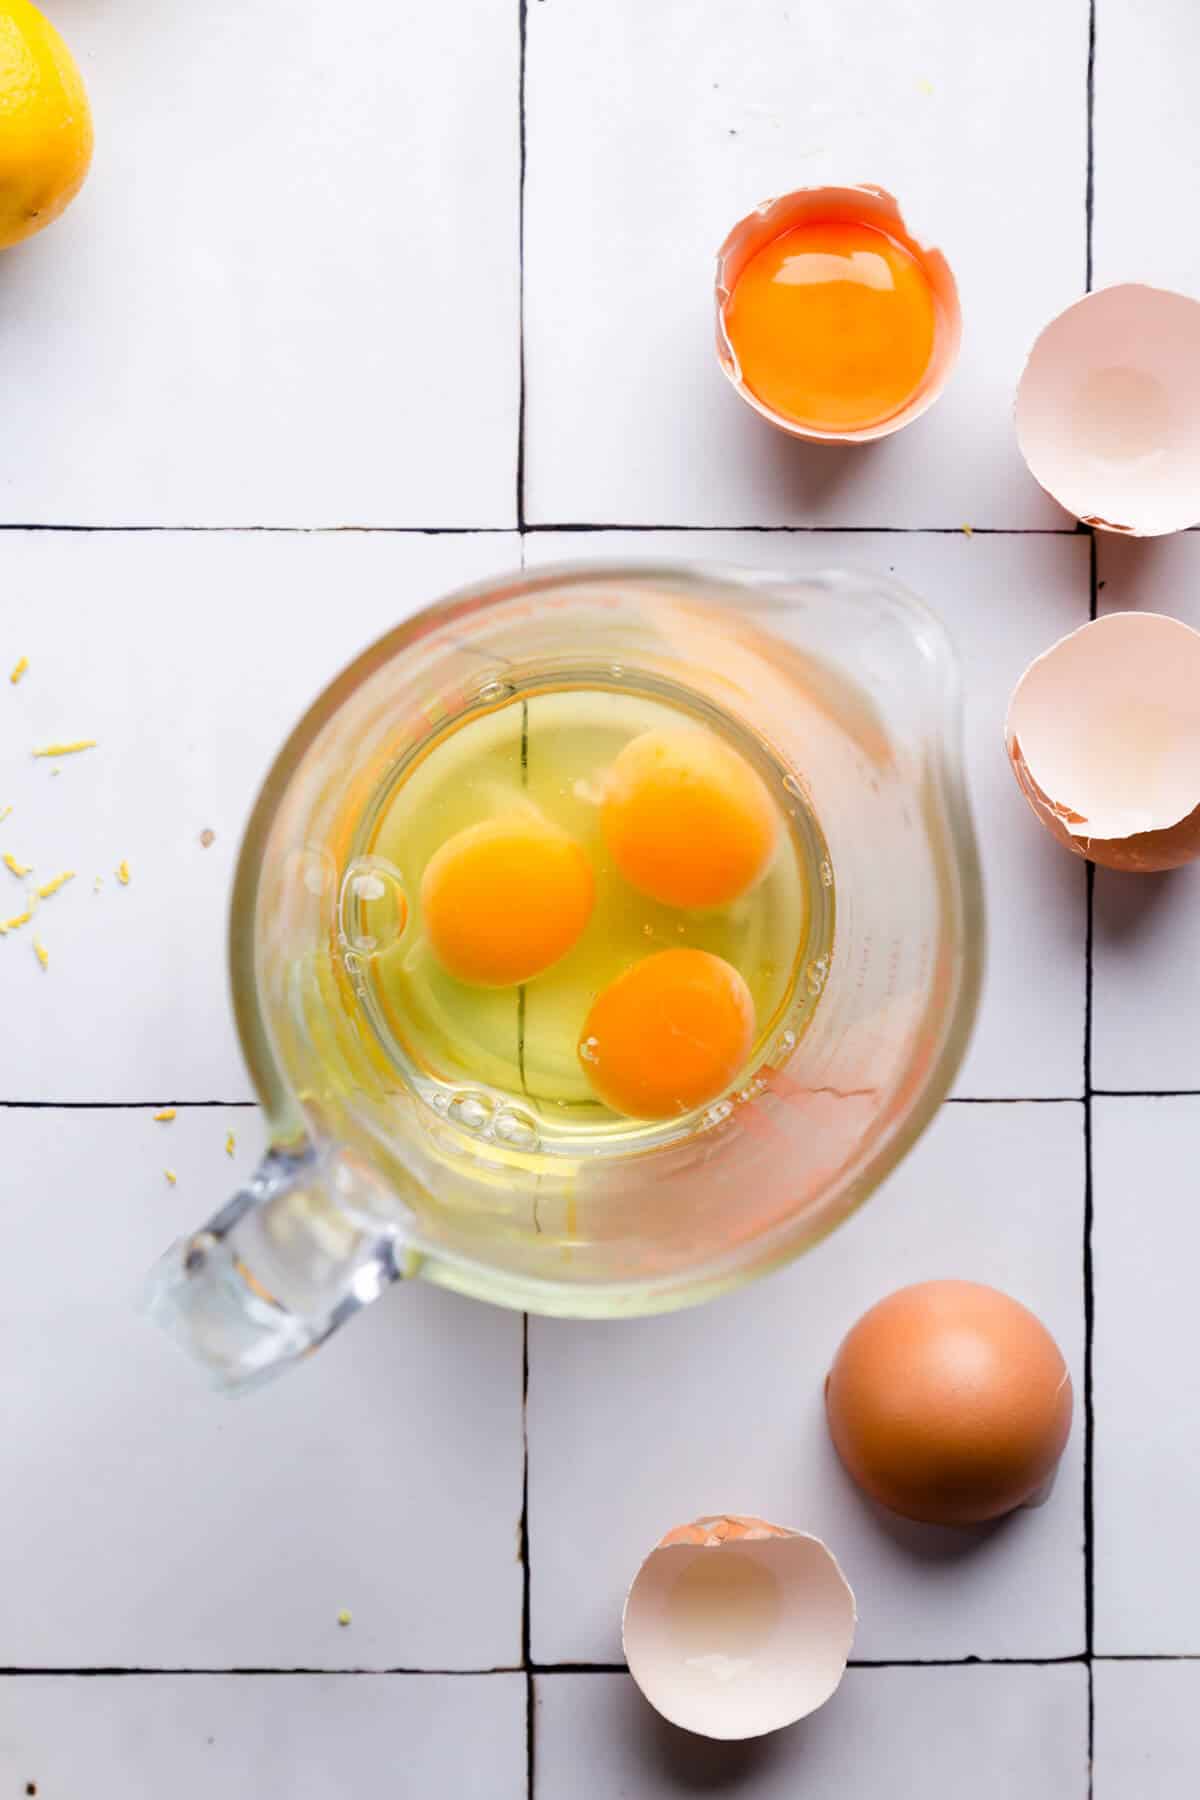
- Briefly whisk the eggs and an extra egg yolk in a jug then slowly stir them into the lemon mixture. Keep stirring until all the ingredients are combined well. Cook the mixture for about 10- 20 minutes, stirring continuously, until it becomes thick and creamy. You know the curd is done when you can run a finger across the back of your spoon (dipped in curd) and it holds a trial in the curd. The curd will continue to thicken as it cools, so don't worry too much if it is just a little runny.
- Take the curd off the heat and strain it through a sieve over a large bowl. Allow it to cool. Stir it every now and then as it cools, then transfer it to sterilized jars with seals. Keep the curd in the fridge until ready to use.
Please note that all my recipes are developed and tested in metric grams. I recommend that you use digital scales for a more accurate results. I have provided a conversion to US customary in the recipe but please note that I haven’t tested using this method.
Notes
- Make sure the bottom of your bowl doesn't come to contact with simmering water.
- The curd will thicken as it cools down. If you find that your curd is too runny, try cooking it for longer. You can also add more butter or an extra egg yolk to the mixture to thicken it up.
- If you find your curd to be too thick, add an extra lemon juice to the mixture.
- You can run cooked lemon curd through a sieve for an extra silky-smooth texture. This will also get rid of any lemon zest and possible egg residue.
- To sterilize the jars, wash them in warm, soapy water, then place them in the oven heated to 160 C for 10 minutes.
- Store the curd in the fridge
- To freeze, place the curd in the freezer-friendly container with a lid. It will last for up to 6 months when frozen. To defrost, place it in the fridge overnight.






Kayla DiMaggio
Yum! this lemon curd was so delicious! I added it to a yogurt parfait and it was so perfect!
Anna
Thanks so much Kayla, I'm so happy to hear that you tried and enjoyed this recipe!