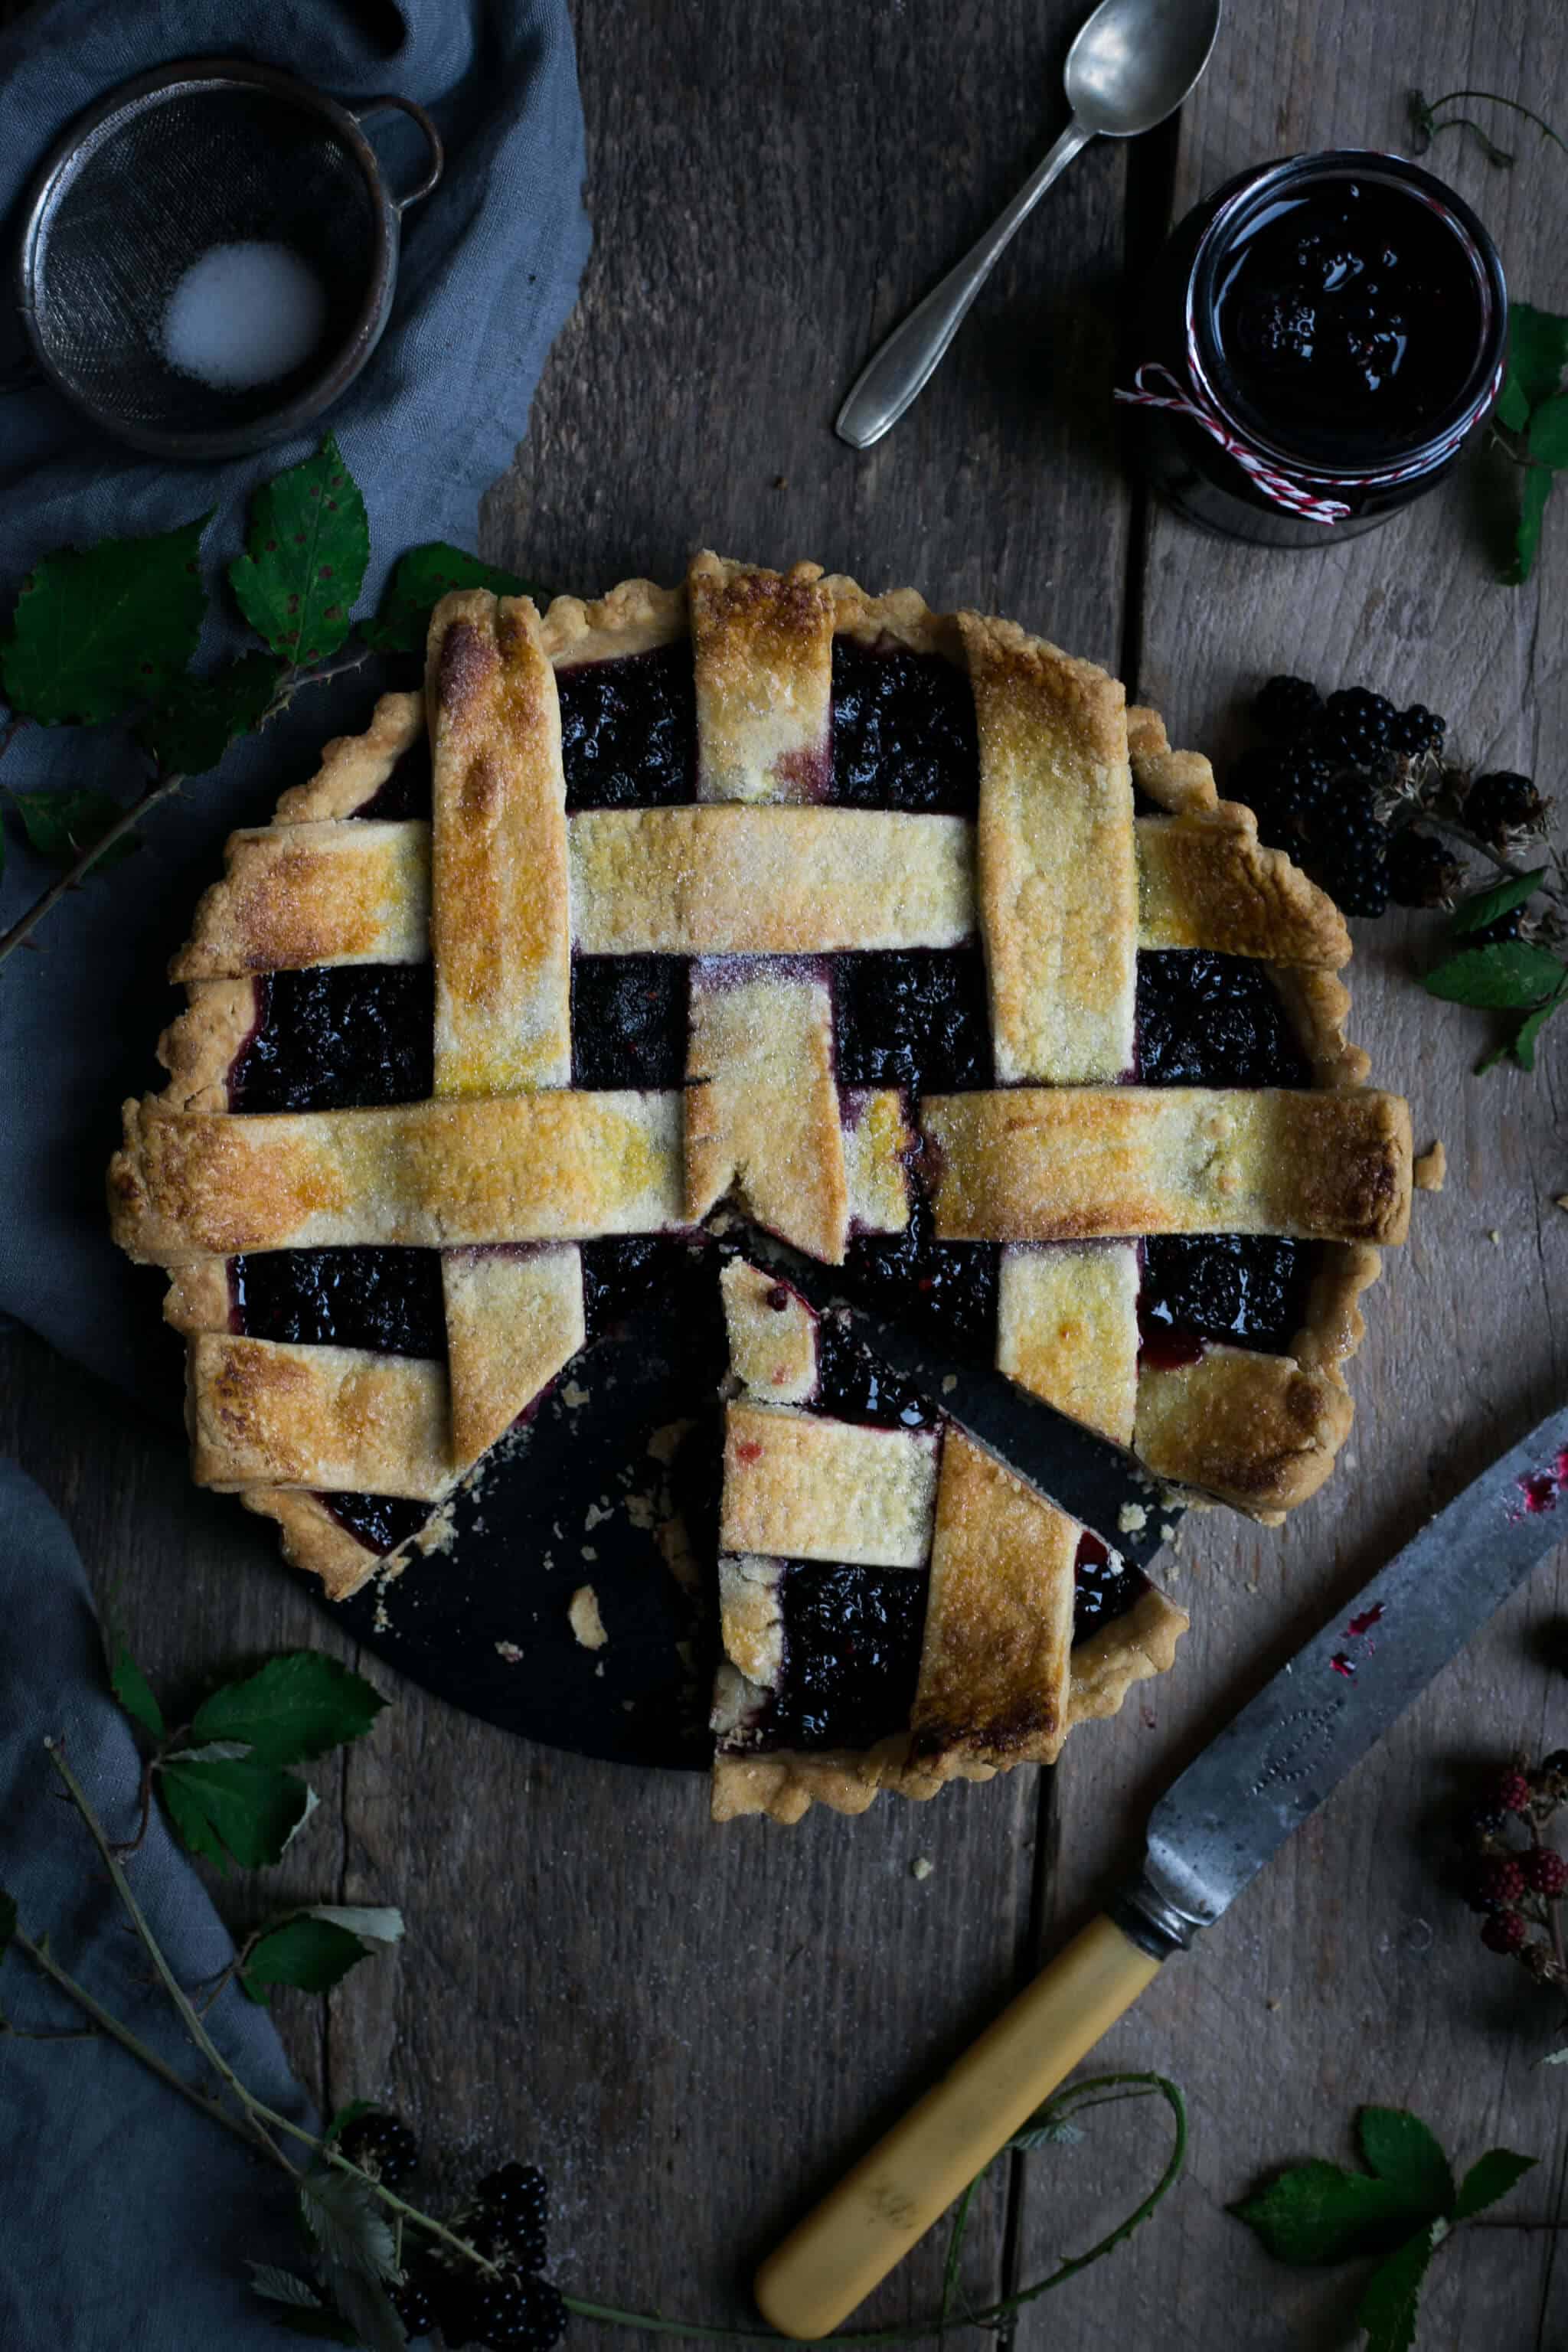
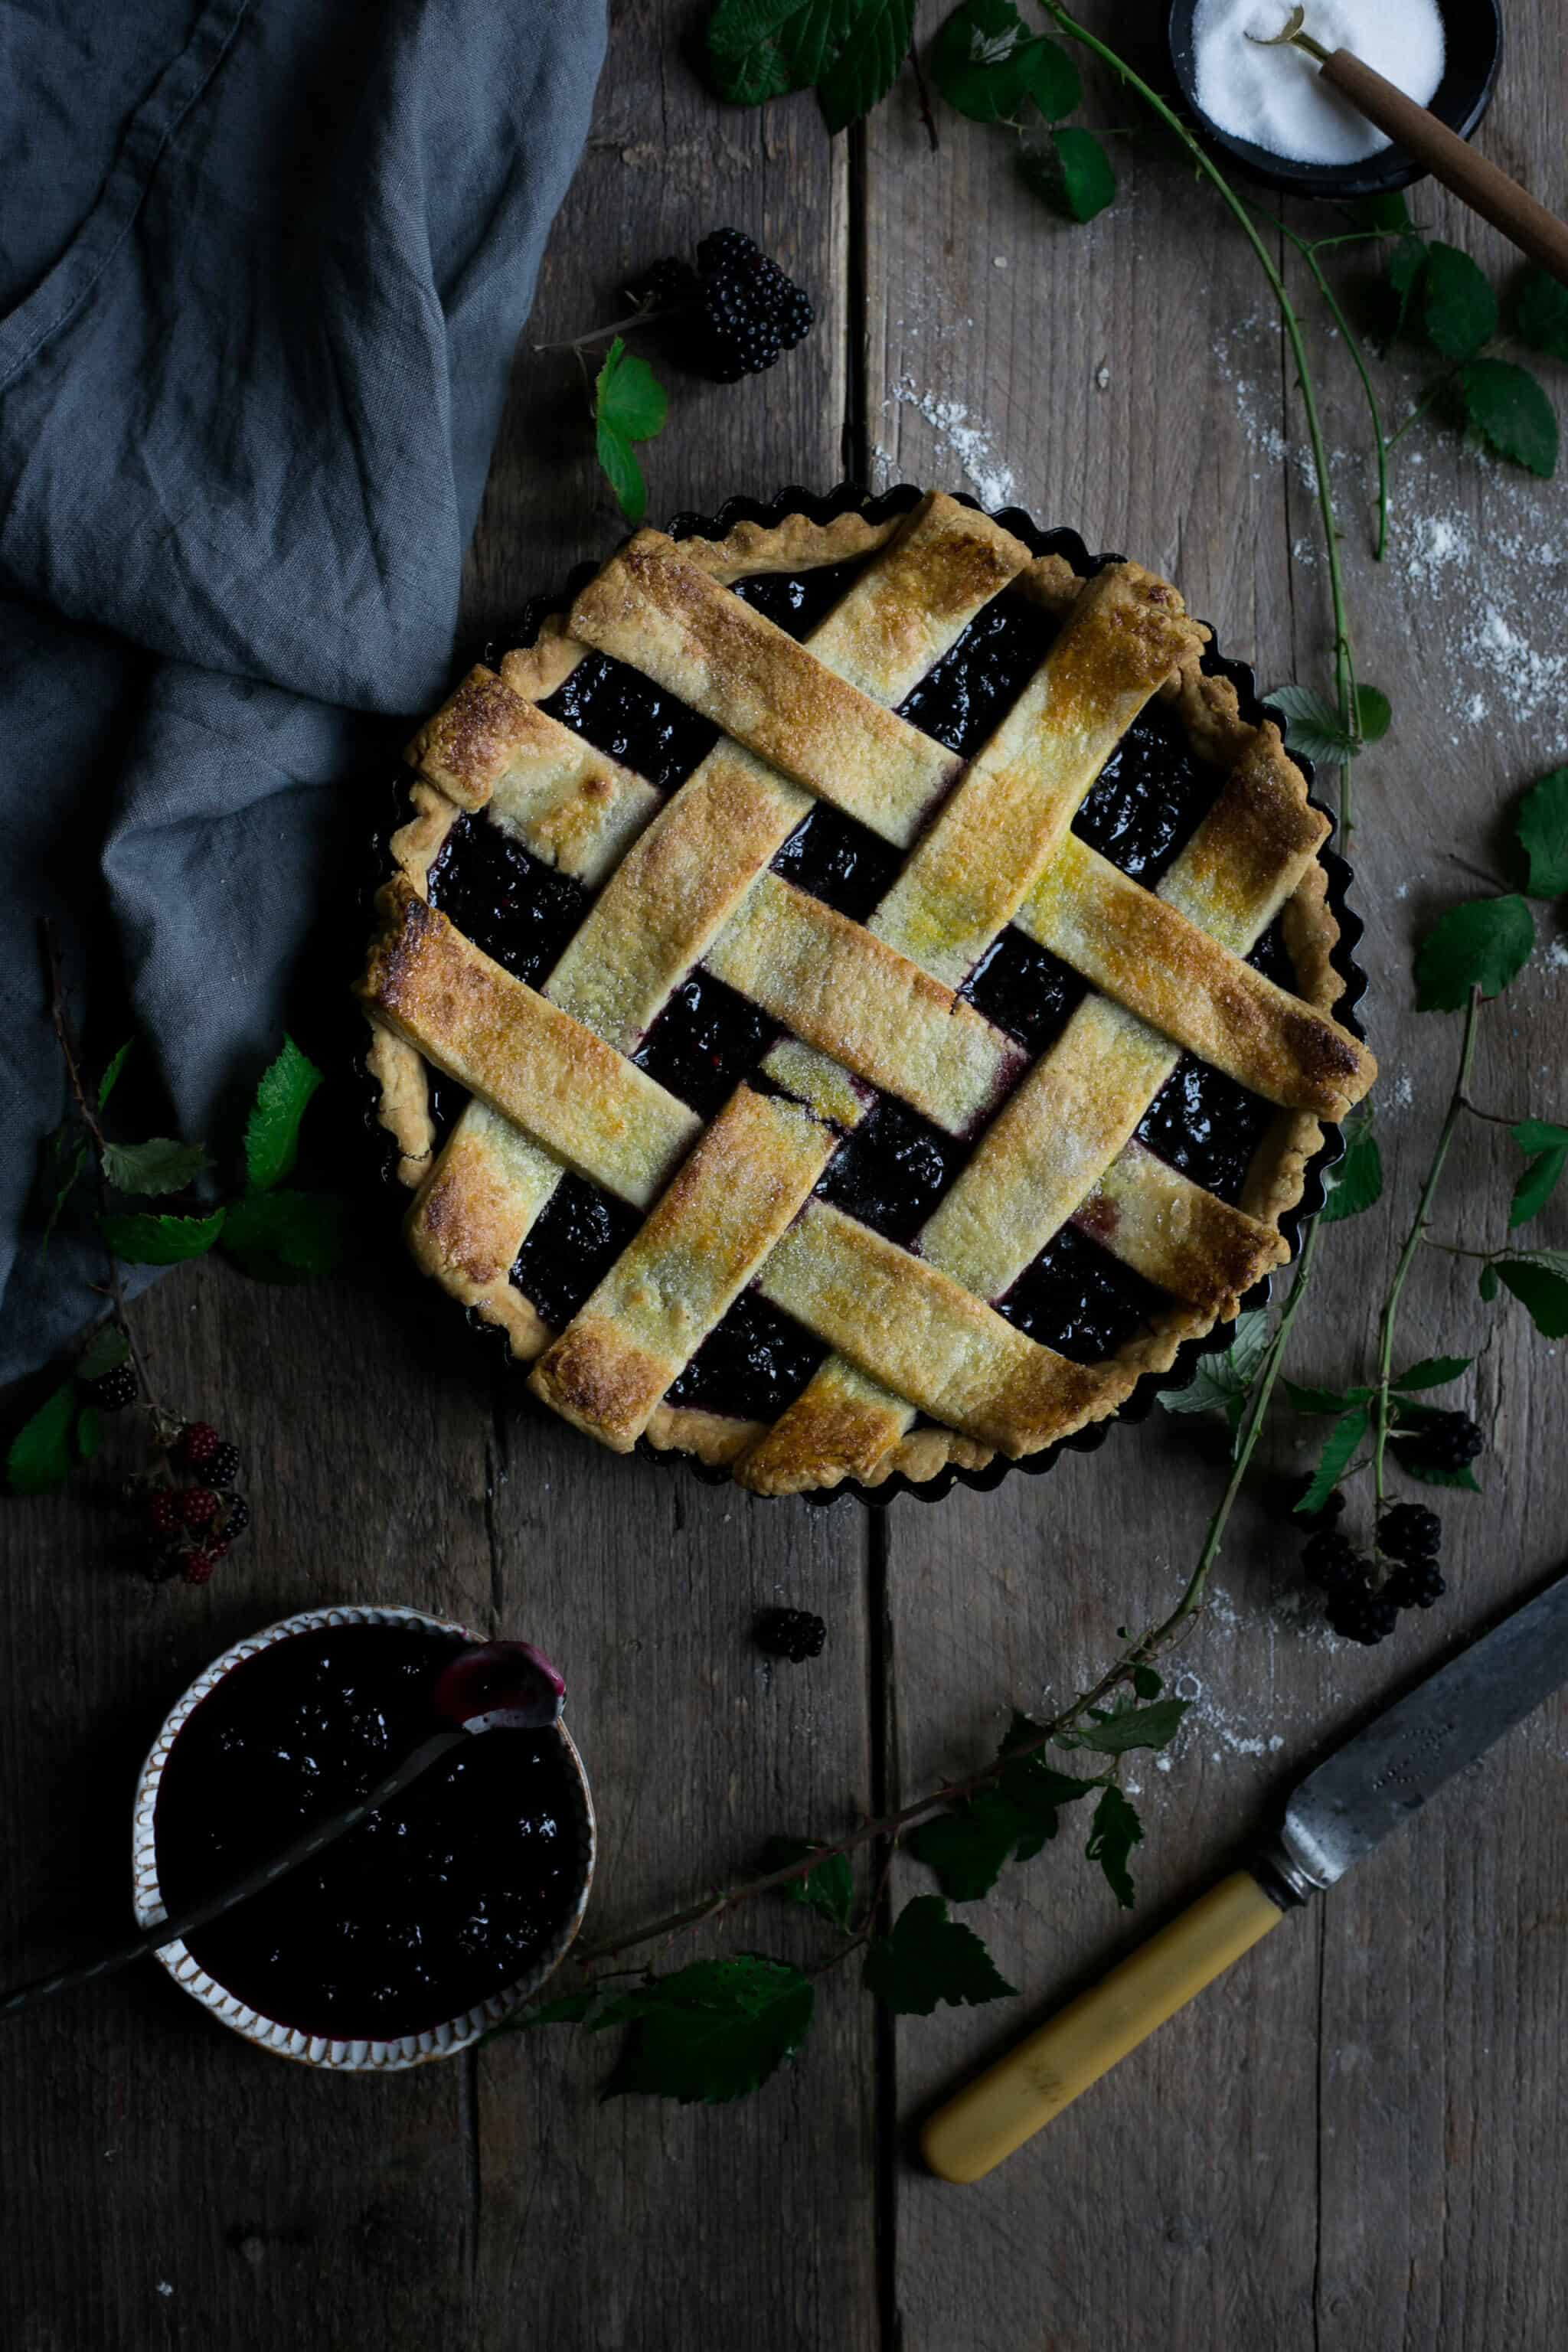
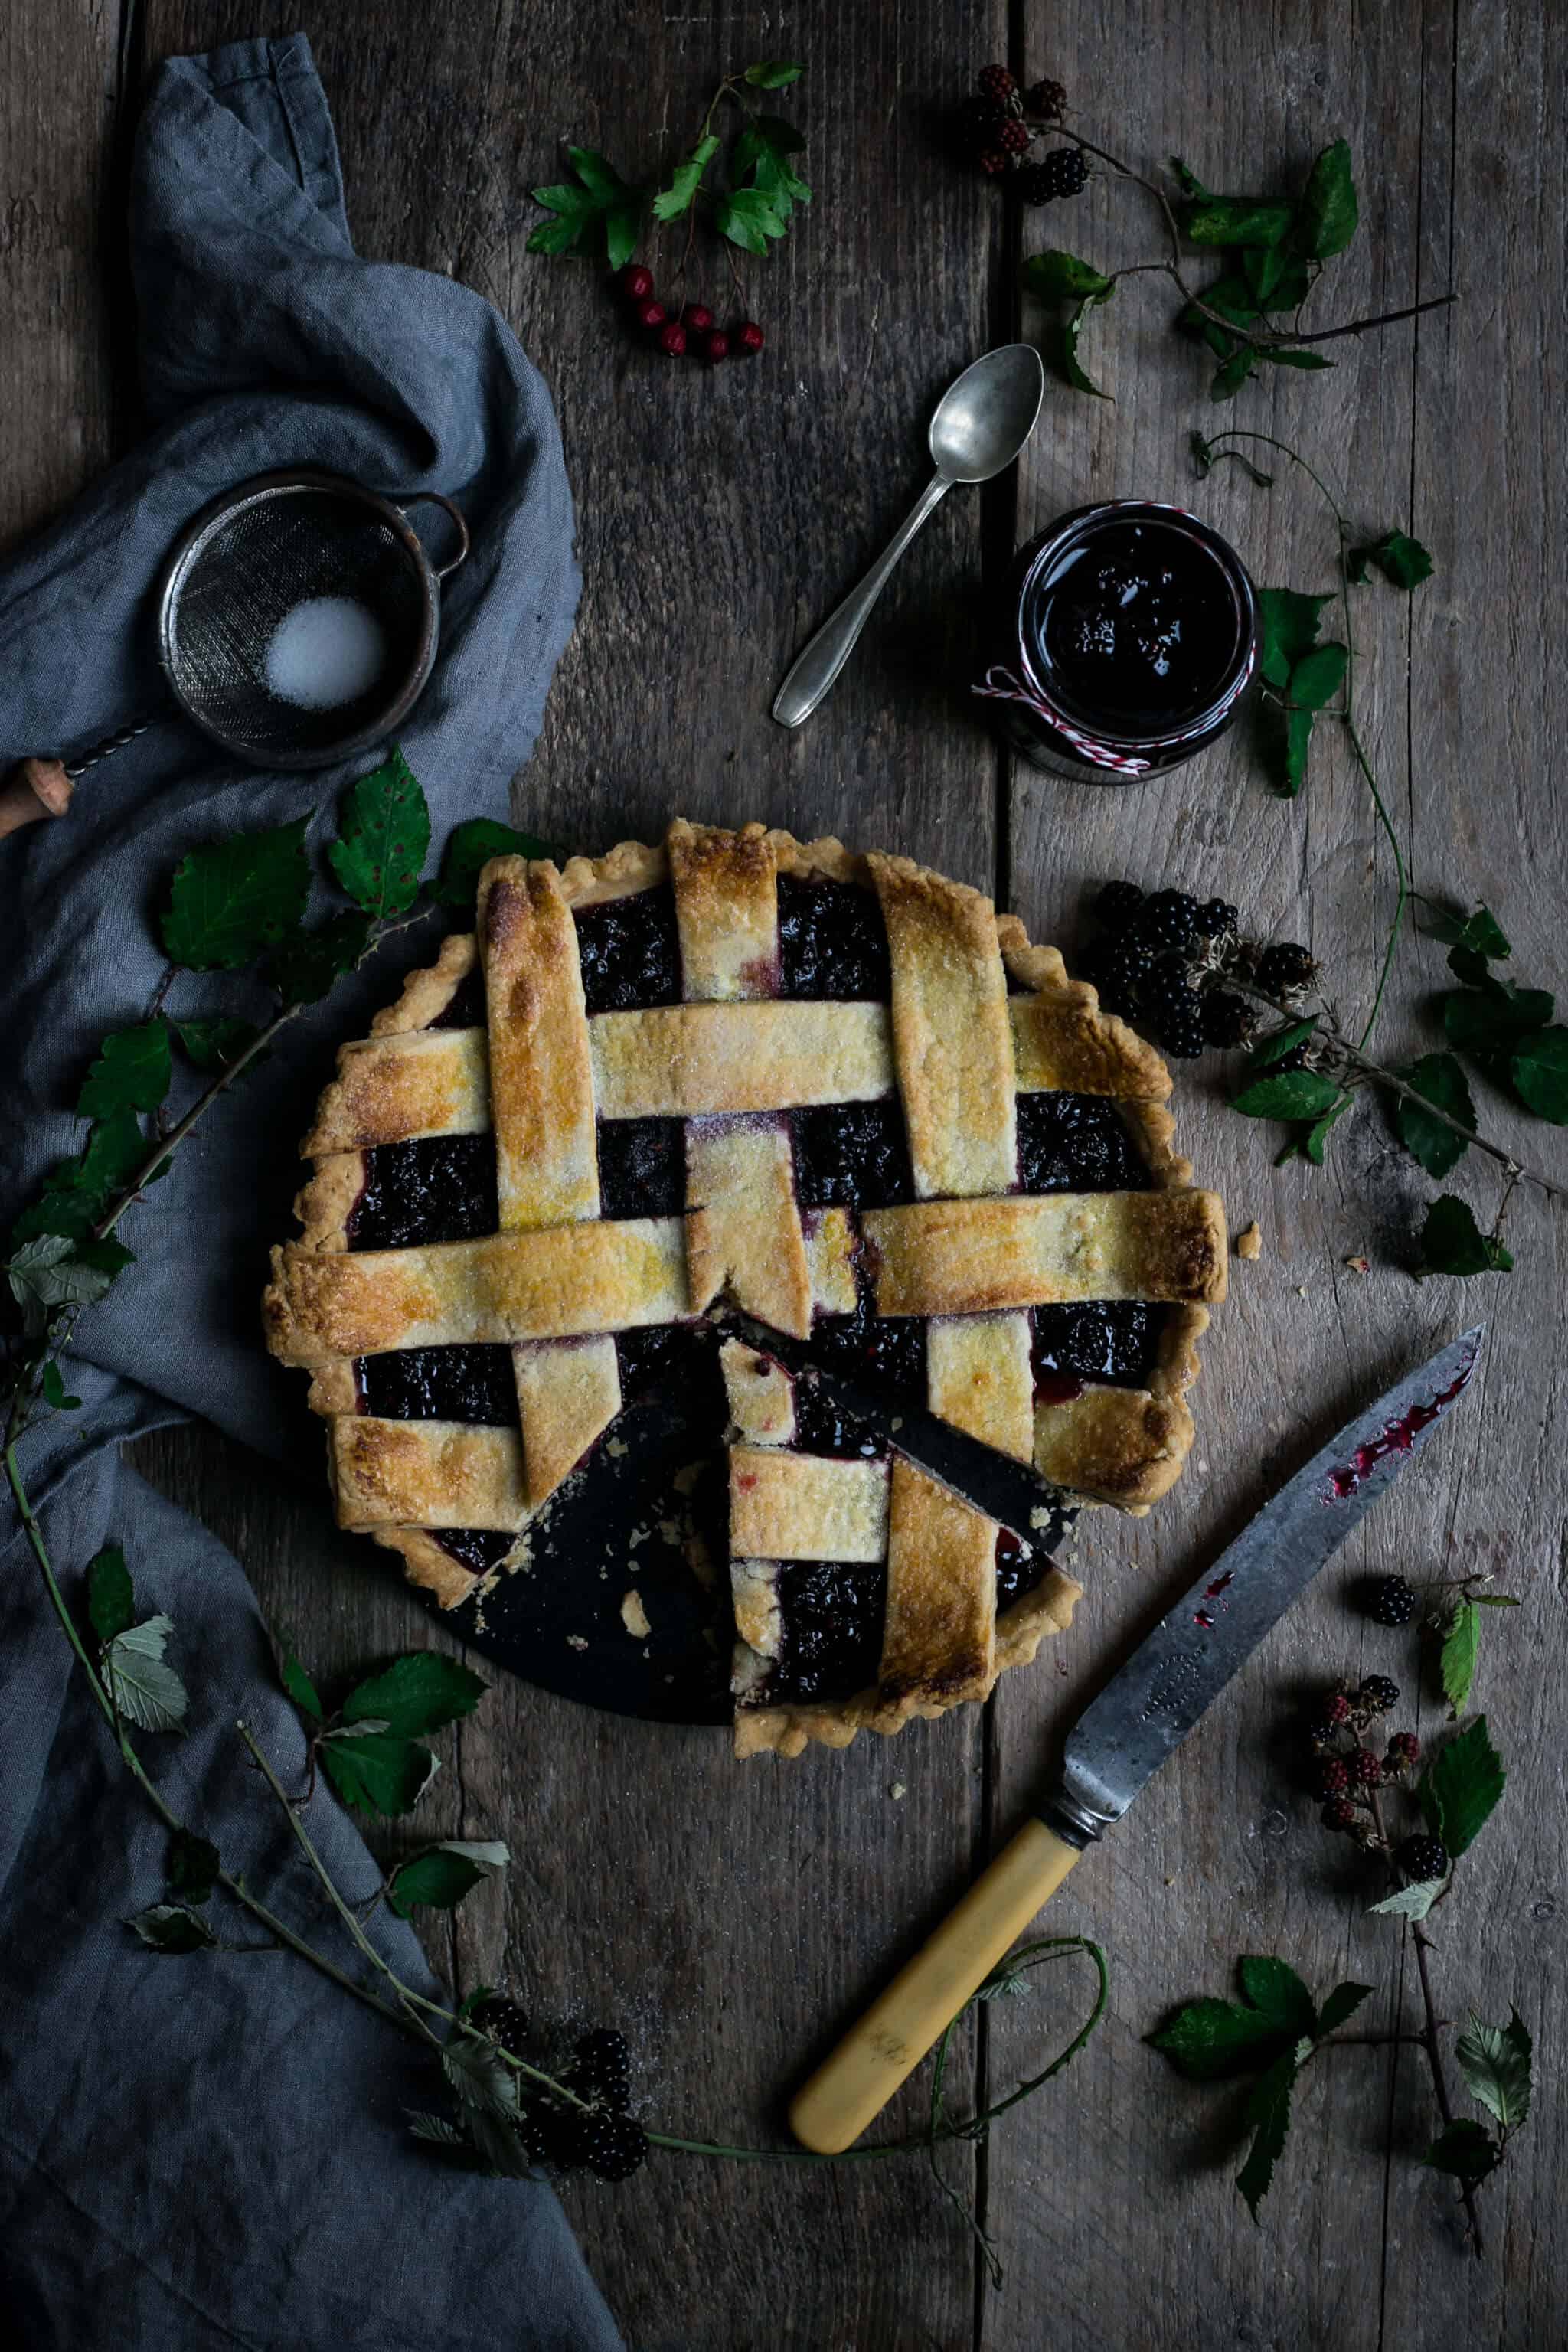
Beautiful, sweet blackberry jam lattice tart. Filled with quick, homemade blackberry jam, perfect for your weekend baking!
OK. So we are heading towards the wet and rainy season. The time when you don't need an excuse to stay indoors and curl up on the sofa. The time when drinking tea becomes more intense. And the time when all of the thick, woolly jumpers become the stars of the season again.
And if you ask me, I kinda like it. It's this whole cozy, homey feeling, that makes you feel fuzzy inside. It's also a time for warm, rustic bakes and all the jam making. September has got some of the best late- summer produce on offer, and that includes blackberries. One of my absolute favorite berries out there. So what a better way to kick- off the new season, than by combining delicious golden tart with juicy, sweet homemade blackberry jam! Interested? Read on...
The idea for this blackberry tart came after seeing it on the cover of latest issue of Delicious Magazine
As I have never tried to make a lattice tart before, I thought that this time, I would give it a go. I always see them being made by the other bloggers and Instagrammers, and they always look so so soooooo good! But personally, I've been put off by the idea of fiddling with pastry, not to mention making it into a pretty patterns and designs (I mean just look at what my friend Jo from @jojoromancer creates! Crazy good, right?)...
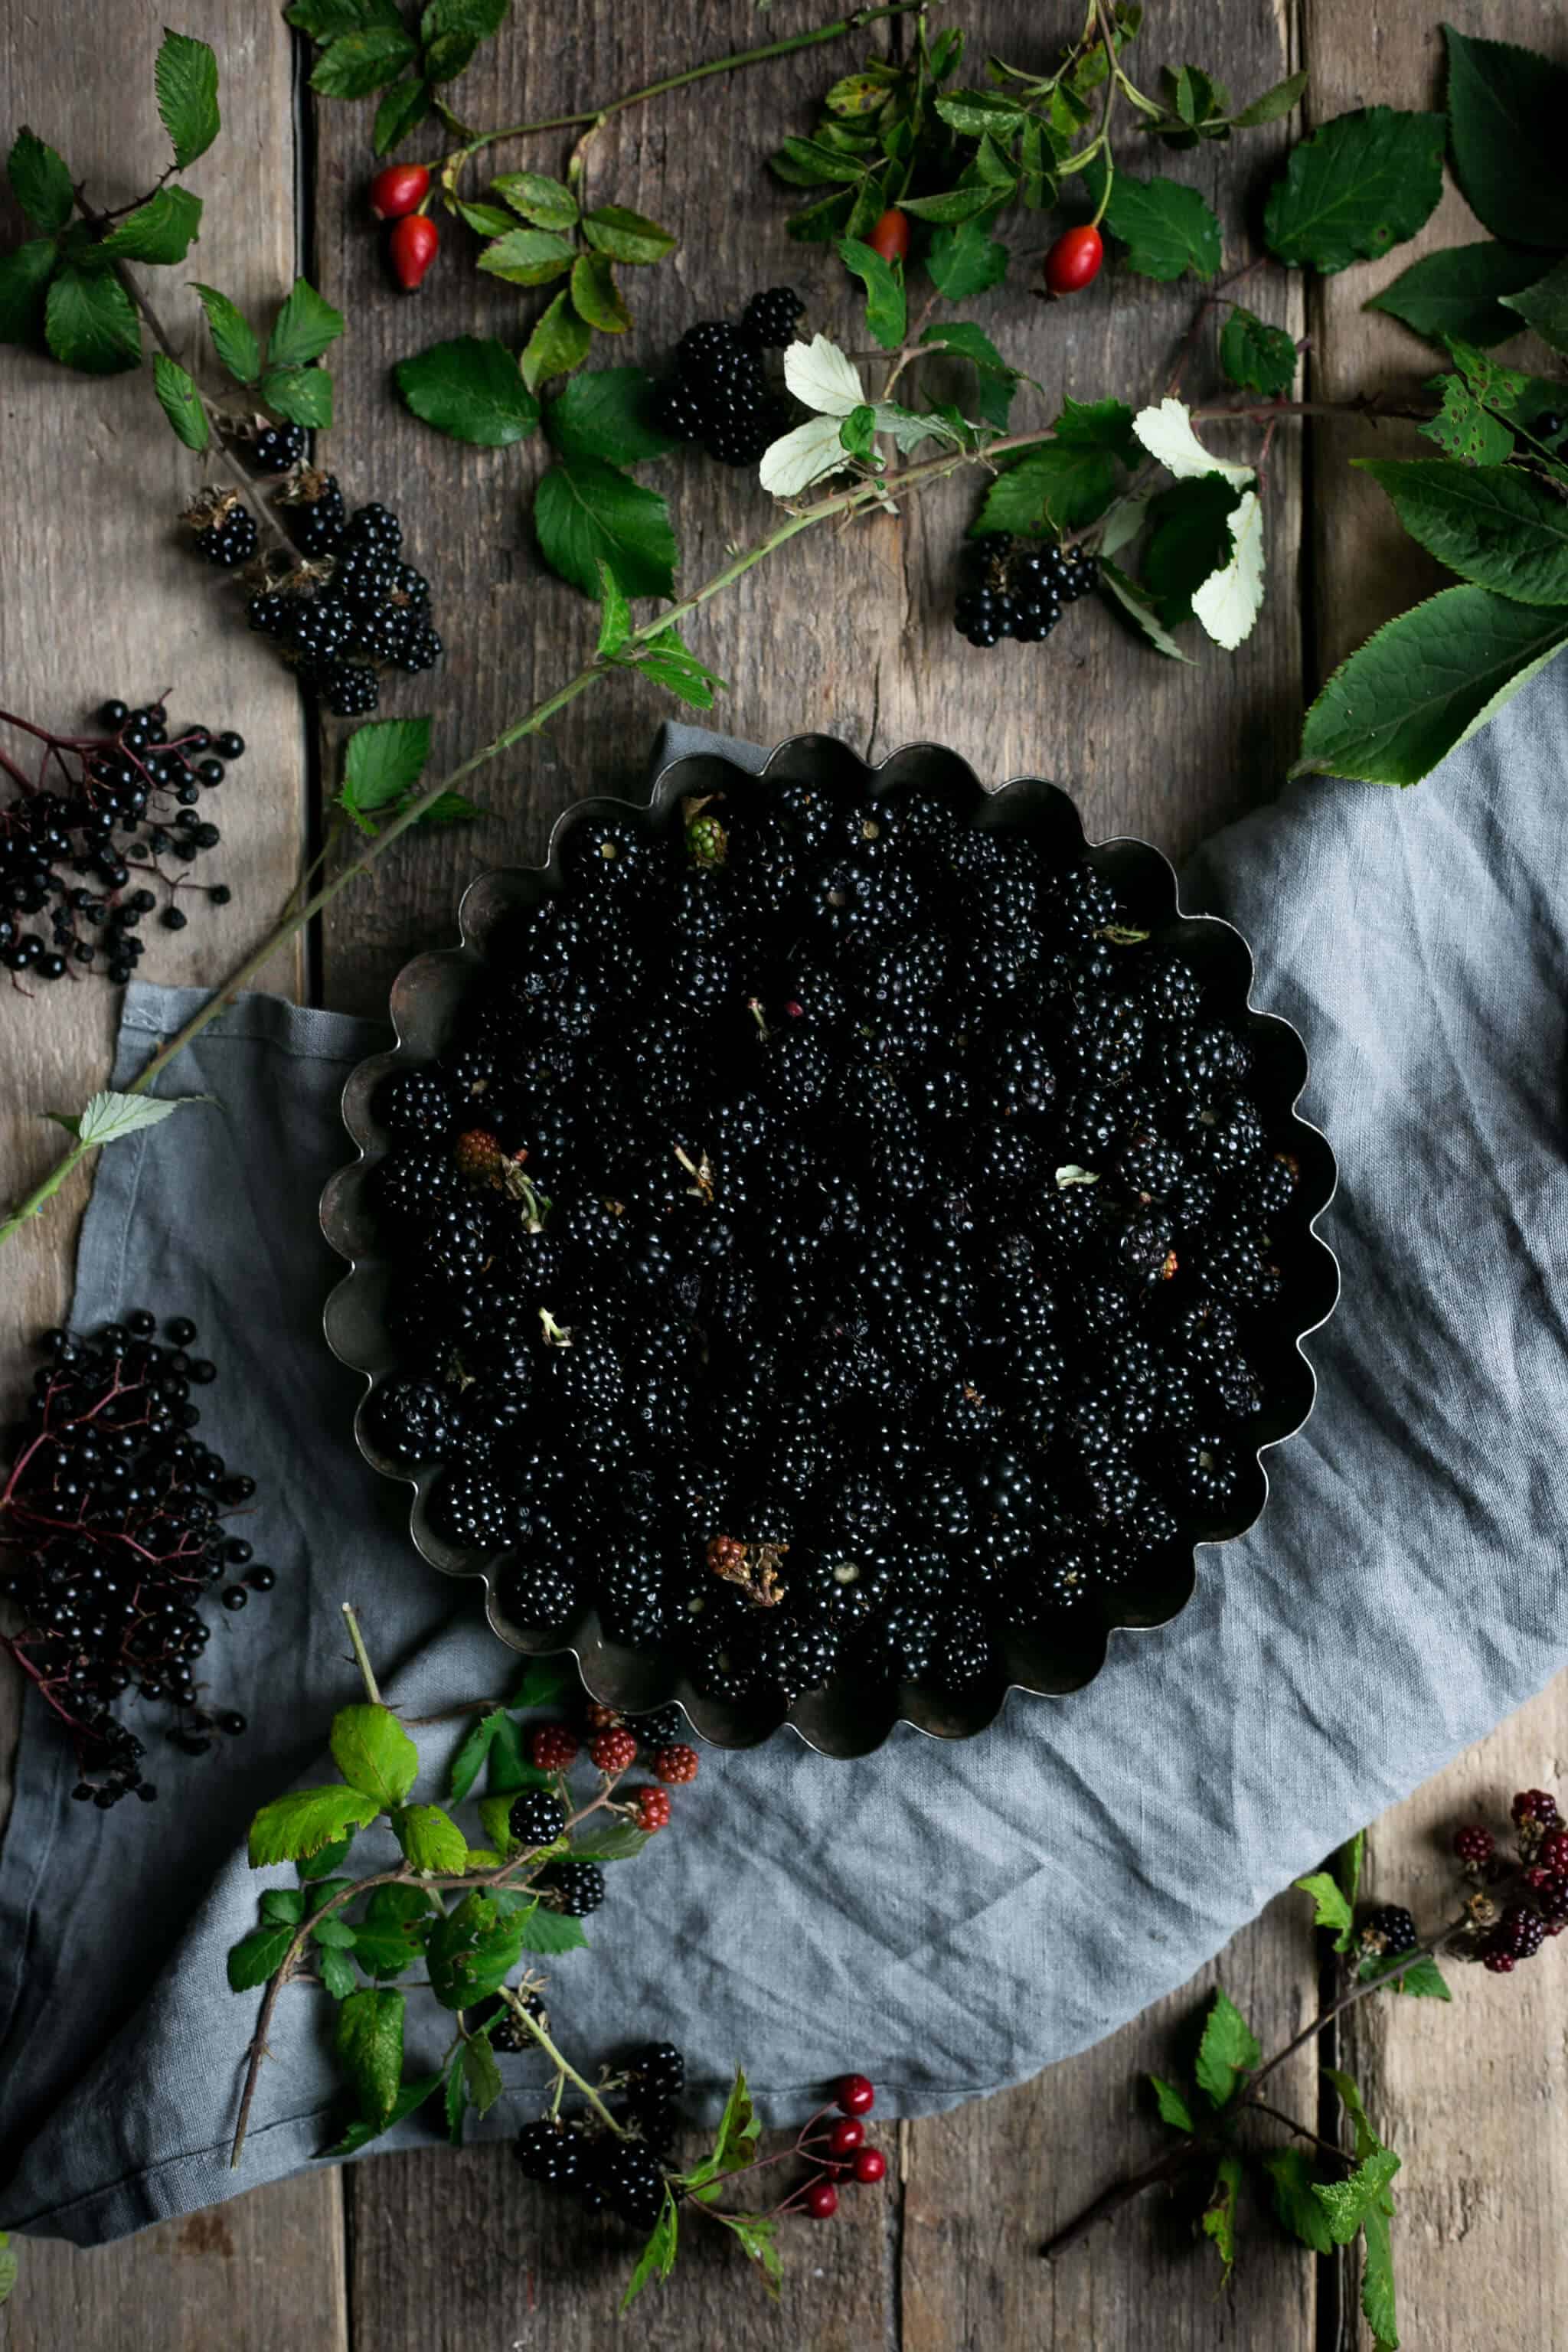
But my determination was stronger than a fear of uneven, cracked and ugly looking tart. Plus, I've imagined these beautifully set flatlay scenes, with wild blackberry branches spreading across the table, with that rustic, early- autumnal feeling, and how well they will photograph. And that my dear friends, was enough to set me off for early Sunday morning wild blackberry picking.
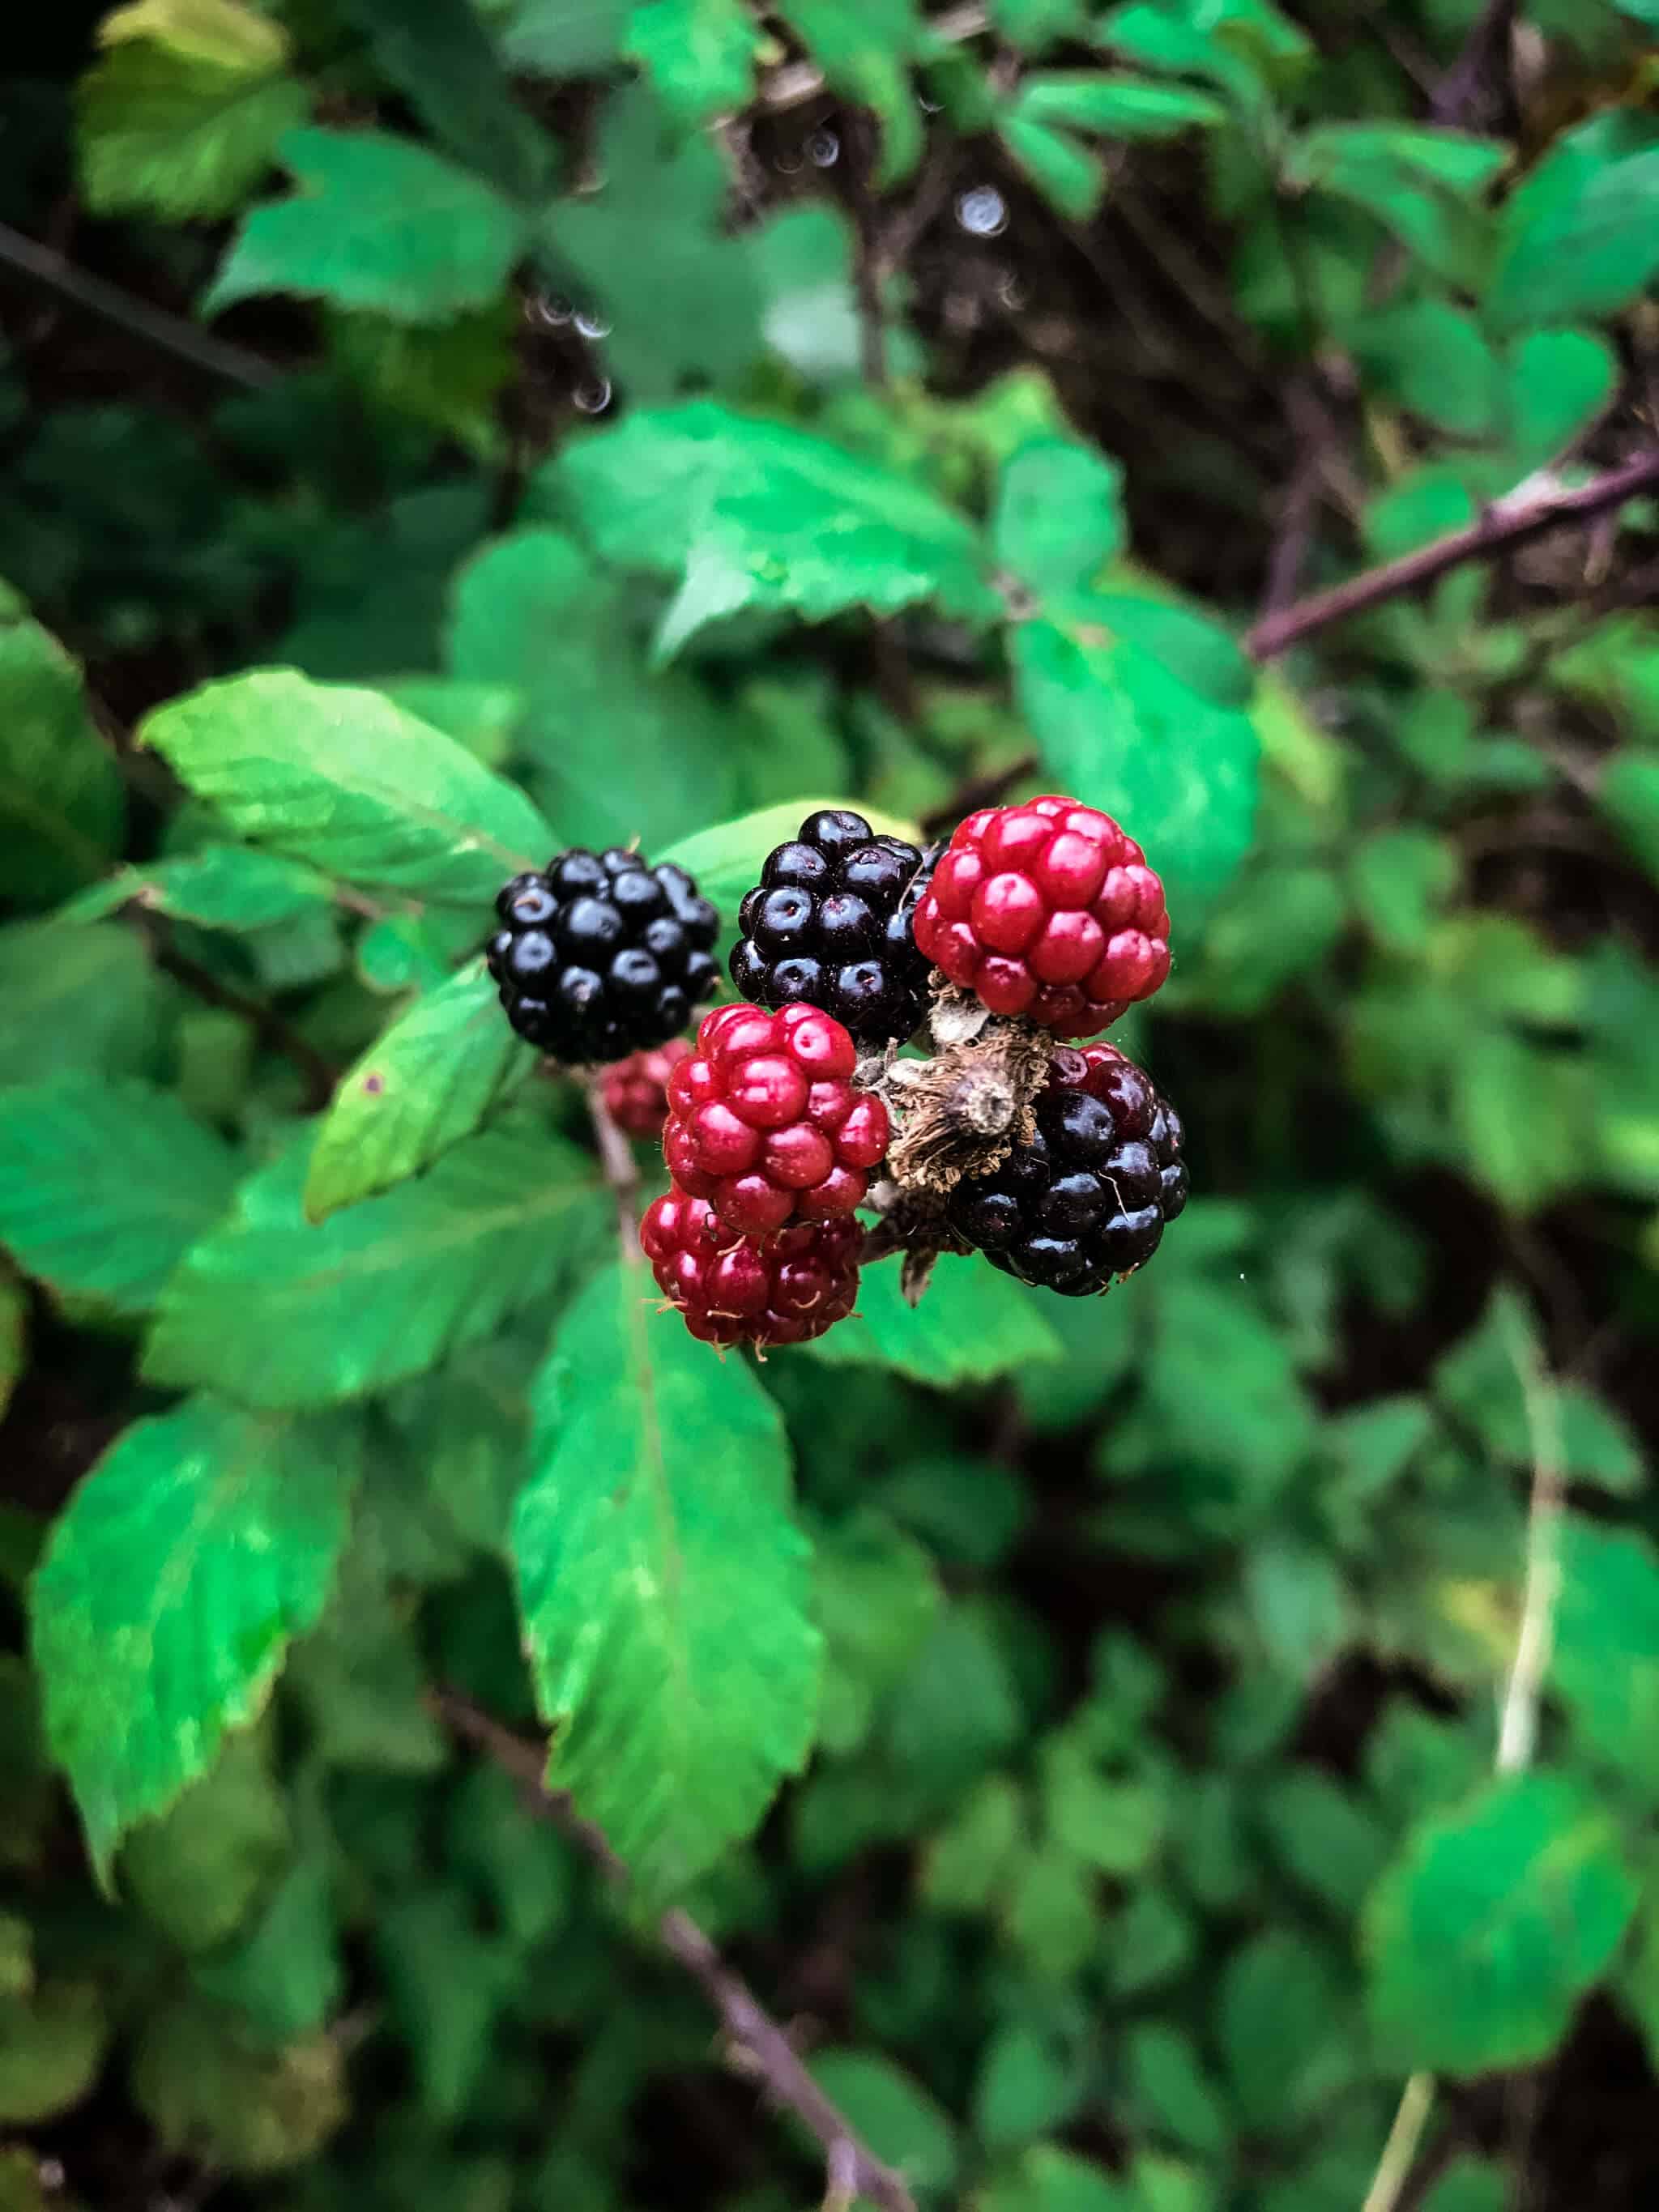
Because we are quiet lucky with where we live, surrounded by woods and fields, I've headed outside with a pair of scissors (for cutting all the pretty leaves and blackberry brunches, please forgive me, Mather Nature!) in one hand, and a bucket in the other.
After rather shy start (this was my first time ever wild blackberry picking you see, and few dog walkers did turn their heads around when they saw me foraging in the bushes), and initial fear of spiders crawling all over me, I began to do my thing. Clearing all these bushes from the most ripe berries that is...
And all would be great and dandy, if not the fact that within 10 minutes into it, the sky got soooo dark and angry, and it just spat all the rain it could on me. But, as I mentioned earlier, the prospect of that beautiful flatlay was stronger! So rather than running straight back home, I've finished filling up my bucket, picked few lovely looking branches, and started to make my way back only to change into my waterproofs, empty the bucket and go back again! Things we do for a pretty pictures and blackberry tarts, eyy?
So, after a second round, I had another full bucket, plus some elderberries and rowanberries, just as about a trillion of thorns in my fingers. But was it worth it? Oh, it so was! I mean, just look at these beauties! The pain of few thorns is definitely worth over 3kg of (free) blackberries!
And it was so much fun! I love the idea of picking your own fruit/ veg, and then cooking with it, or preserving it. Something very therapeutic and satisfying about it. Well, at least to me. But just in case if you think I'm crazy, I saw at least 3 other foragers out there, in the same time as me, so I'm sure I'm not alone in this craziness!
Now, as for this incredibly tasty blackberry jam tart...
It does take time to make it. Perhaps, it's also not the healthiest of the recipes... But if you enjoy making things from scratch, and you love the taste and smell of homemade pie on a Sunday afternoon, then this one is definitely for you! Just be patient, don't rush things through, take your time, and I guarantee you will be so amazed by the results!
This blackberry tart can be also make in advance and chilled, until you are ready to serve it. As any fruit tart, it tastes best when it's slightly warm, with a dollop of cream or ice- cream on the side.
Personally, I think this will become one of my new weekend rituals. Now that I know how doable and easy the lattice top is, I'm thinking of stepping up a notch, and adding few more strips... Watch this space!
Until next time!
📖 Recipe
Blackberry jam lattice tart
Ingredients
For the blackberry jam filling:
- 500 g blackberries (fresh or frozen)
- 450 g preserving sugar
- ½ medium lemon (juice only)
For the pastry:
- 400 g plain flour, plus extra for dusting
- 200 g unsalted butter
- 2 medium egg yolks
- 5 tablespoon ice cold water
- 2 tablespoon caster sugar for sprinkling
Instructions
- Place blackberries in a large pan with the granulated sugar and lemon juice. Leave on site for about 20 minutes, stirring every now and then with wooden spoon. Try to squash the berries gently, allowing the juices to drawn out of the blackberries.
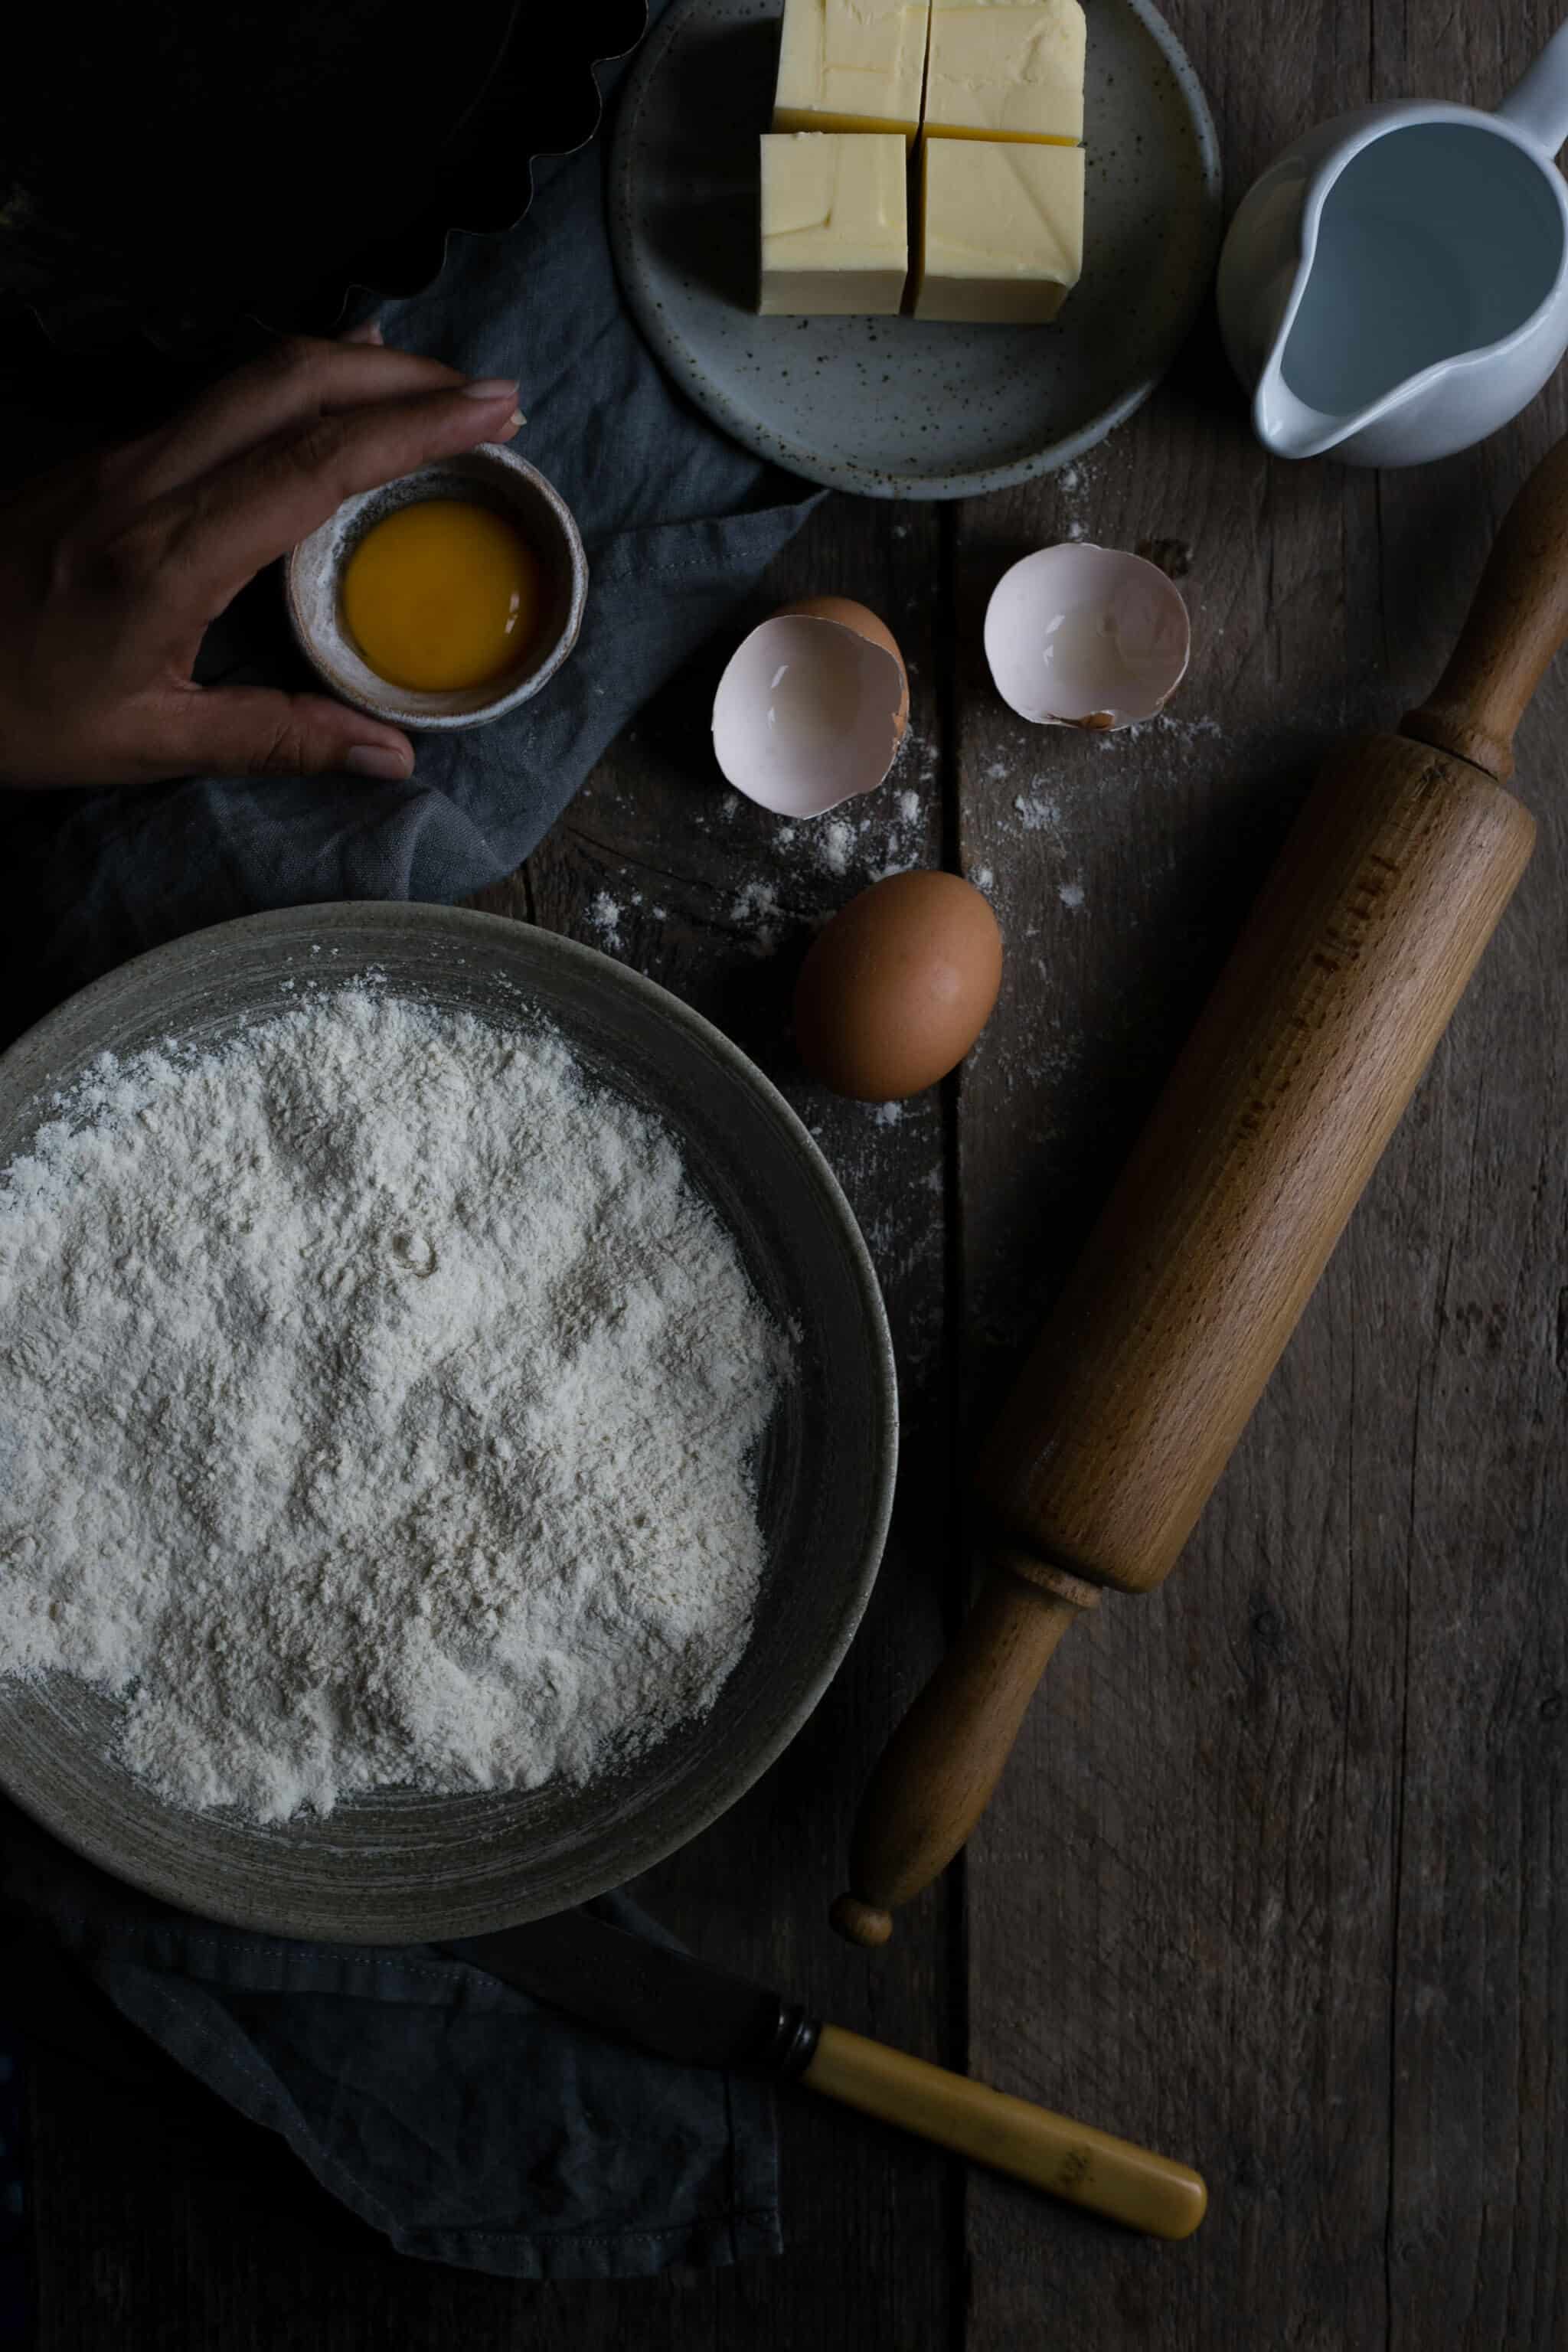
- In a mean time, make pastry. You can use food processor, and mix the flour, butter, and a pinch of salt until it resembles the texture of the breadcrumbs. Add egg yolk with 5 tablespoon of ice cold water and pulse until pastry comes together into a ball. You can add extra water if needed. If you making pastry by hand (I did), rub the flour and butter with your fingers in a bowl, then stir in the egg yolk and water with a wooden spoon. Work the pastry for a couple of minutes, then tip it into a piece of cling film and shape into a disc. Wrap and chill for 35 minutes, until firm.
- Put two small plates in the freezer (for testing the set of the jam later). Put the pan with blackberries on a low heat and warm gently until all sugar has dissolved . Increase the heat and vigorously boil, until the jam temperature reaches 105 C. This should take anywhere between 5 to 15 minutes (depending on the size of your pan). The jam will be visibly thicker.
- Remove pan from the heat, then spoon a small amount of jam into one of the cold plates. After few seconds, push your finger through the jam. If it wrinkles- it's ready, if not, put the pan back on the heat and bubble for couple more minutes. Take off the heat and set aside to settle and cool down.
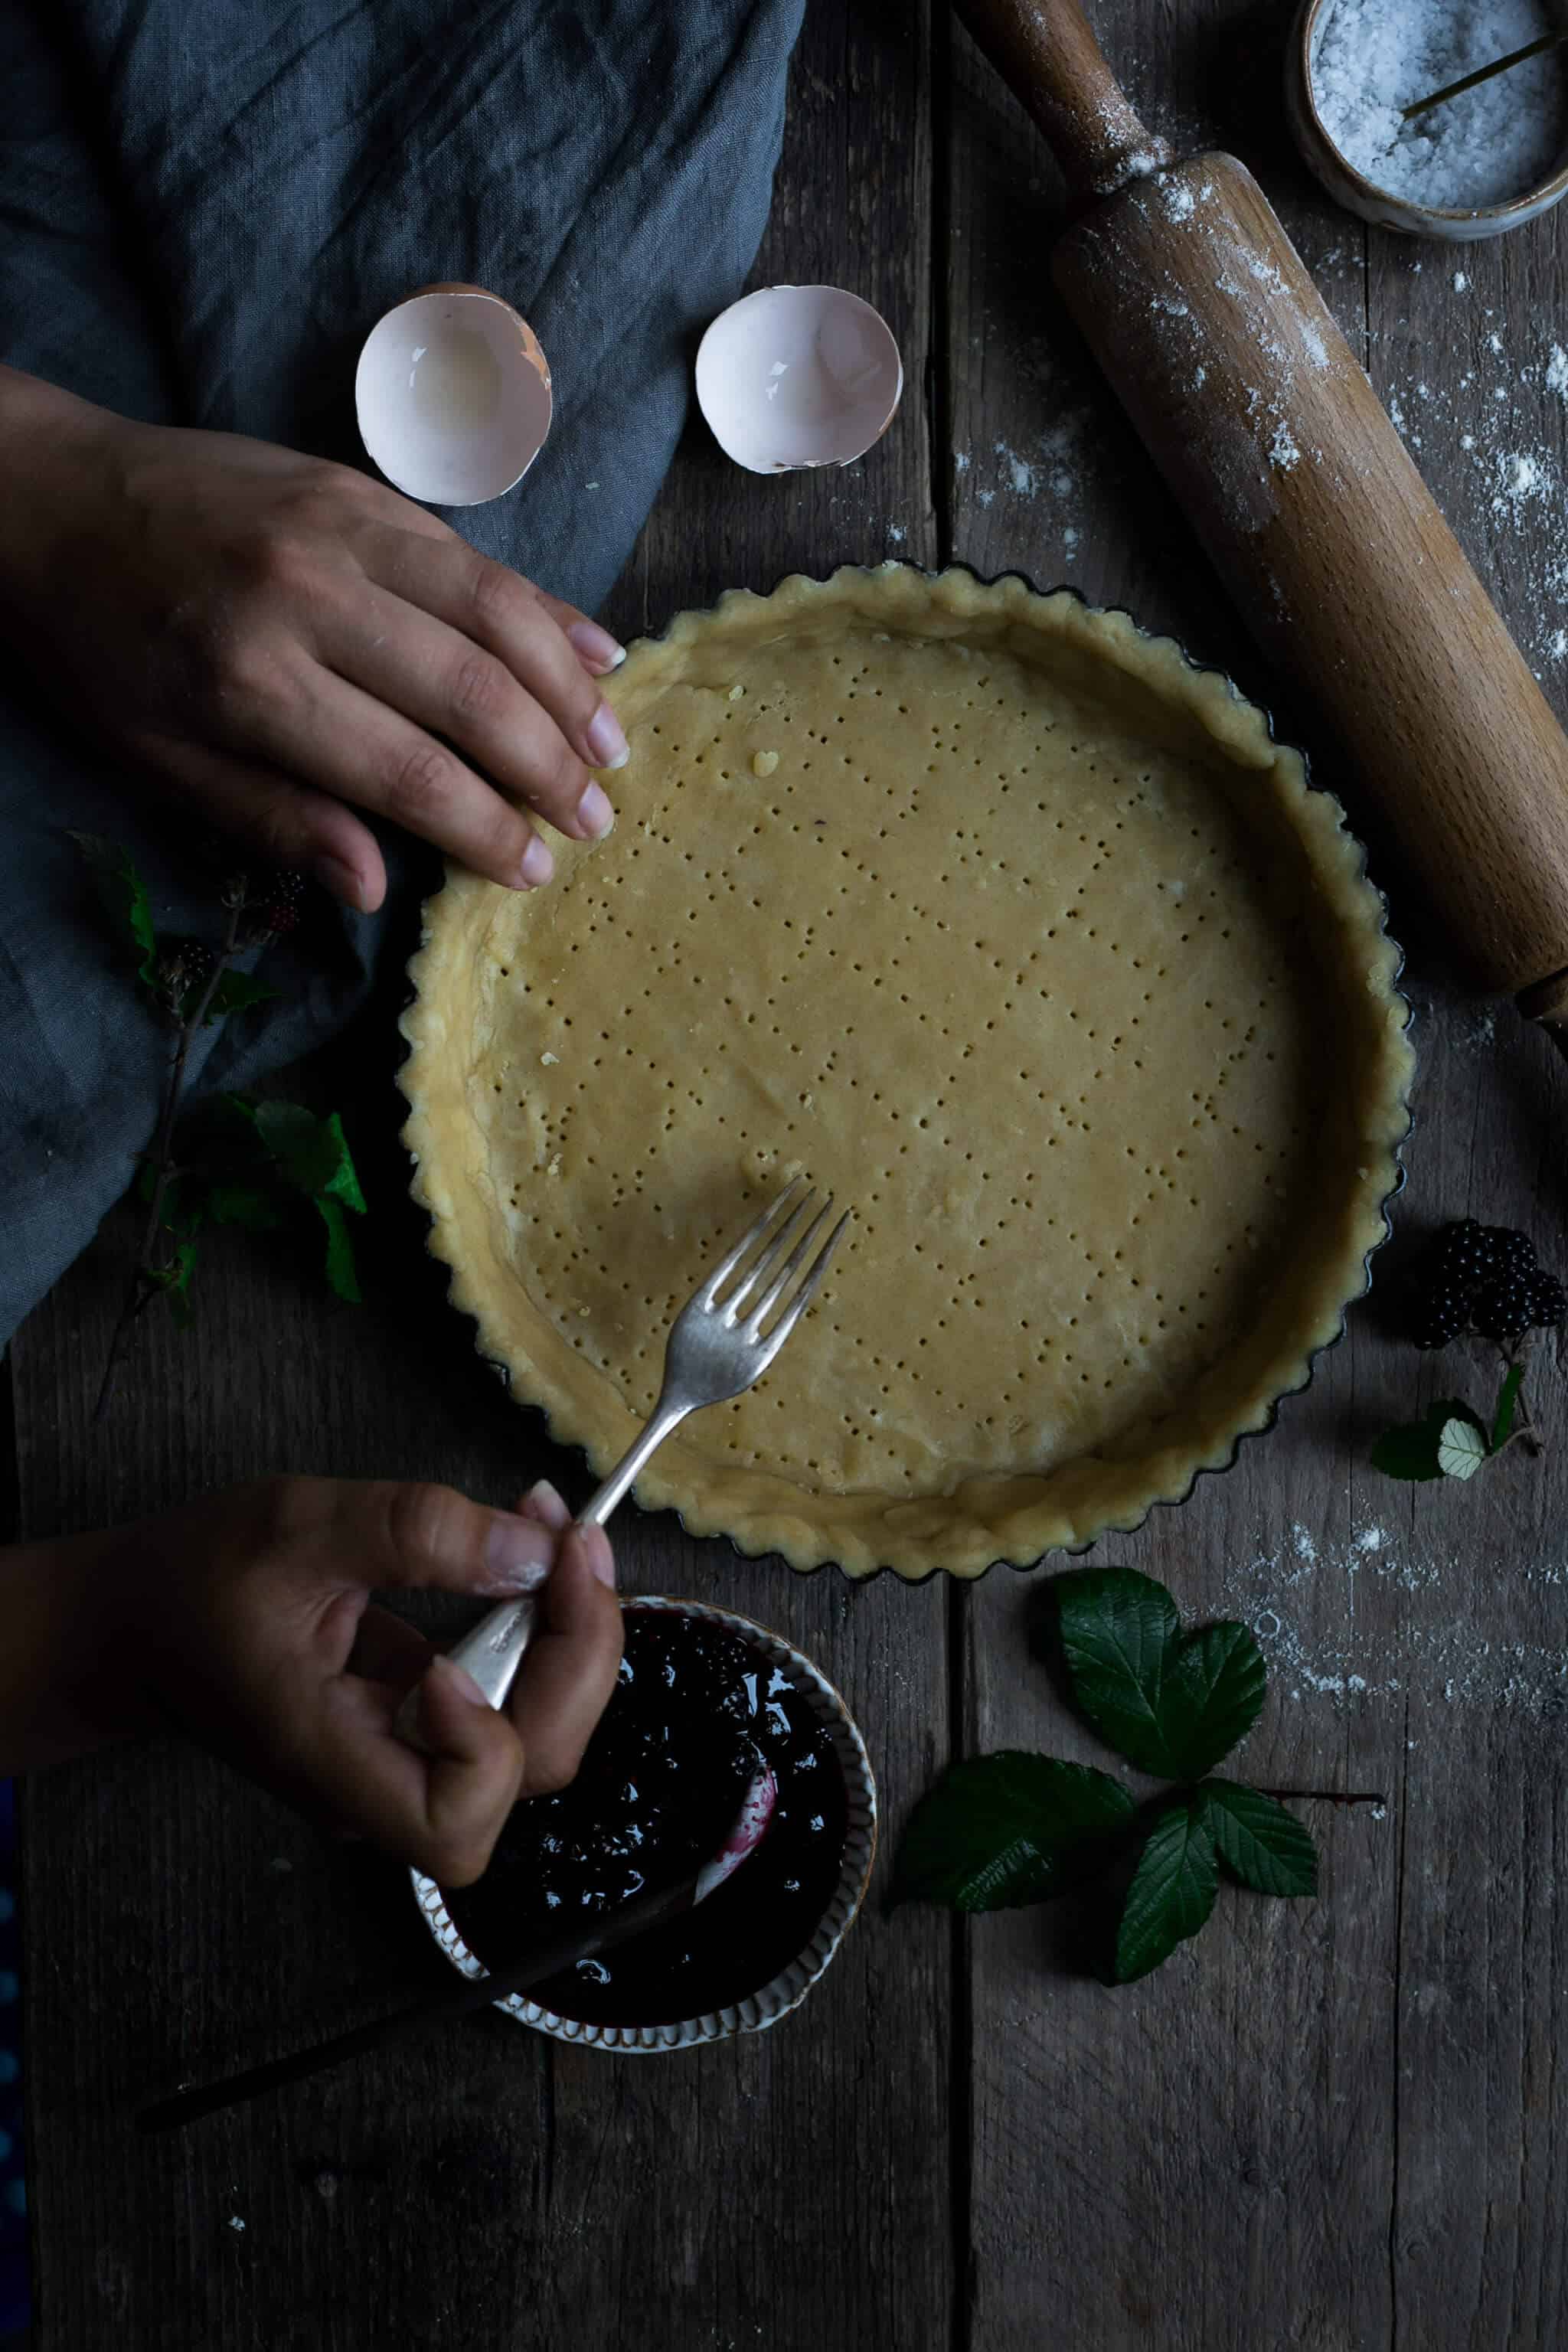
- On a floured surface,m roll out two thirds of your pastry to a 30cm circle. Carefully roll the pastry around the dusted rolling pin, then unroll into the tart tin. Pastry will be quite crumbly, but if it breaks, just patch it up. You can use a piece of pastry to push the pastry case into the edges of the tin, then trim away any excess, but save the offcuts for the lattice top. Prick the base all over with a fork. Chill for 30 minutes in the fridge, or 10 minutes in the freezer. Heat the oven to 200 C (180 C fan).
- Line the case with a large piece of baking paper/ foil and fill with ceramic baking beans or rice. Blind bake for 20 minutes, then remove the beans and paper and bake for further 5 minutes until pastry feels sandy. Leave to cool slightly.
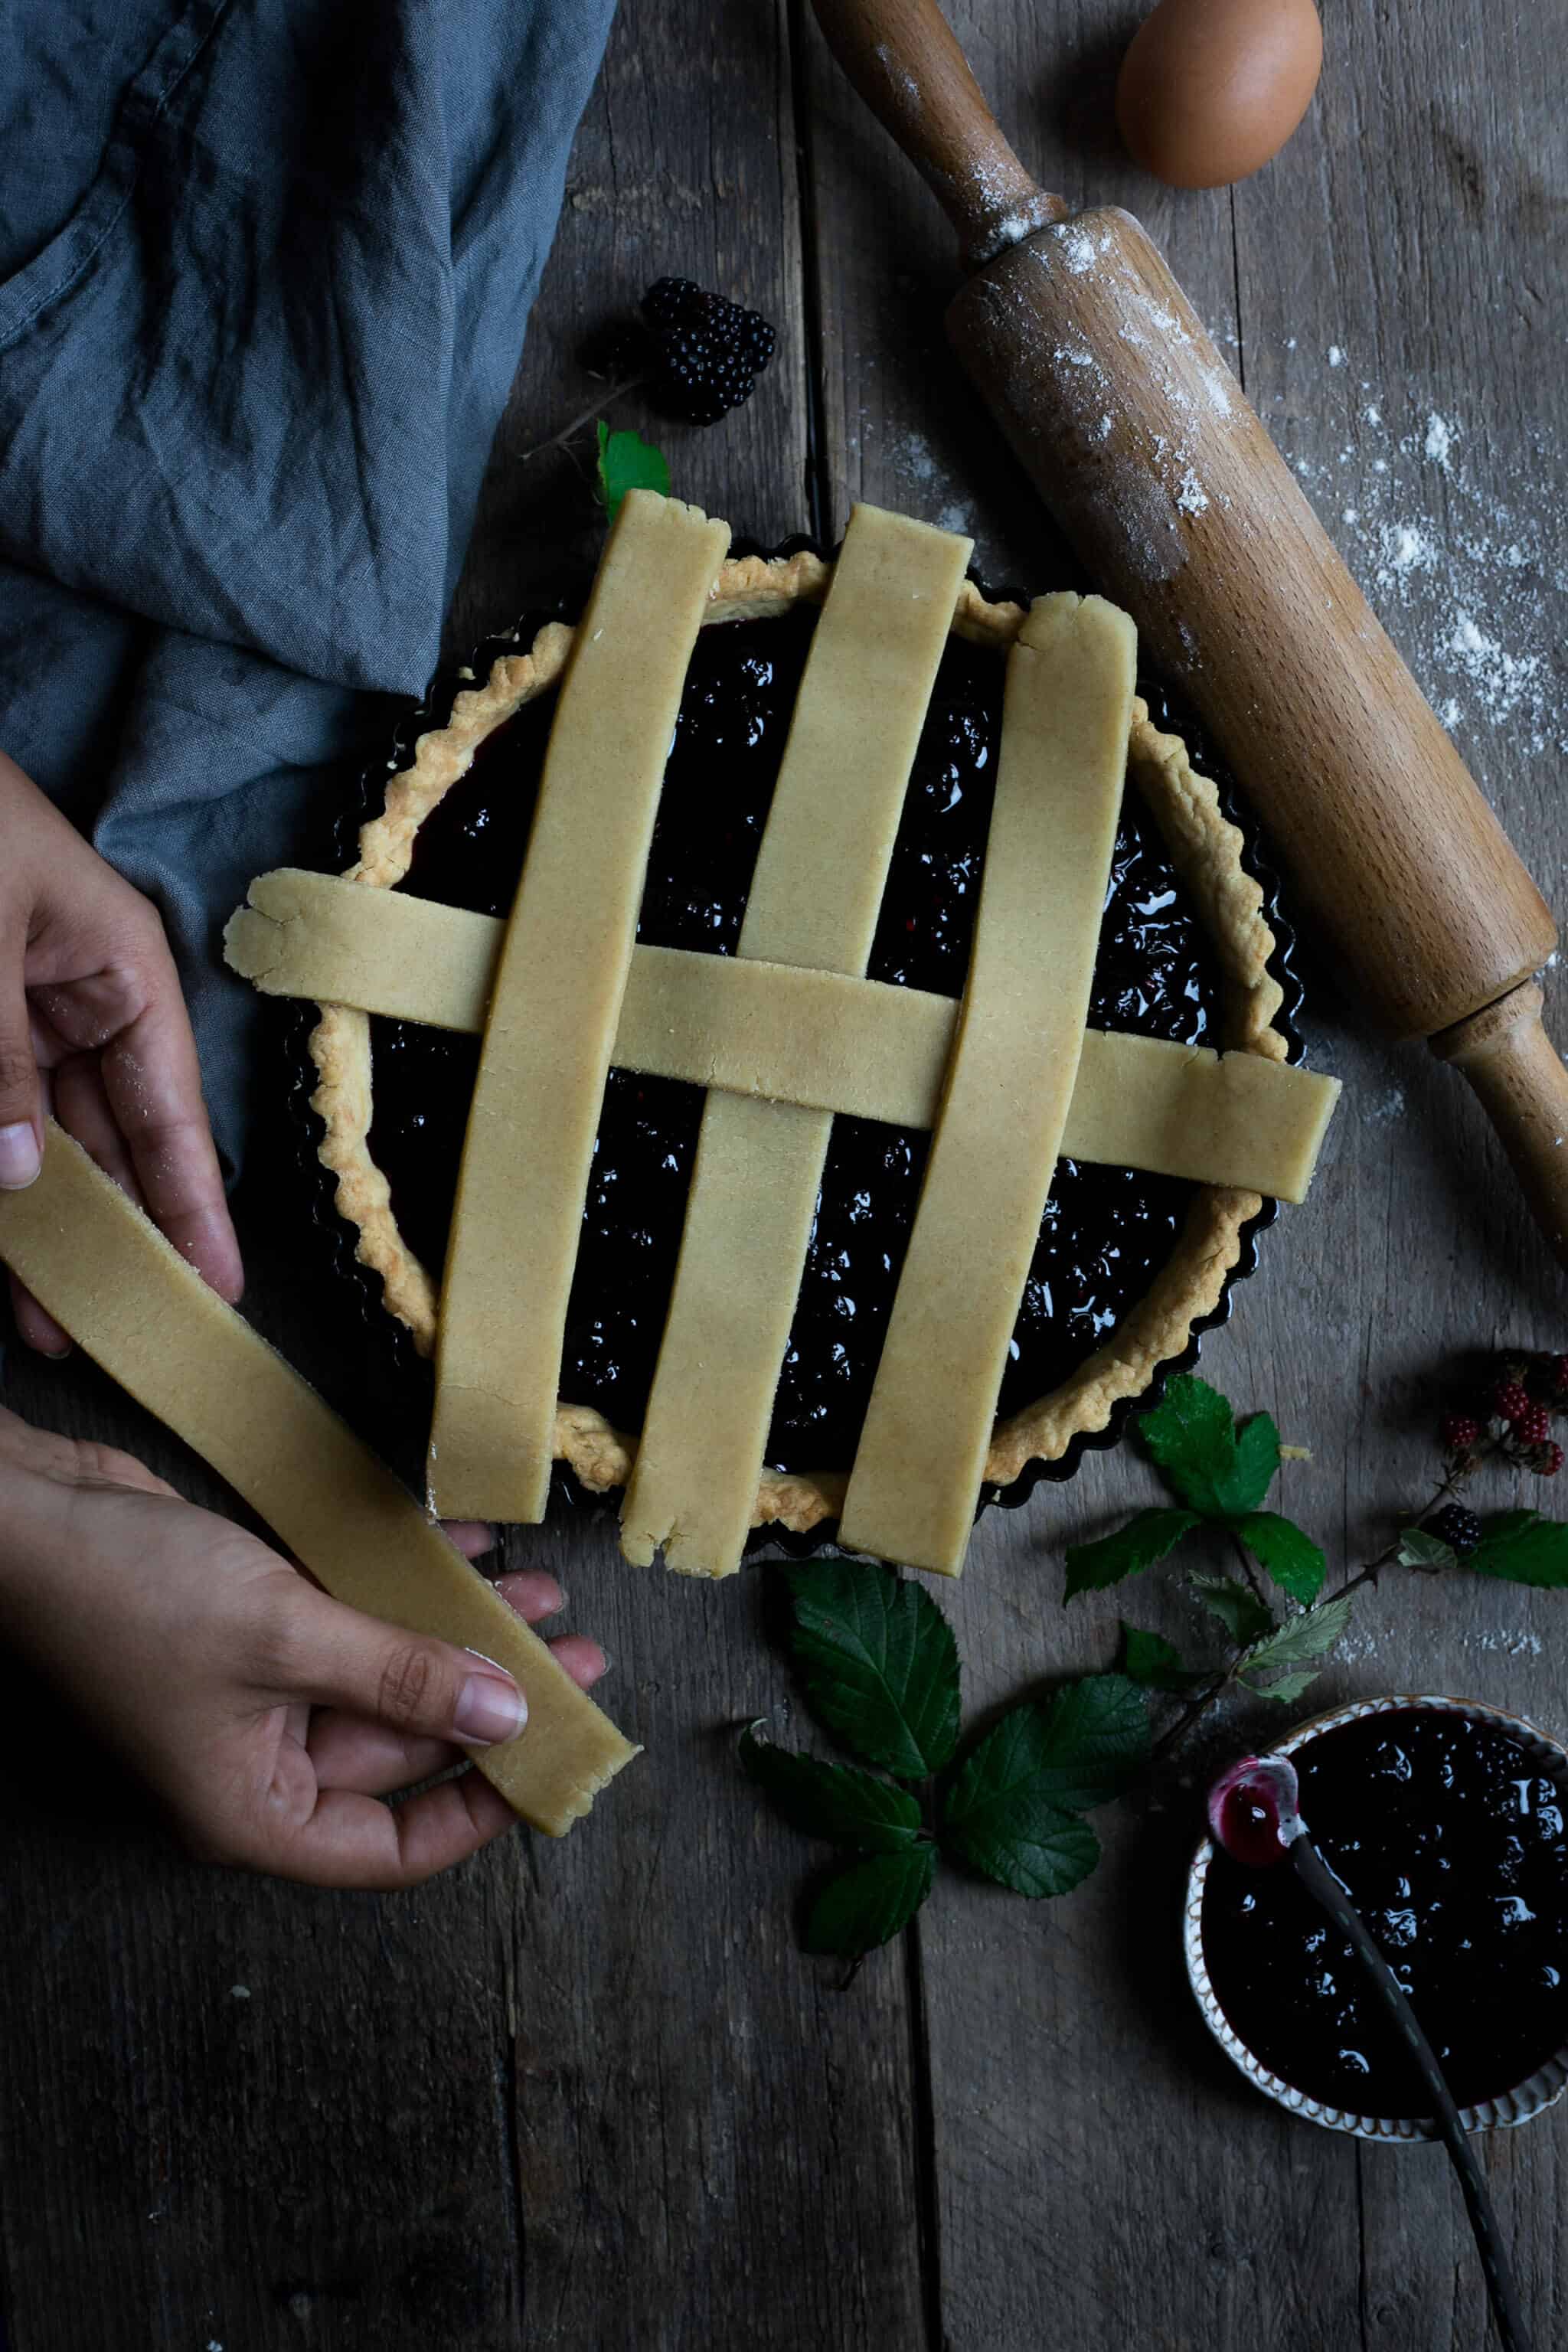
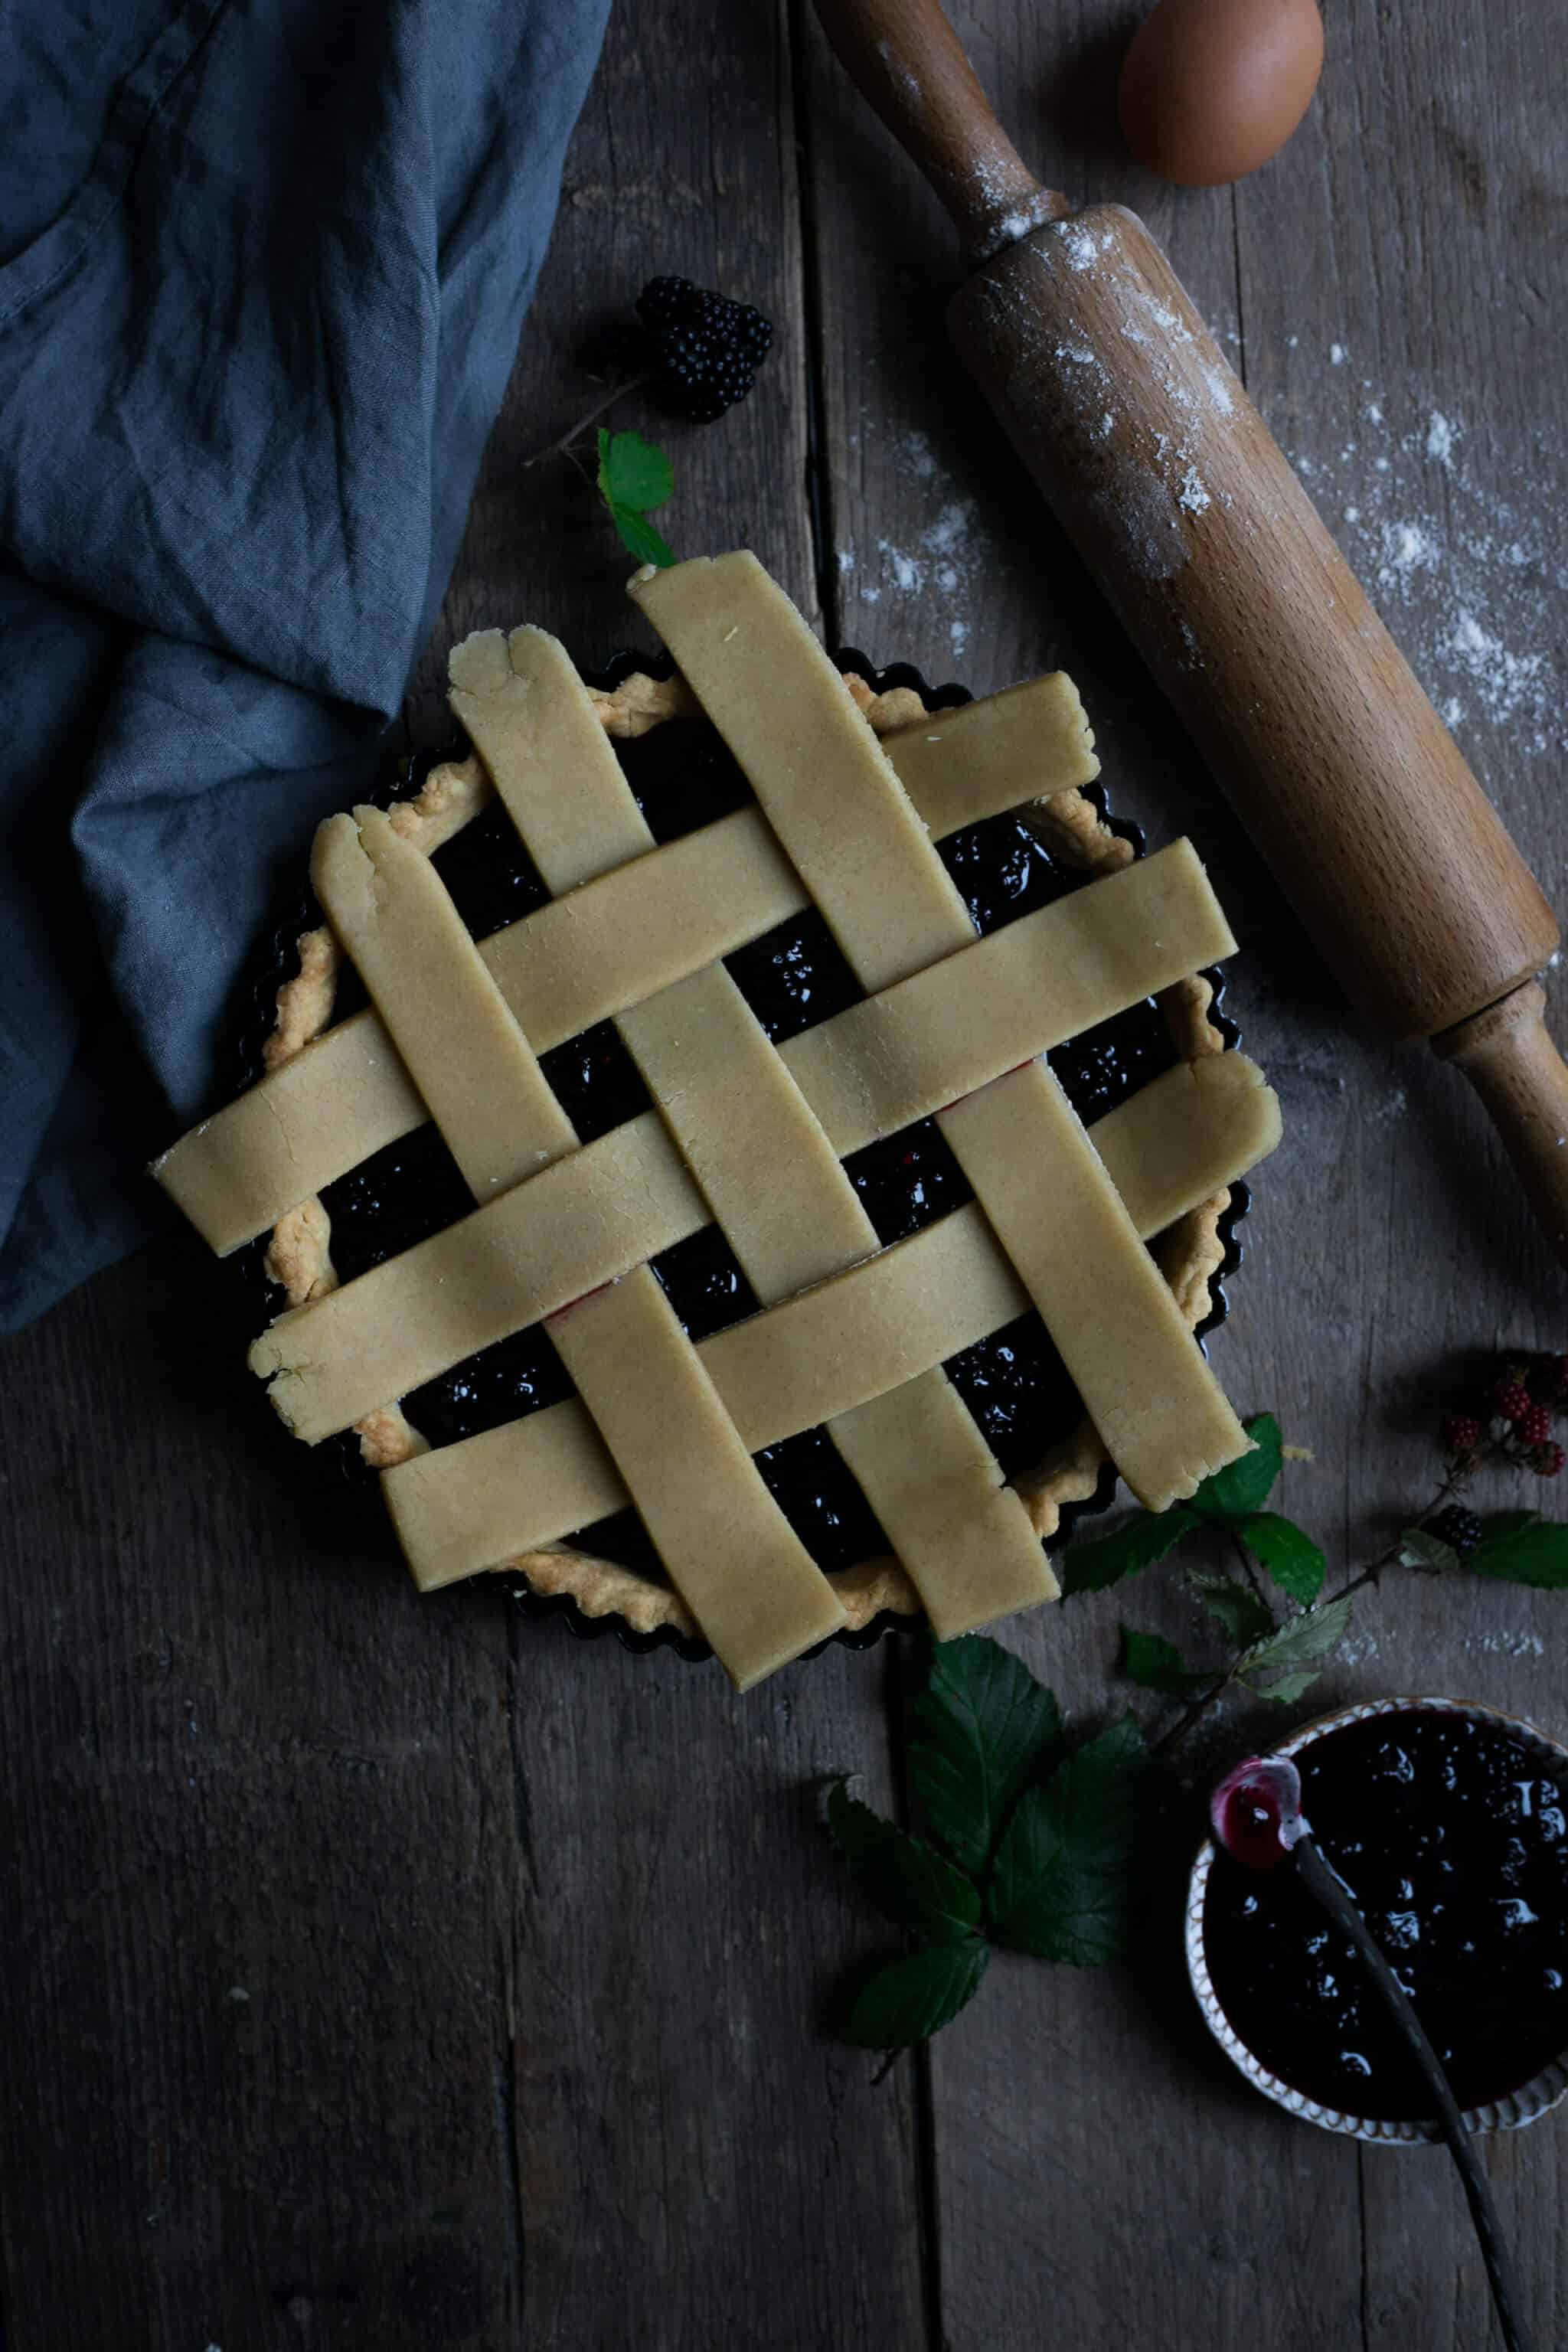
- Spoon the jam into the case, then roll out the rest of the pastry into a rectangle the thickness of 3-4 mm. Slice the pastry into 3cm thick strips, re- rolling if needed. You will need 6 strips. Lay the strips in a lattice over the pay (see recipe notes).
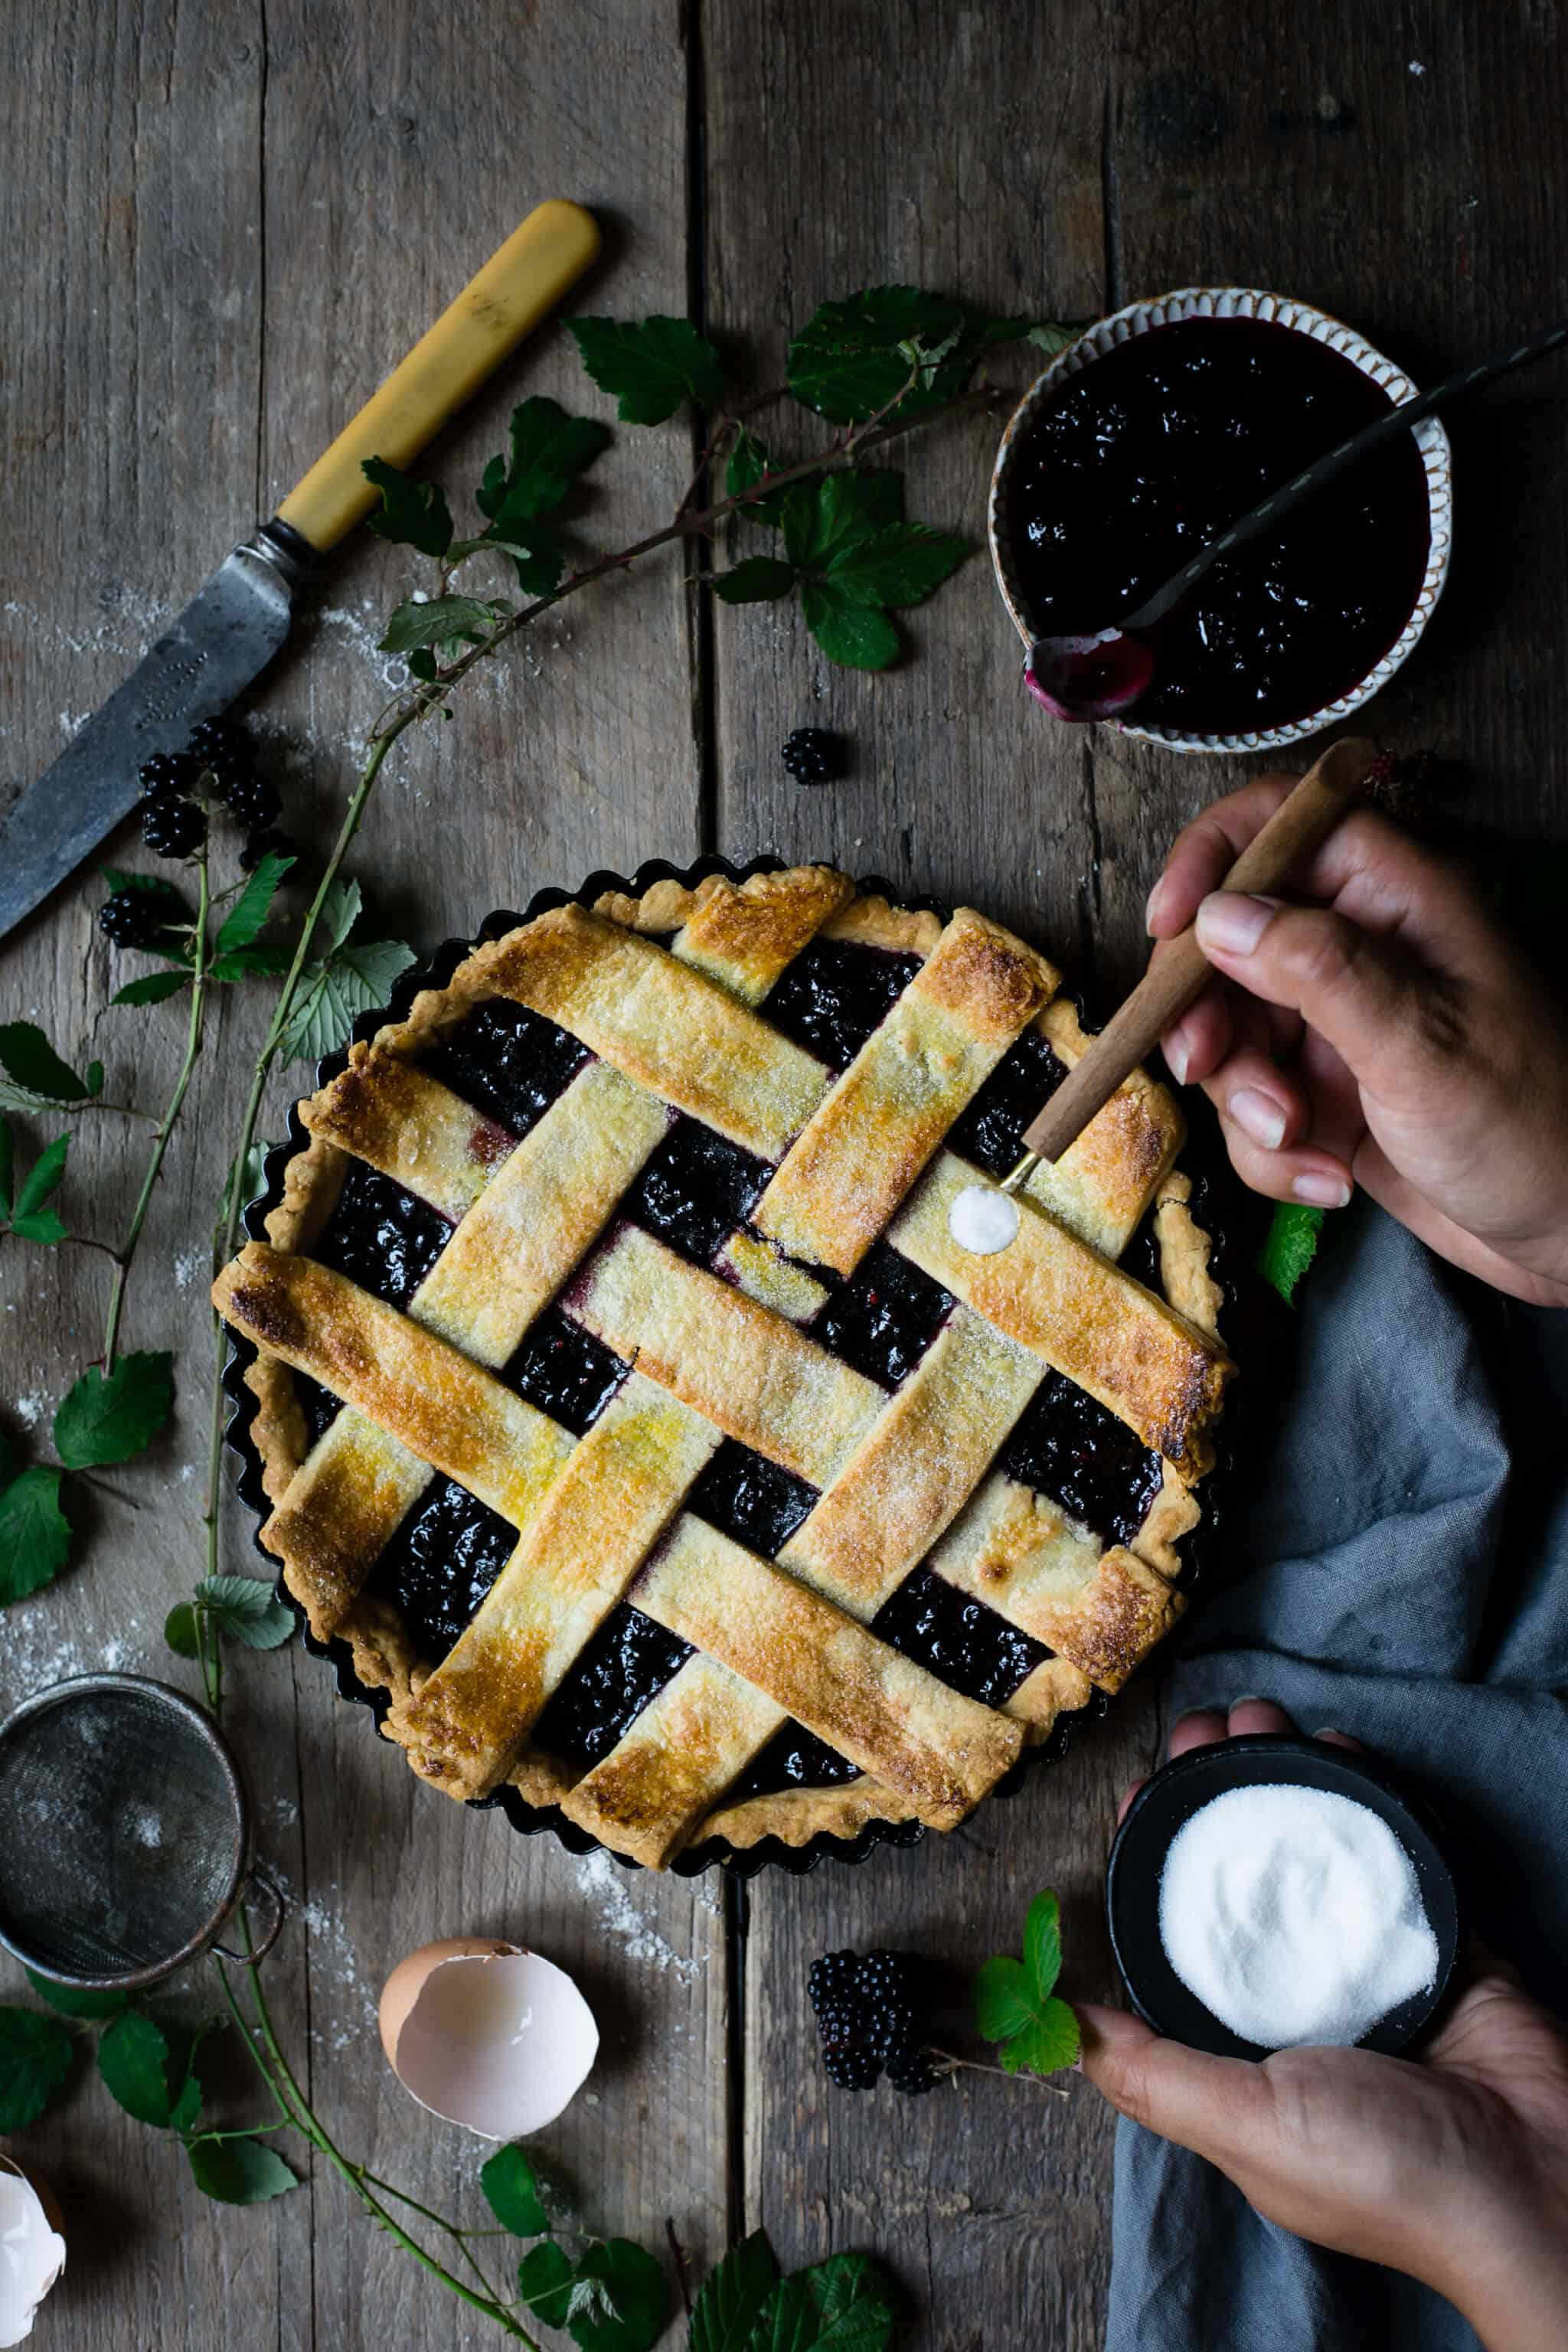
- Sprinkle the tart with caster sugar and bake for 25 minutes until golden brown. Set aside to cool to room temperature. Serve with cream or ice- cream.
Please note that all my recipes are developed and tested in metric grams. I recommend that you use digital scales for a more accurate results. I have provided a conversion to US customary in the recipe but please note that I haven’t tested using this method.
Notes
- You will need 23cm pie dish or tart tin and a kitchen thermometer (to jeck the jam temperature)
- You may want to use preserving sugar, as it sets the jam really well. Normal, white granulated sugar will also work, but I found jam not setting as quickly, and I ended up adding some agar flakes to it, just to thicken it a bit more
- To learn how to make lattice topping, watch this video
- To learn how to make even better lattice topping, watch this video


Tania | Fit Foodie Nutter
Well my dear, what can I say?! You have excelled yourself with this one! And so much so that looking at your stunning creation made me go blackberry picking after the school run... I have to give this one a go (and so does my daughter, who I'm sure will get so messy that there will be no time for a picture opportunity...)
PS A reminder for my future blackberry picking - to take the scissors with me! Love the beautiful flatlays with the braches. Absolutely gorgeous styling and photography, as always Anna! xxx
annabanana
Tania, you are literally the best! Thanks for all of your kind comments girl!
And I can't believe that I've prompted you to go blackberry picking! That is sooo cool 🙂
I'm one of these weirdos who carry a pair of scissors with me pretty much everywhere, because you never know when the pretty plants/ flowers/ or branches will come your way!
I really hope you will get to try this one, let me know what you think! Hugs! xxx
Barbara
That is one tasty pie Anna!
I've made it yesterday, followed the whole recipe, and watched the video for the lattice pattern.
You are right, it's not as difficult as it may looks, and the end result was just delicious!
We've served it with some hot custard, soooooo delicious! Thanks for sharing!
annabanana
Barbara, you have no idea how happy it makes me feel to hear that you are trying and enjoying the recipes!
I totally agree, lattice looks much more complicated than it it, once you see how easy it is done!
I didn't have any cream or custard to serve mine with (hence it's not on the photos 😉 ), but scoop of ice cream would be my ideal serving. Thanks so much for being here, reading along, and testing the recipes! xx
Tiffany
It's beautiful! And to think of all the effort that went in... You're so resilient, I would've called it a day as soon as it rained. Great job and awesome pictures!
annabanana
Tiffany, I'm so happy you like it! Thanks so much for stopping by and for your lovely words.
And yes, once I set my ind into something, it's hard to steer me away from it, even if it rains! 😉
Melissa
This is so beautiful, that lattice pattern is so creative! I'm gonna give it a try as well, although I'm sure it will not look as good as yours!
Love the pictures!
annabanana
Thanks so much Melissa! Your so kind with your great feedback! And trust me, it's so easy to make, just looks like it could be tricky, but it's not at all! Let me know if you make it! x
Jo
Wow, wow, wow!!!!
You have outdone yourself with this one Anna! First time making lattice tart? This looks like you've been doing it your whole life! 🙂
Beautiful work, can't wait to try this! So seasonal too!
annabanana
Thanks so much Jo!
You're always so kind and full of positive feedback, I may have to bake you one of these! ???? xxx