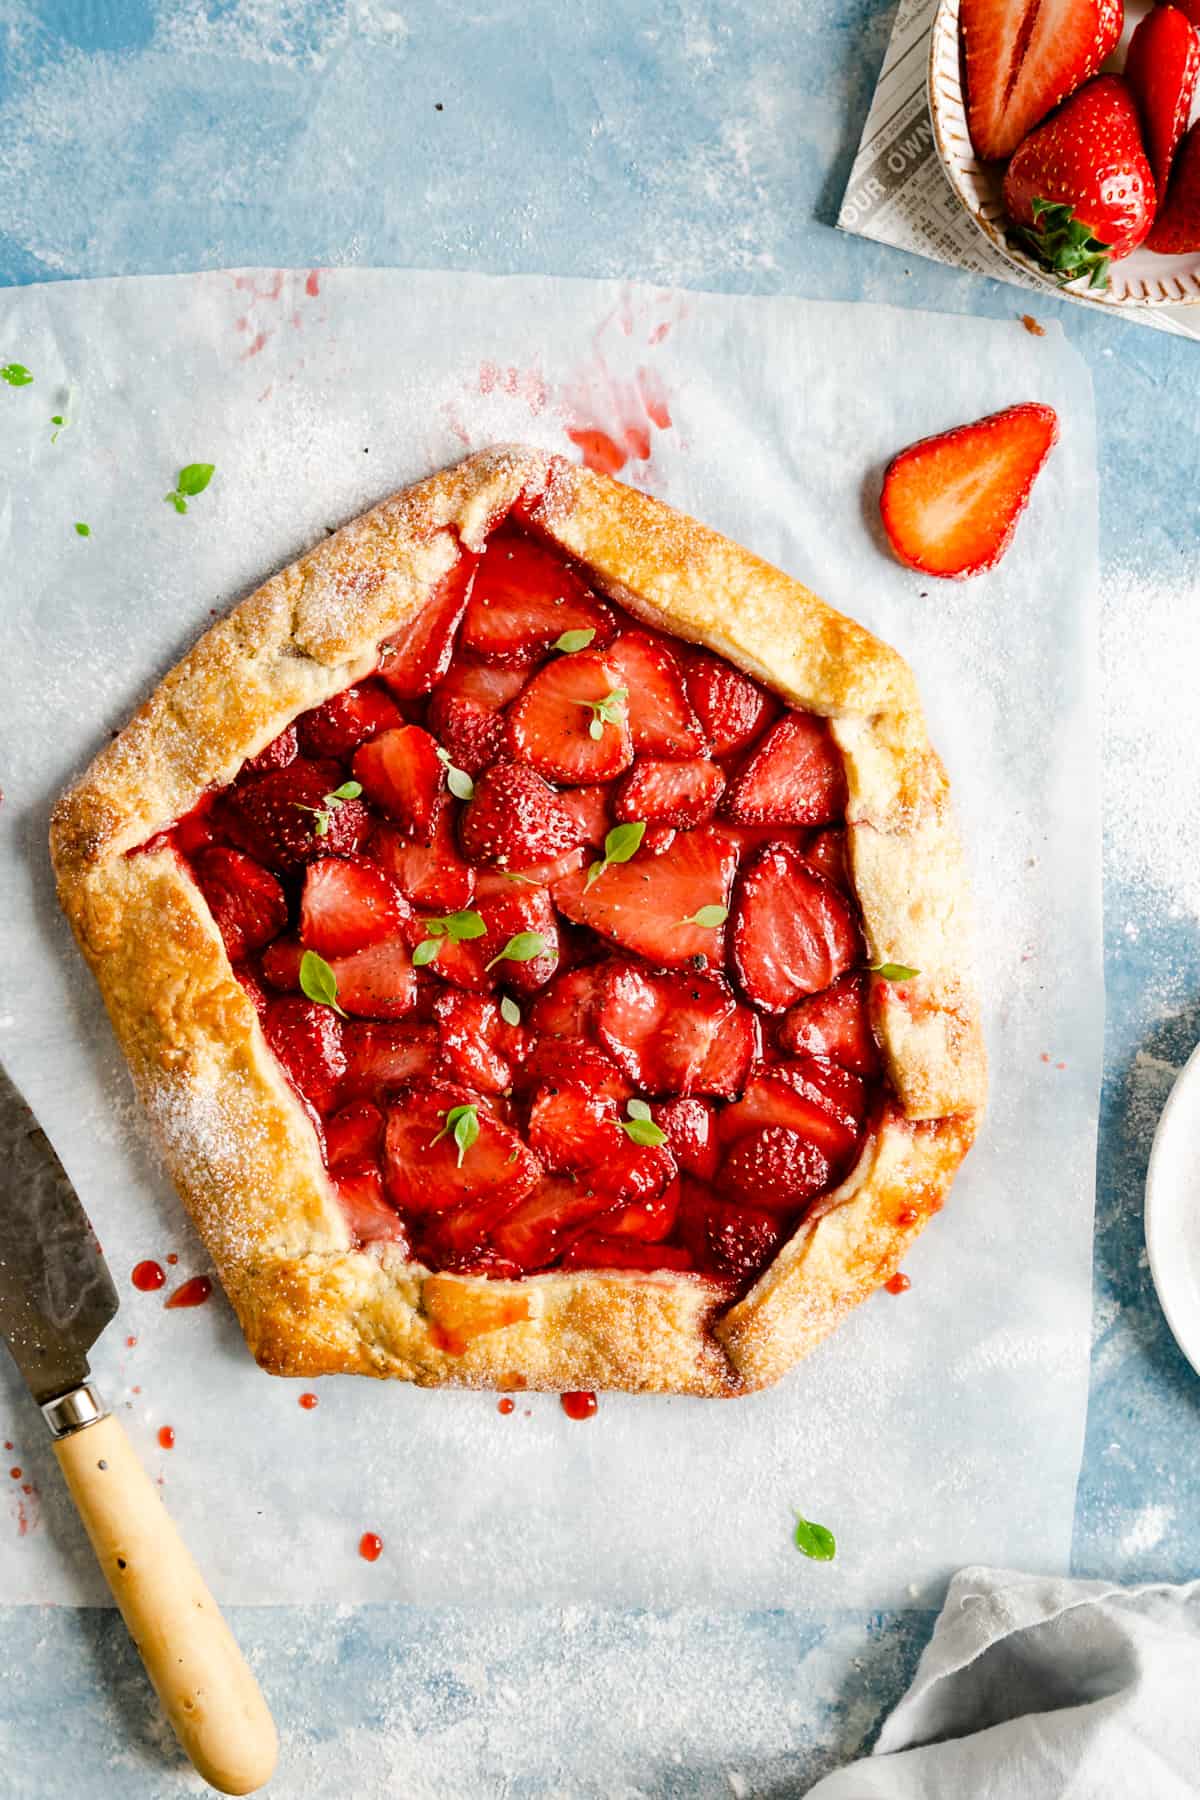
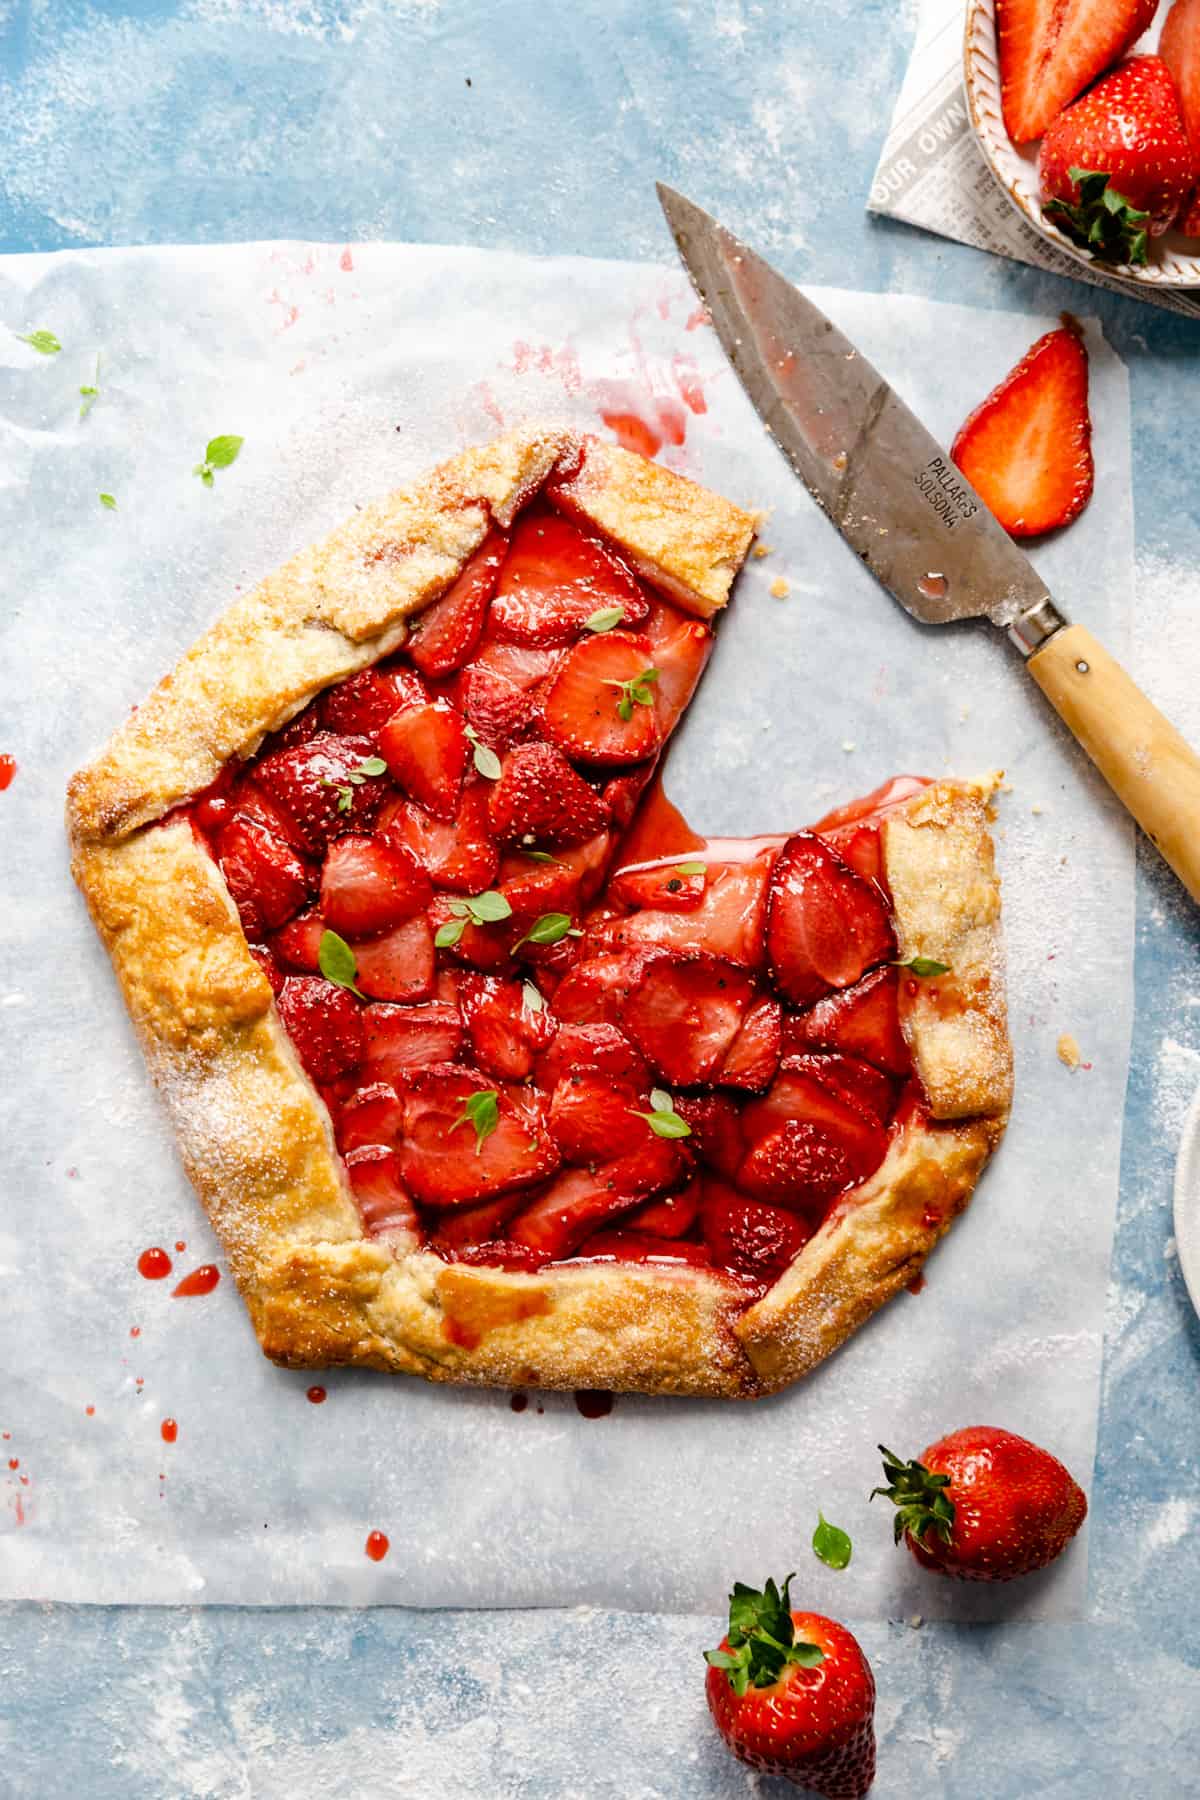
This classic strawberry galette will quickly become your favourite summery treat! It's an easy and very forgiving bake, perfect with any seasonal fruits or berries!
Happy June folks!
I honestly can't believe we are in June already, half way through the year, just like that! May disappeared even quicker than it appeared and we are now heading straight into the Summer...
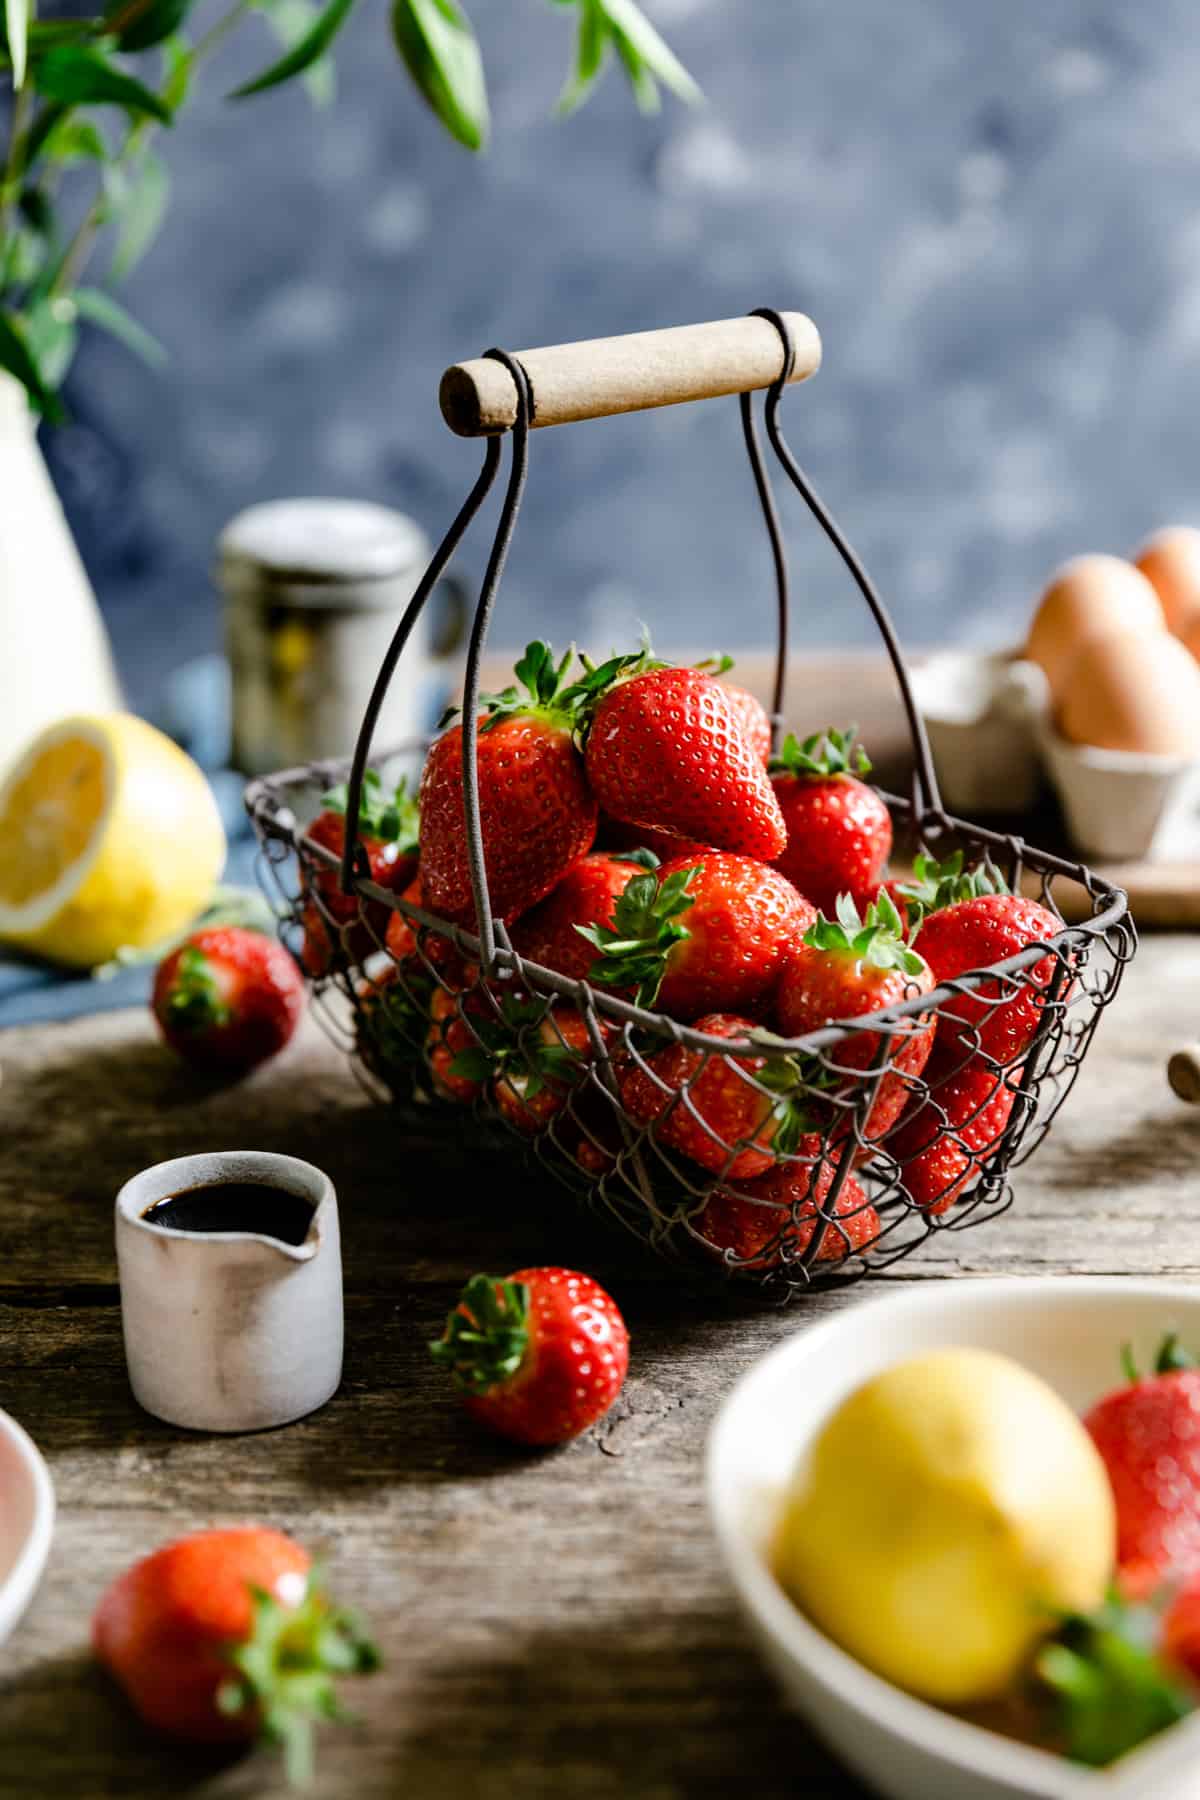
Speaking of which, Summer means that all of the juicy, sweet and utterly delicious berries are popping everywhere! So I have just a perfect recipe
to share with you today, in order to celebrate all these seasonal fruits and berries!
Classic strawberry galette- perfect bake for summer!
Just like my Strawberry Pavlova and my Summer Tomato Galette, this strawberry galette is a perfect treat for this time of the year. If you are not familiar with galettes, let me quickly bring you up to speed. Galette in French or crostata in Italian, is basically a flat cake made from short crust dough and filled with sweet or savoury filling. They are incredibly easy to make and can be prepared with pretty much any fruit you have on hand. Think of them as of a pie, but in much simplified version!
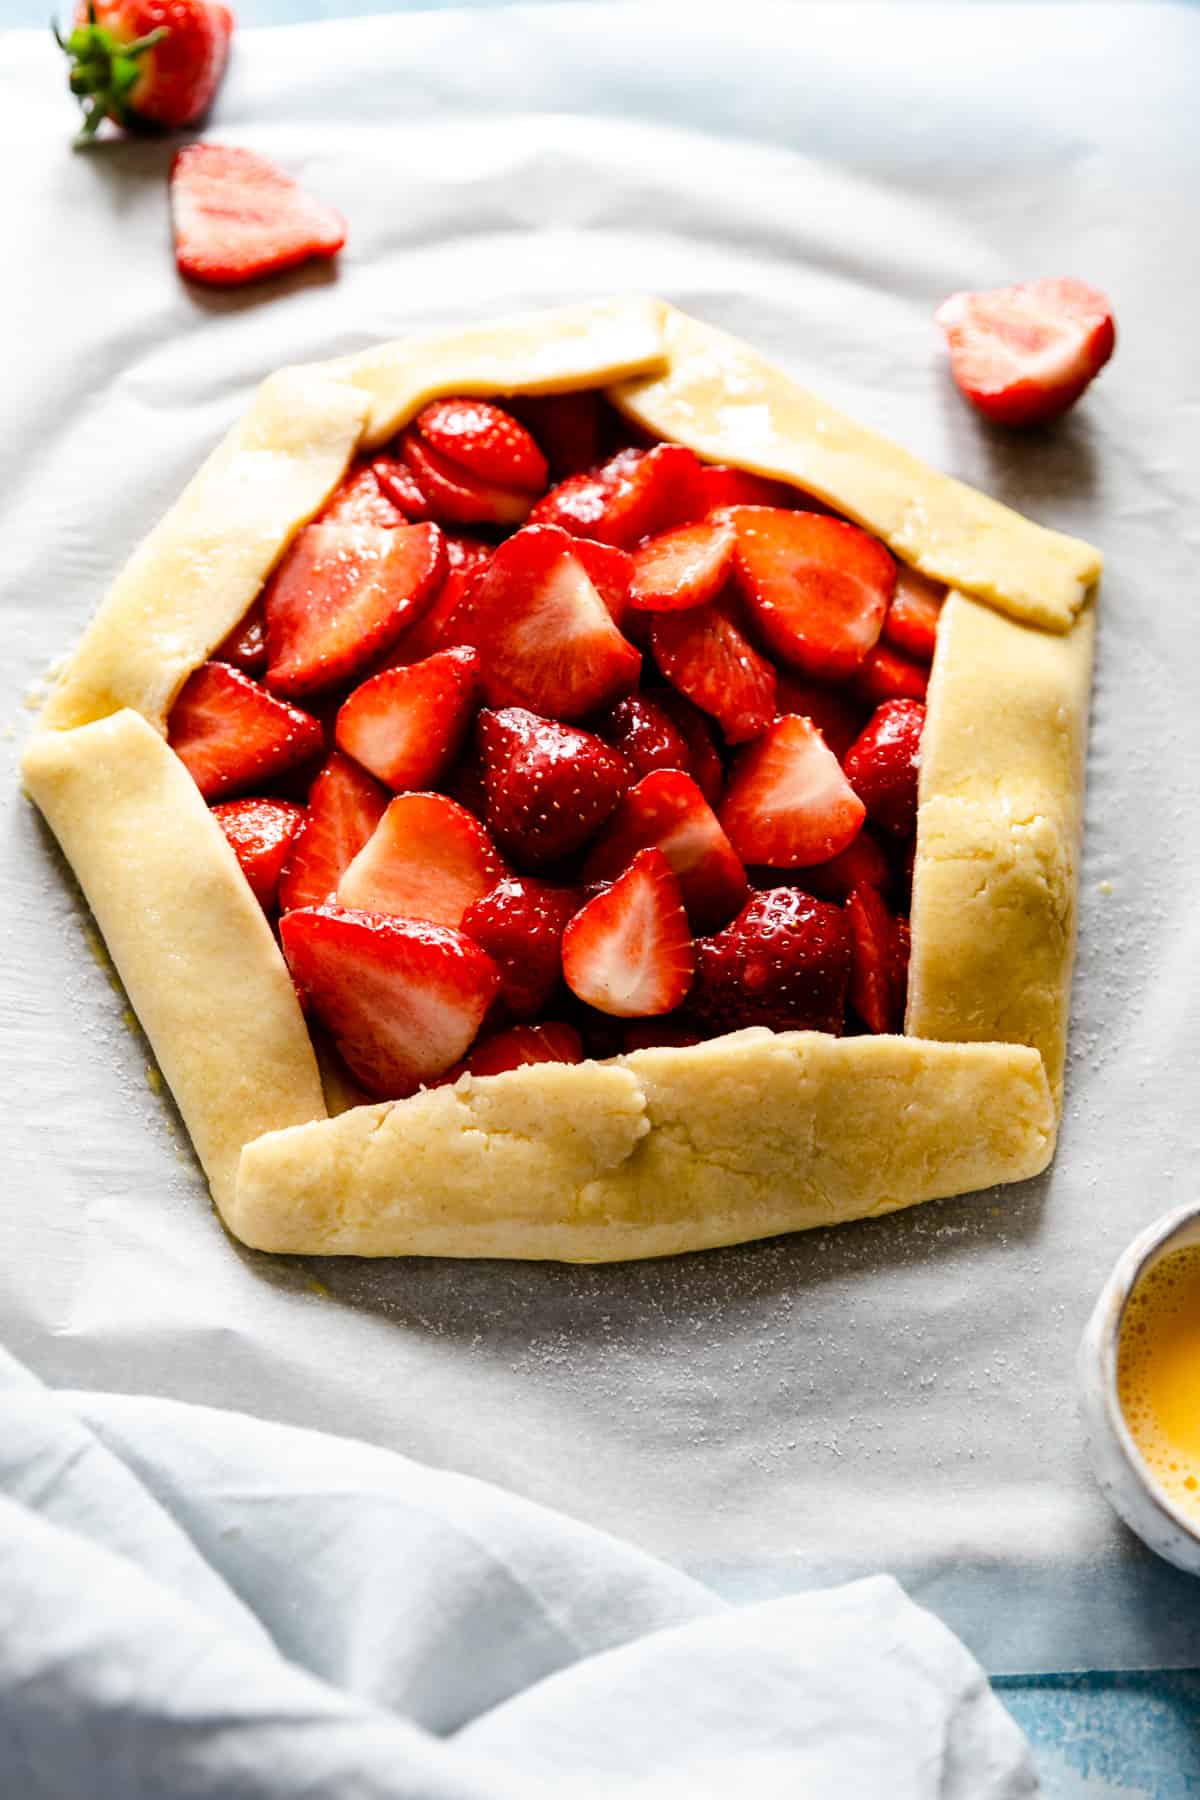
They're ideal summery dessert. Quick, light and easy. Only a handful of ingredients and minimal effort required to make one. Honestly, galettes are hard to mess up, making them perfect for any beginner bakers!
What do I need to make galette?
Luckily, not much! Let's start with the crust. As always, you have options. There is a shop-bought, ready made shortcrust pastry that you can use in this recipe, which will do just fine. If you want to make your own, it is a simple combination of flour, sugar, salt, butter and water. For the filling, you will need some fresh strawberries (or any of your favourite fruit), a bit more sugar and vanilla. I like to add some black pepper and basil leaves to strawberries, but they are totally optional.

How to make strawberry galette:
First things first. Make sure your butter and water are super cold. I recommend placing the butter in the freezer for about 10 minutes. Pour the water into a measuring jug or into a cup and add few ice cubes into it. Measure the required amount just before pouring it into the dough mixture. Keeping the dough as cold as possible will prevent the fat from melting too soon. If the butter is too warm, the dough will loose its structure and flaky texture.

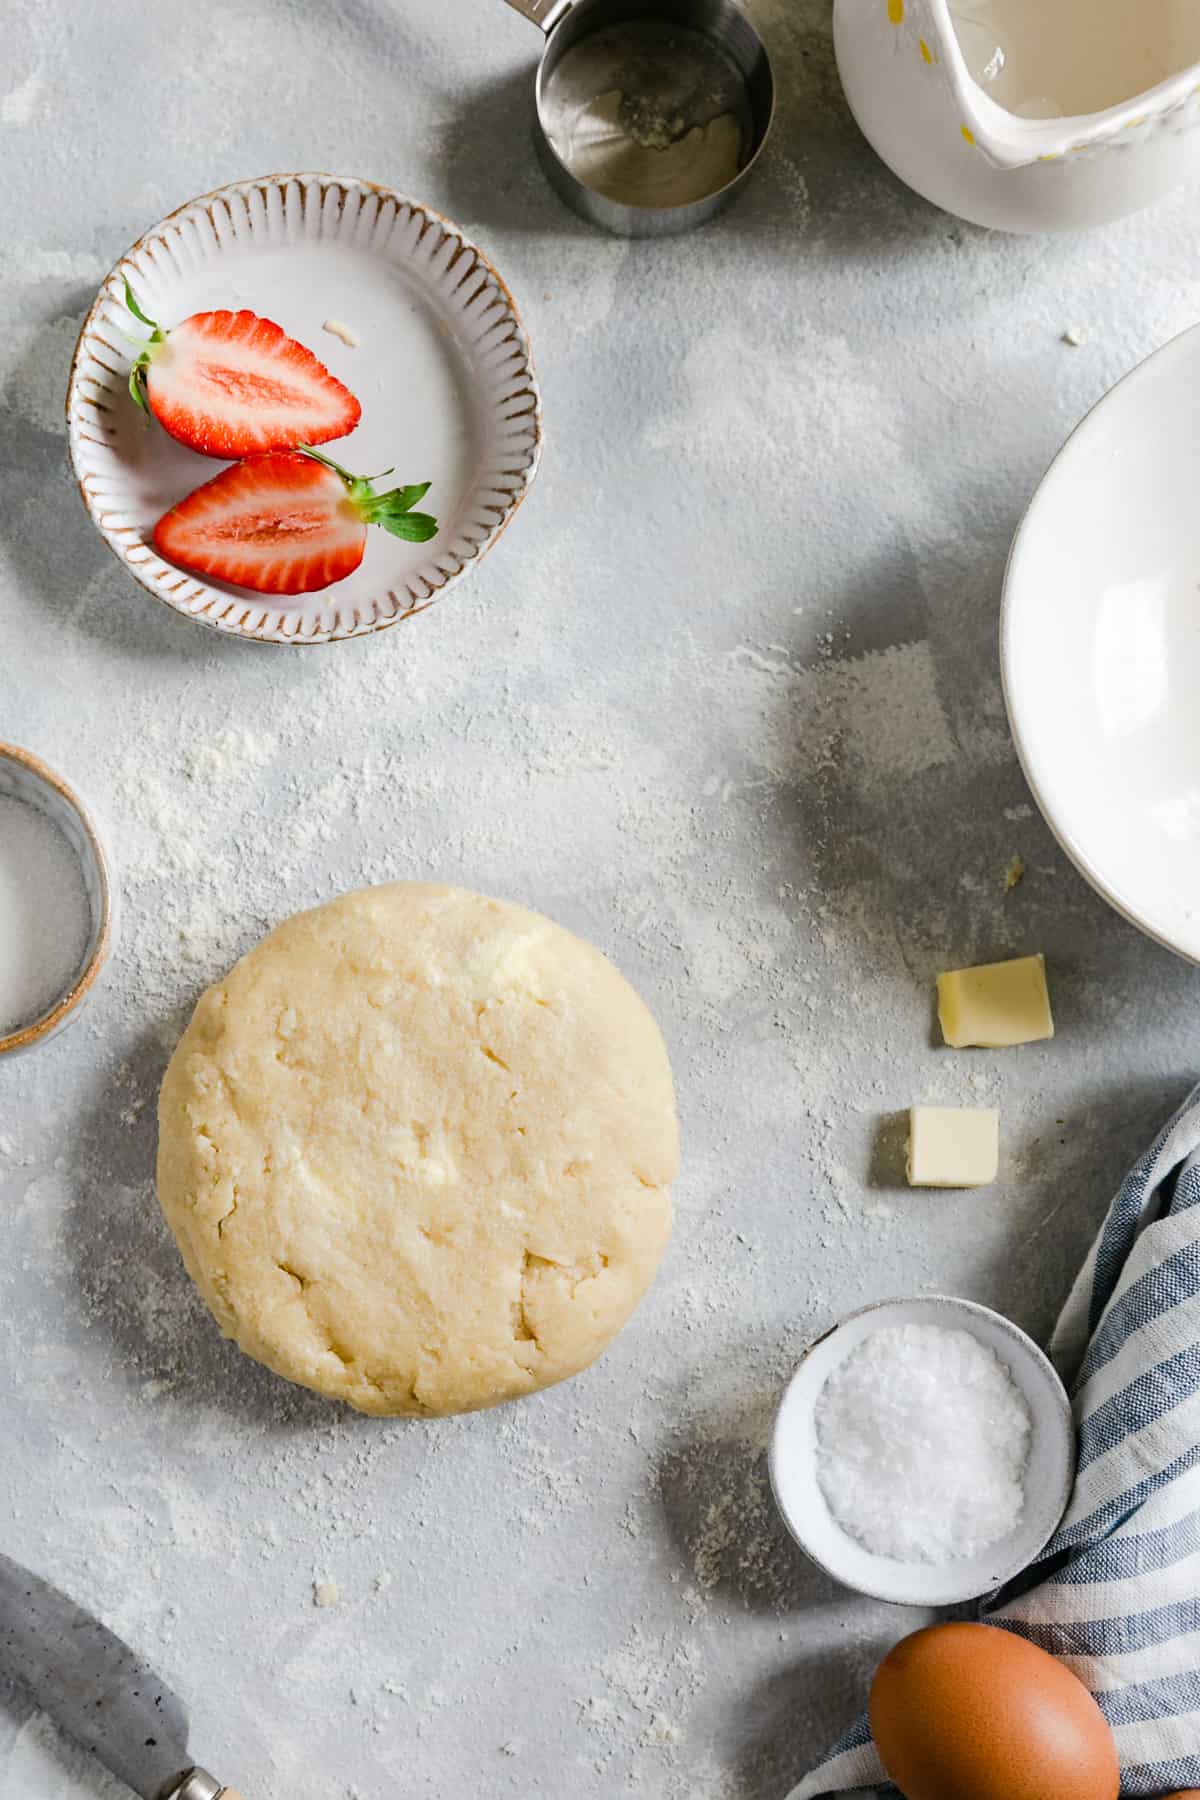
To make the crust, simply mix the flour, sugar and salt together. Add cold, diced butter and work it into the dough until it resembles medium breadcrumbs. Next, add water, a bit at the time until the dough begins to come together. Roll it into a ball then into a thick disk. Cover it in plastic wrap and place in the fridge for an hour.
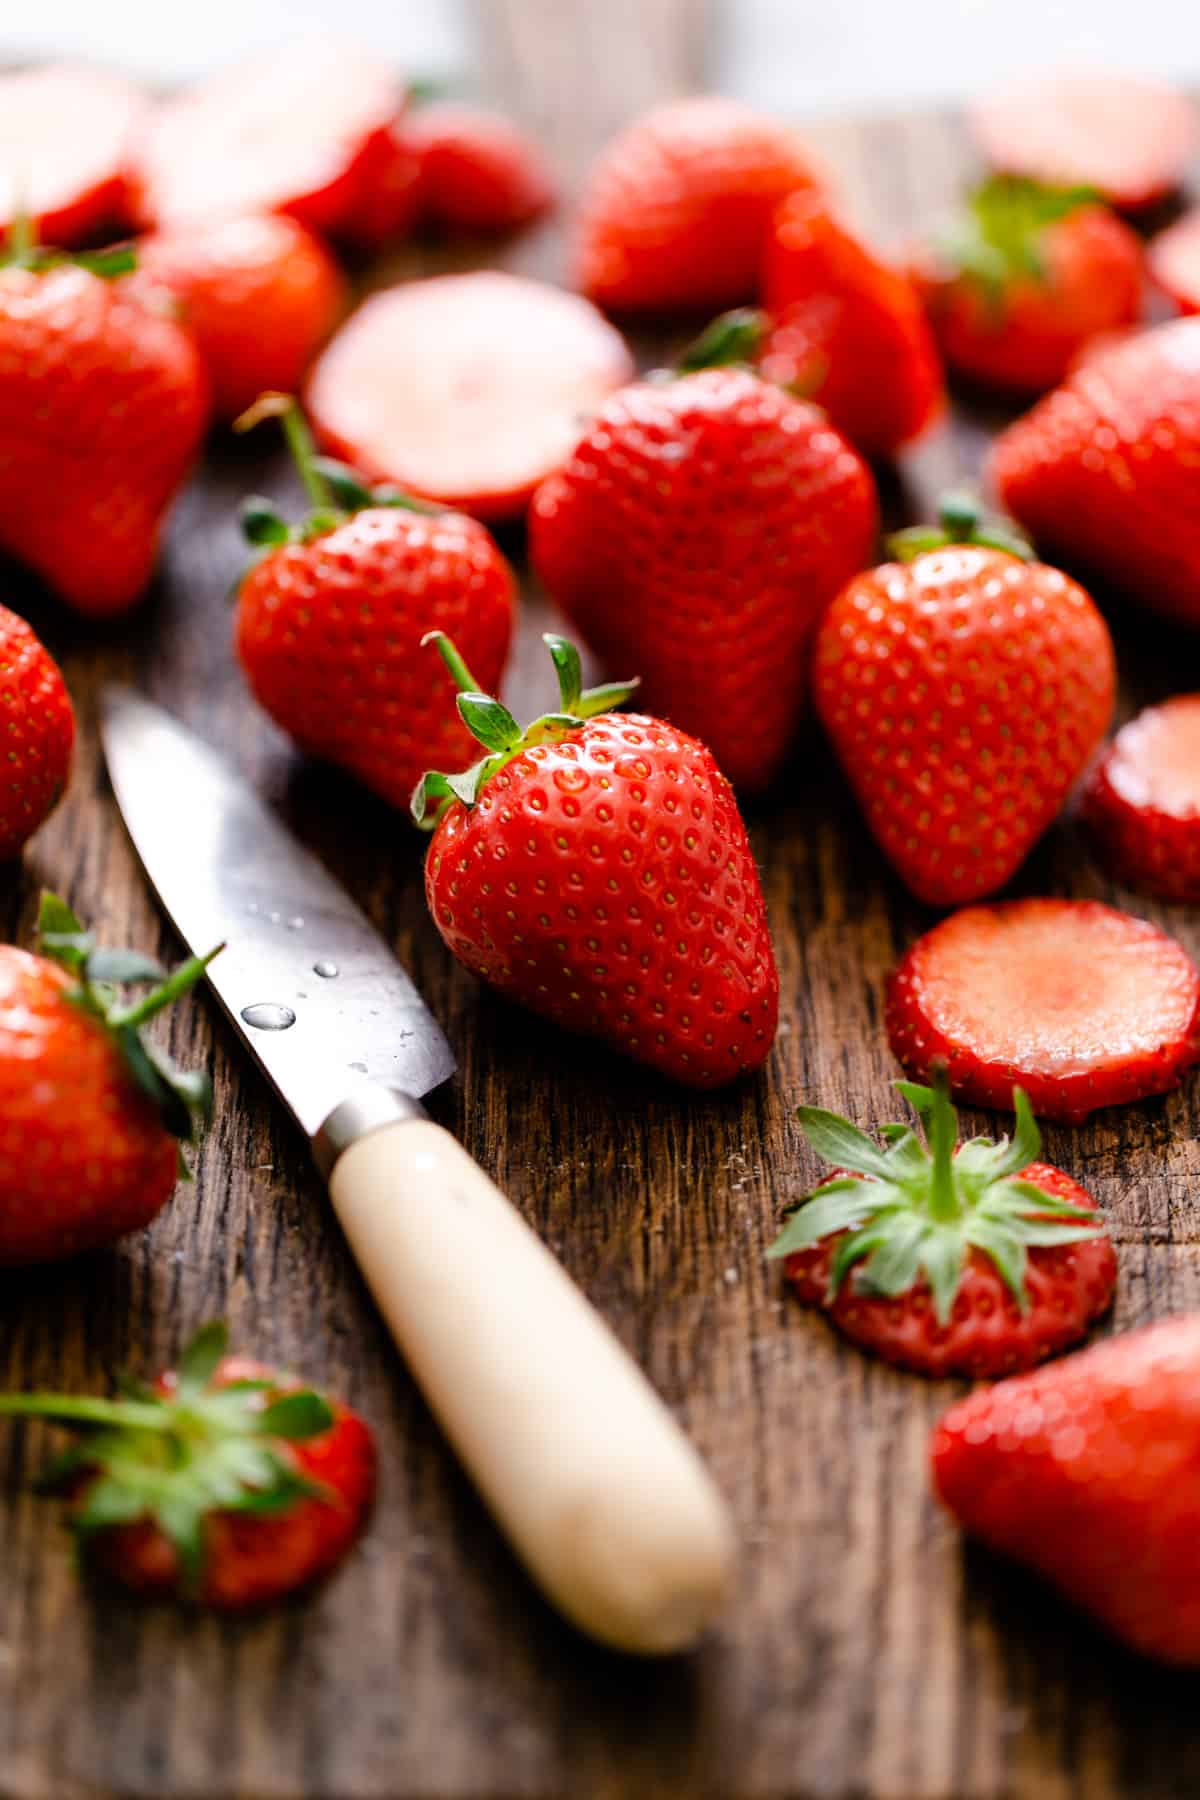
In a mean time, prepare the filling by sprinkling the sugar over sliced strawberries. Mix in the vanilla and set it aside. The sugar will cause the strawberries to release the lovely juices, which are great drizzled over the baked galette.
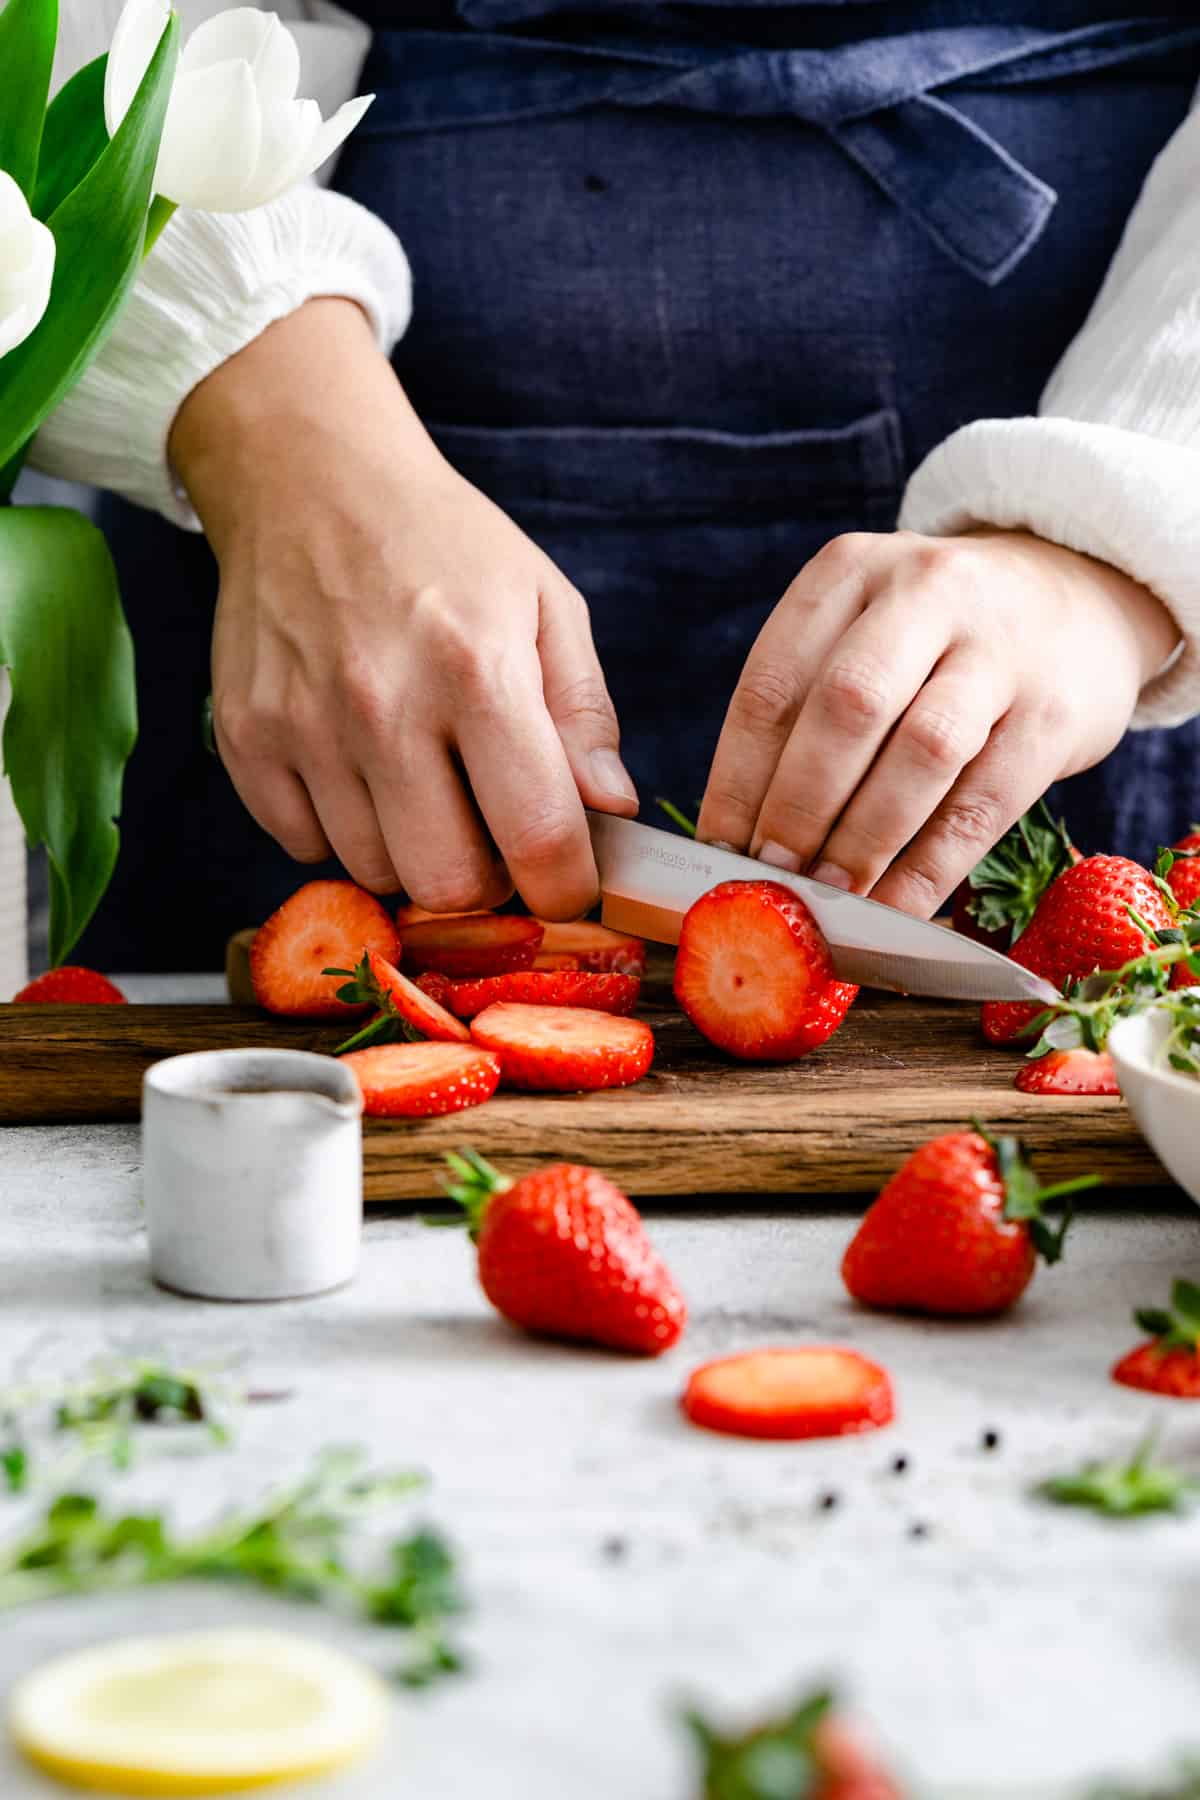
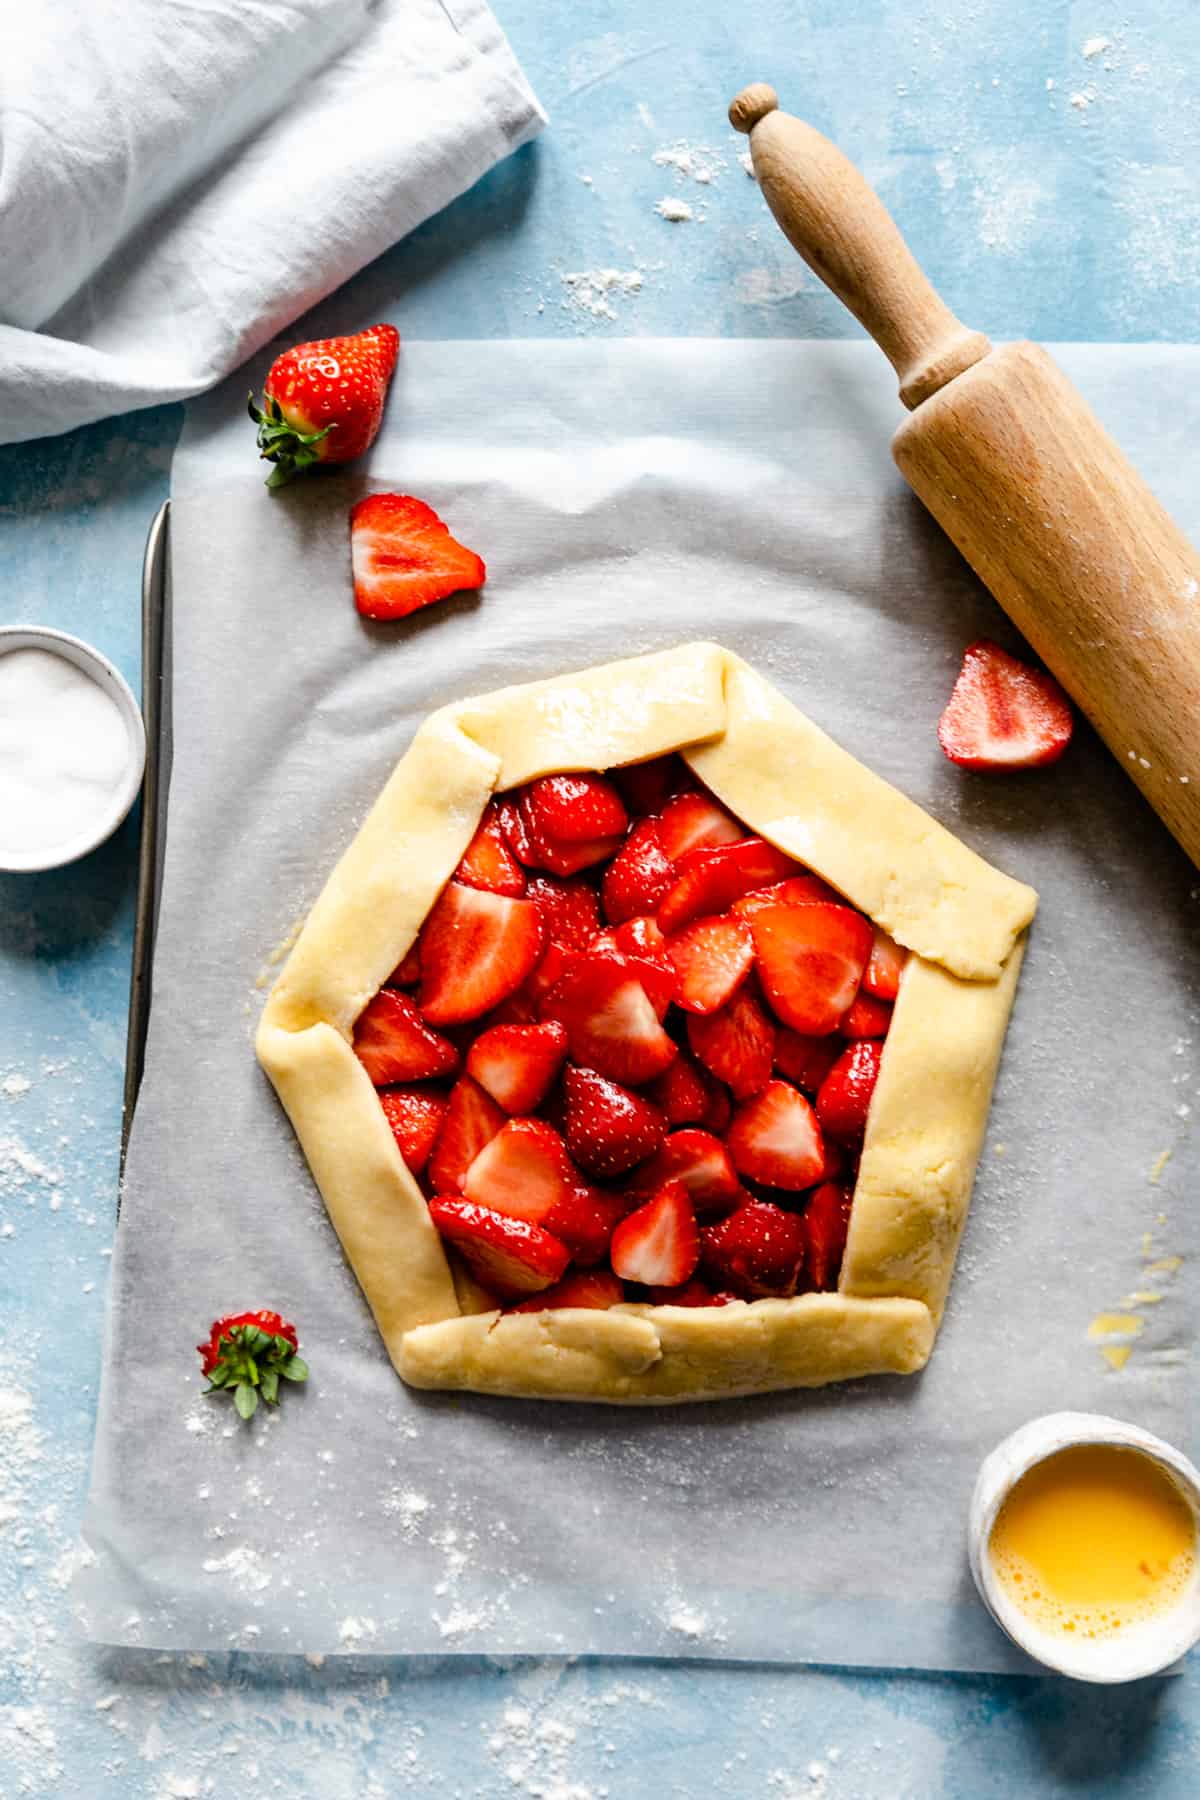
Once the dough is chilled, roll it on the lightly floured surface into a circle, about 30cm in diameter. If you want to achieve the perfect circle shape, simply use a dinner plate. Place it on top of the dough and run the knife around it. Transfer the dough onto baking tray and spoon out the strawberries into the middle of it (leave the juices for now, you will use them later). Make sure to leave about 5cm boarder, then fold the dough around the fruit and gently press to seal the edges.
Baking the galette
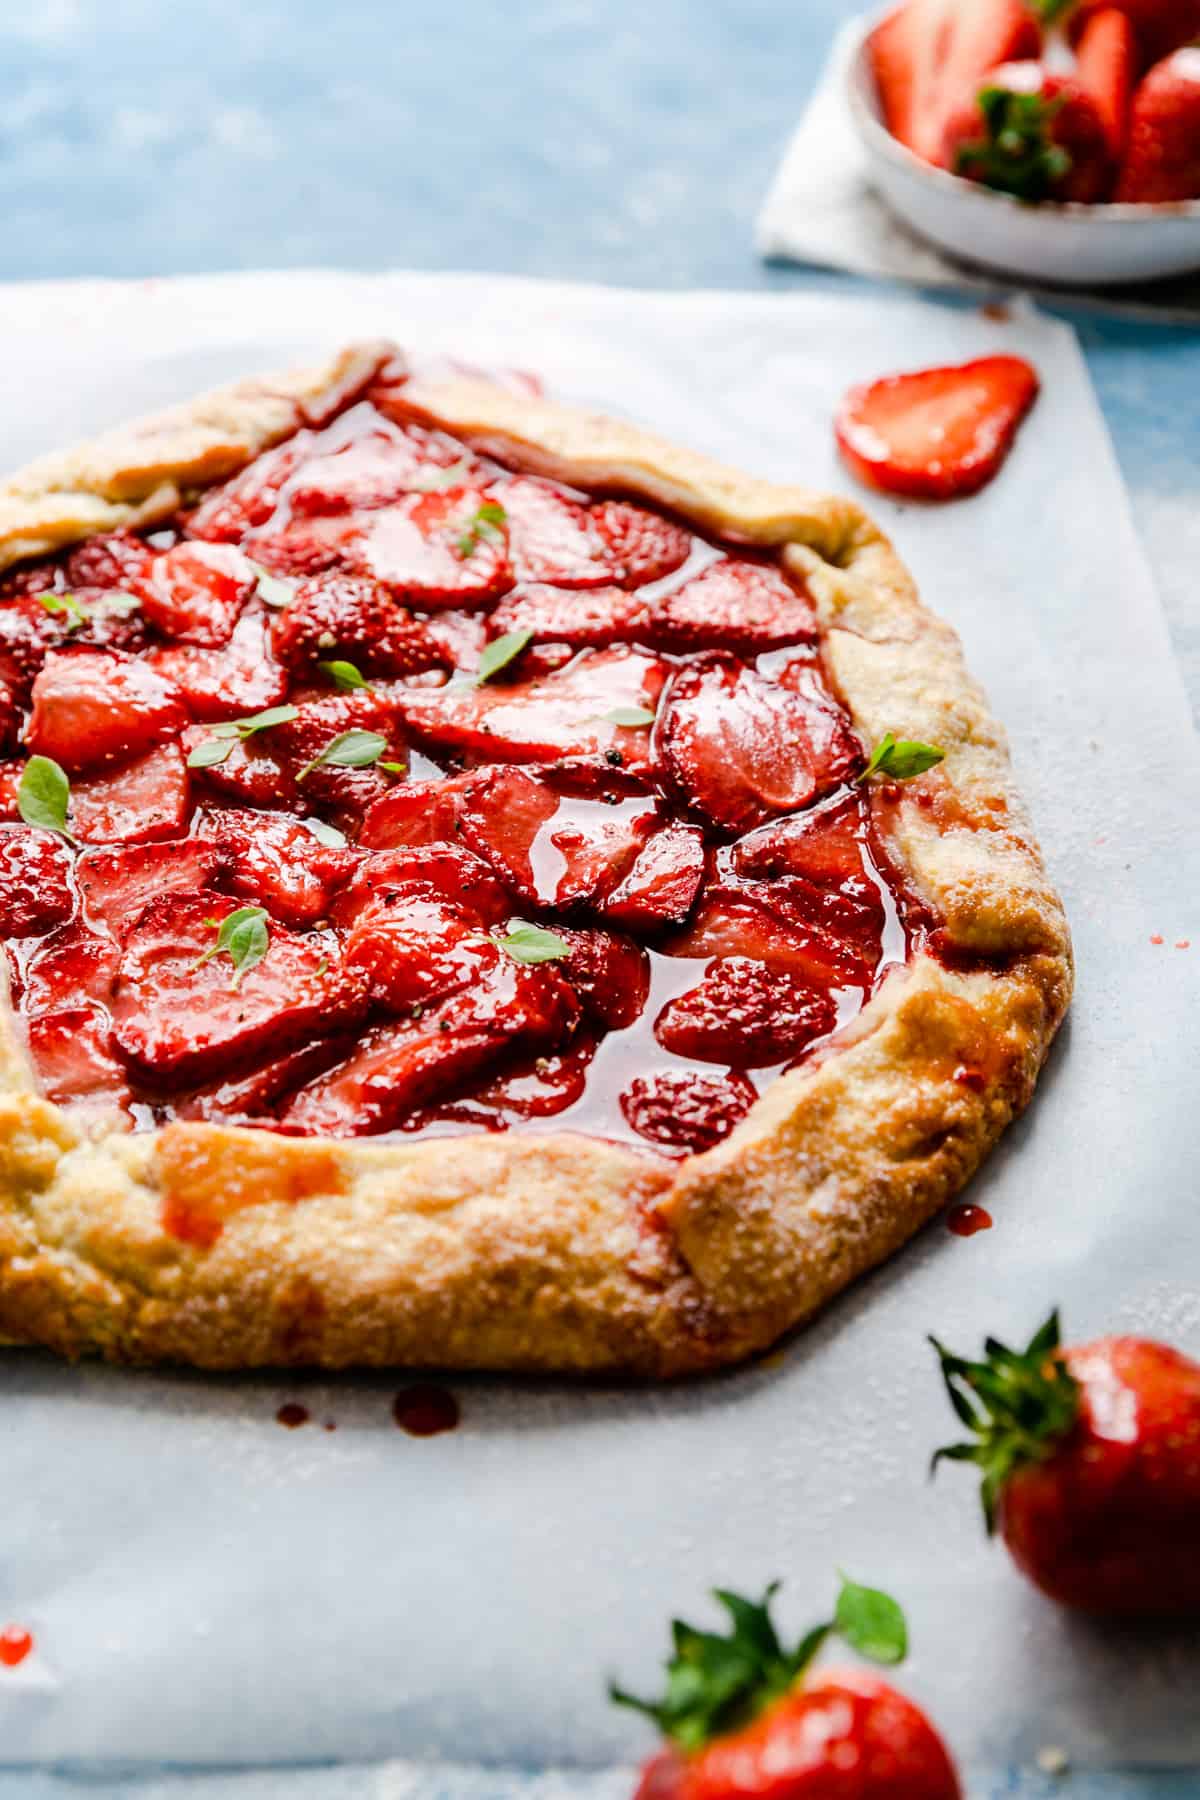
Once the galette is ready to be baked, brush it with an egg wash to get that rich, golden brown glaze. Finally sprinkle it with some more granulated sugar, it will add some nice crunch to the crust! Bake it at 180C (fan) for about 25-30 minutes until the crust is golden. Take it out of the oven, drizzle the galette with some of these juices reserved earlier from the strawberries and add a pinch of black pepper (optional, but highly recommended!). You can also scatter some fresh basil leaves on top. Strawberry galette can also be topped with simple sugar glaze or vanilla ice cream.
As always, thanks for reading today's post! Let me know if you try this, or any other of my recipes. Also, feel free to leave me a comment below and don't forget to follow me on Instagram, Pinterest or Facebook!
Have a great week ahead and talk soon!
📖 Recipe
Classic Strawberry Galette
Ingredients
For the crust:
- 190 g all purpose flour
- 50 g granulated sugar (plus 1 teaspoon extra for sprinkling)
- ¼ teaspoon salt
- 120 g cold butter (diced)
- 60 ml ice cold water
- 1 small egg (beaten)
For the filling:
- 400 g fresh strawberries (sliced or cut into quarters)
- 30 g granulated sugar
- 1 teaspoon vanilla bean paste (optional)
- 1 small pinch of freshly grounded black pepper (optional)
Instructions
- To make the filling, mix all the ingredients together in a medium bowl and set aside.
- Prepare the crust. In a large bowl, mix together the flour, sugar and salt. Add butter and using a knife or your hands, work the butter into the mixture until it resembles medium breadcrumbs (about pea-sized). Add ice cold water and knead it all together briefly, until the mixture forms dough. Roll the dough into a small ball, flatten it into a thick, disc-like shape and wrap in some cling film. Place in the fridge for an hour.
- Preheat the oven to 180C and line a baking tray with some baking parchment.
- Roll the dough on a lightly floured surface into a circle (roughly about 30 cm). Use a dinner plate if you wish to trim the edges into an even shape and cut around it. Transfer the dough into a baking tray.
- Spoon out the strawberries, (reserve the juices) into the middle of the dough, leaving about 5cm boarder around. Gently fold the edges of the dough over the fruit and press to seal. Brush the dough with an egg wash and sprinkle with some granulated sugar. Bake for about 25 minutes until the crust is golden brown. You can add a small pinch of black pepper on top of strawberries if desired. Allow the galette to cool slightly before serving.
Please note that all my recipes are developed and tested in metric grams. I recommend that you use digital scales for a more accurate results. I have provided a conversion to US customary in the recipe but please note that I haven’t tested using this method.
Video
Notes
- Make sure your butter is super cold! It's crucial to ensure the crust will have the right texture. Place the butter in the freezer for 10 minutes before using it in the recipe.
- Ensure the water is ice cold too. Place few ice cubes into your measuring cup/ jug.
- You can top the galette with some vanilla ice cream or simple sugar glaze.
- You can also add some fresh basil leaves to the baked galette.
If you enjoyed reading this post, make sure to sign up to my newsletter and receive any future posts and recipes straight into your inbox!


Elmira
Baked galette for the first time. Delicious, juicy, soft and crunchy crust. An absolute delight! Thank you Anna for this wonderful simple recipe!
Anna
I'm so happy to hear that Elmira! Galettes are a great to use up any seasonal fruit, or veg (in a savoury version). Thanks for trying and enjoying the recipe!
Erica
Hello, how many days ahead can I make the dough and store it? And how should it be stored if I can make it ahead of time?
Also, some recipes seem to use corn starch to soak up the juices so they don’t leak out while baking - yours doesn’t need this so does this not happen?
Anna
Hello Erica, the dough can be made up to 3 days in advance and stored in the fridge. You can also freeze the dough for up to 2 months and thaw it overnight in the fridge. When preparing the strawberries, once you mix them with sugar, they will release most of their juices then. I normally just spoon the strawberries and reserve the juices for serving. You can add small amount (about 1 Tbsp) of corn starch, if you'd like, but I never do that with this recipe.
Amy Roskelley
Thanks for the tips! I need to make sure my butter is cold!!
Anna
Pleasure all mine Amy! Let me know how did you get on!
Layla
this is amazing!! i used half fresh strawberries and half frozen, and still worked amazingly
sooooo delicious
Anna
Hey Layla, thanks so much for your lovely review, so happy to hear that you tried and enjoyed this recipe!
Liz Cleland
I love strawberry pie and this is so very similar. I have to try this out at our Summer time parties!
Neha
Such a pretty and vibrant dessert incorporating the best of summer fresh berries. Now I need to bake galette too, I am seriously drooling over your pics!
annabanana
Aww thank you kindly, Neha! I'm very happy to hear that you like the recipe and really hope you will try it soon!
Jo
This galette screams summer all the way. Looks absolutely delicious! Would be a wonderful dessert on the BBQ table. Looks beautiful
annabanana
Thank you so much Jo! It is my favourite summer bake, perfect to end the BBQ with!
Charity
So beautiful Anna! You always make me drool! Can't get enough strawberries this time of year, so you know this recipe is next on my list!
annabanana
hehe, thank you so much Charity! I'm glad to hear that! And yeah, same here, can't get enough of these juicy berries at the moment, already stocking up my garage freezer with some for this winter!
Amanda
I love galettes, and this recipe is fantastic! It's so easy to make and takes little time to prepare. What a great way to enjoy summer strawberries. Thanks for sharing!
annabanana
Glad you like it so much Amanda! Anything that requires minimum effort and delivers max result is always a winner in my book! Thanks so much for stopping by!
Cathleen @ A Taste of Madness
I have never made a galette myself, but it looks so gorgeous I don't know what is stopping me!! That's a good tip about putting the butter in the freezer!
annabanana
Thanks so much Cathleen! If you never had galette before, you are up for a treat! They are delicious bakes, and really worth making! Yes, super cold butter is a must, just like the ice-cold water. Hope you will try it soon!
Marisa F. Stewart
We love our rustic dessert such as galettes. Your strawberries look so plumb and juicy, so full of the berry flavor. Your photos are spectacular.I can't wait for the strawberries to get here so I can make this dessert. Love no fuss treats that are fruit inspired.
annabanana
Hey Marissa! Glad you like the recipe and the photos, thanks so much! Galettes are perfect for summer, whatever seasonal produce you have, they can be made with it! I also love making savoury versions with tomatoes or zucchini! Hope you will get your hands on some juicy strawberries soon!
Julie
Your galette is so beautiful! I always think of them as being so rustic and misshapen, but yours is perfect!
annabanana
Hi Julie, thanks for your comment. Yes, galettes can be the most forgiving of bakes, as even if it looks very rustic and 'rough around the edges' they always taste delicious!
Jordan
This combines two of my favorite summer foods – strawberries and galettes. So it's basically the perfect summertime dessert! Can't wait to try it. 🙂
annabanana
Thanks so much Jordan! Galettes are just perfect for this time of the year, take minimum effort and always great taste! Glad you like the recipe!
Sharon
What a beautiful dessert using all the bounty that the season has to offer. The crust looks so flaky and delicious. Looks so good!
annabanana
Thank you Sharon!Galettes are perfect way to use seasonal berries, and homemade pastry is always a winner in my book! Hugs!
Gloria | Homemade & Yummy
Loving the look of this rustic dessert. What a great way to showcase fresh berry season. The perfect ending to a bbq meal.
annabanana
Hey Gloria, thanks so much, this would be a perfect pud to serve after bbq for sure! With compulsory glass of wine of course! 😉
Kylie | Midwest Foodie
I can't wait until the farmer's are selling their fresh strawberries on the street corners - SOON! This will be number one on my list of "must make" summer recipes when the berries are in season!
annabanana
The strawberry season is in full swing over here already (although its been raining for all of this week so far!), and I can't wait to go to my local PYO farm next week to pick some more! I'm so glad to hear that you like this recipe Kylie!