
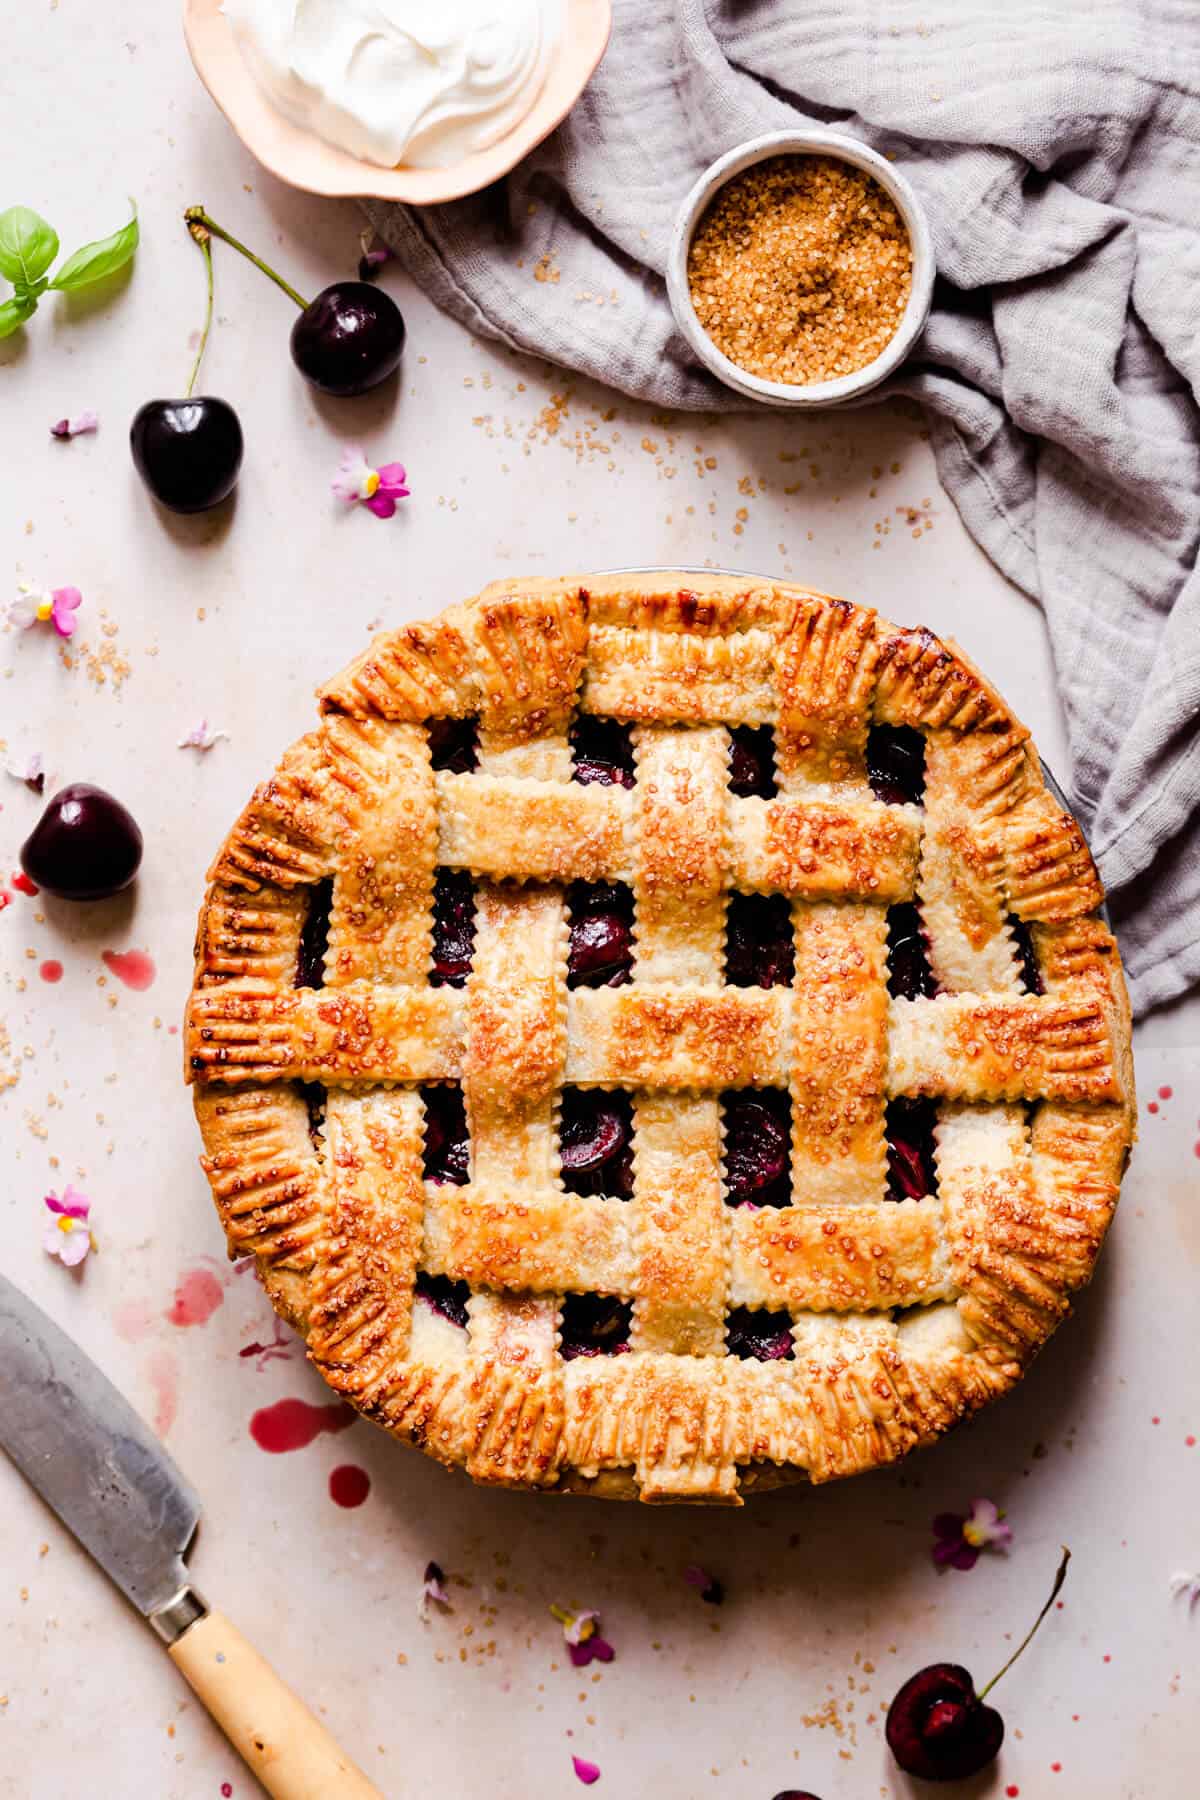
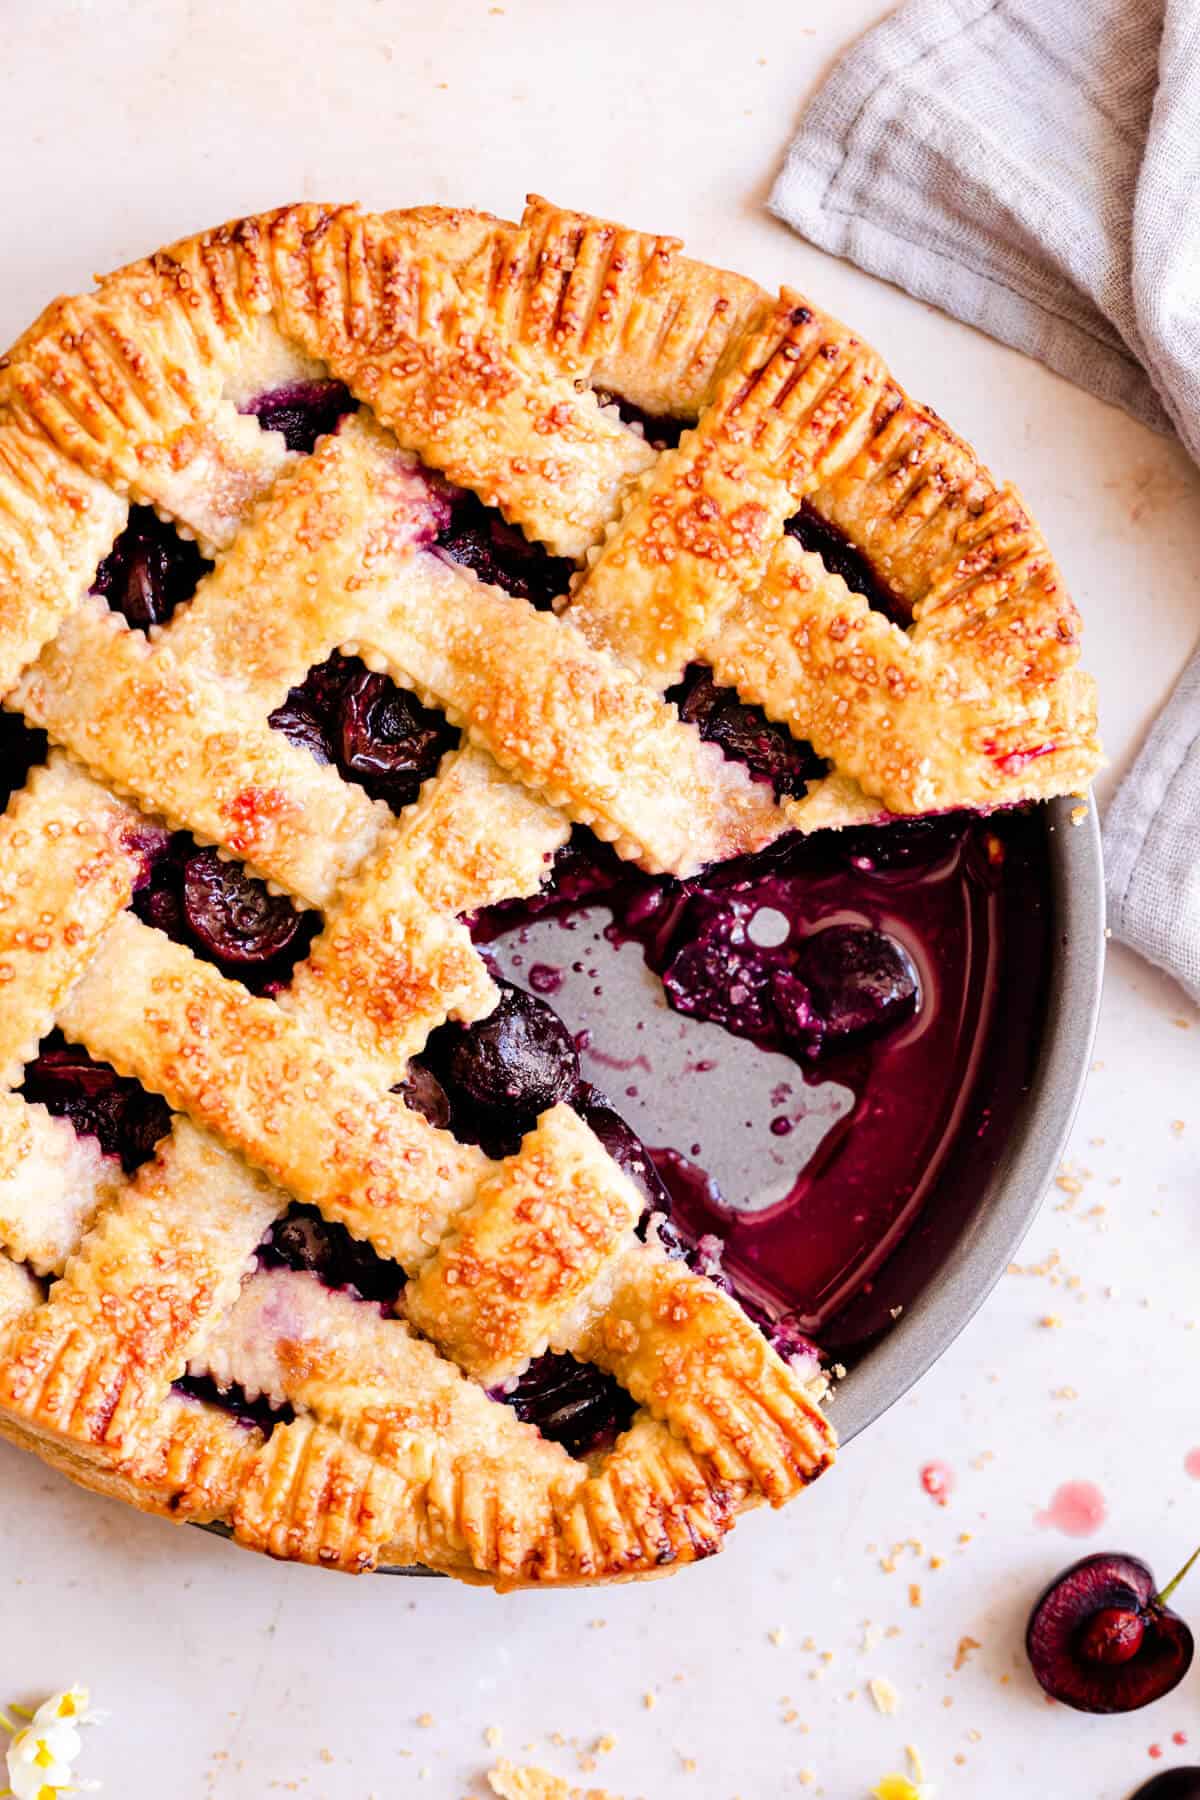
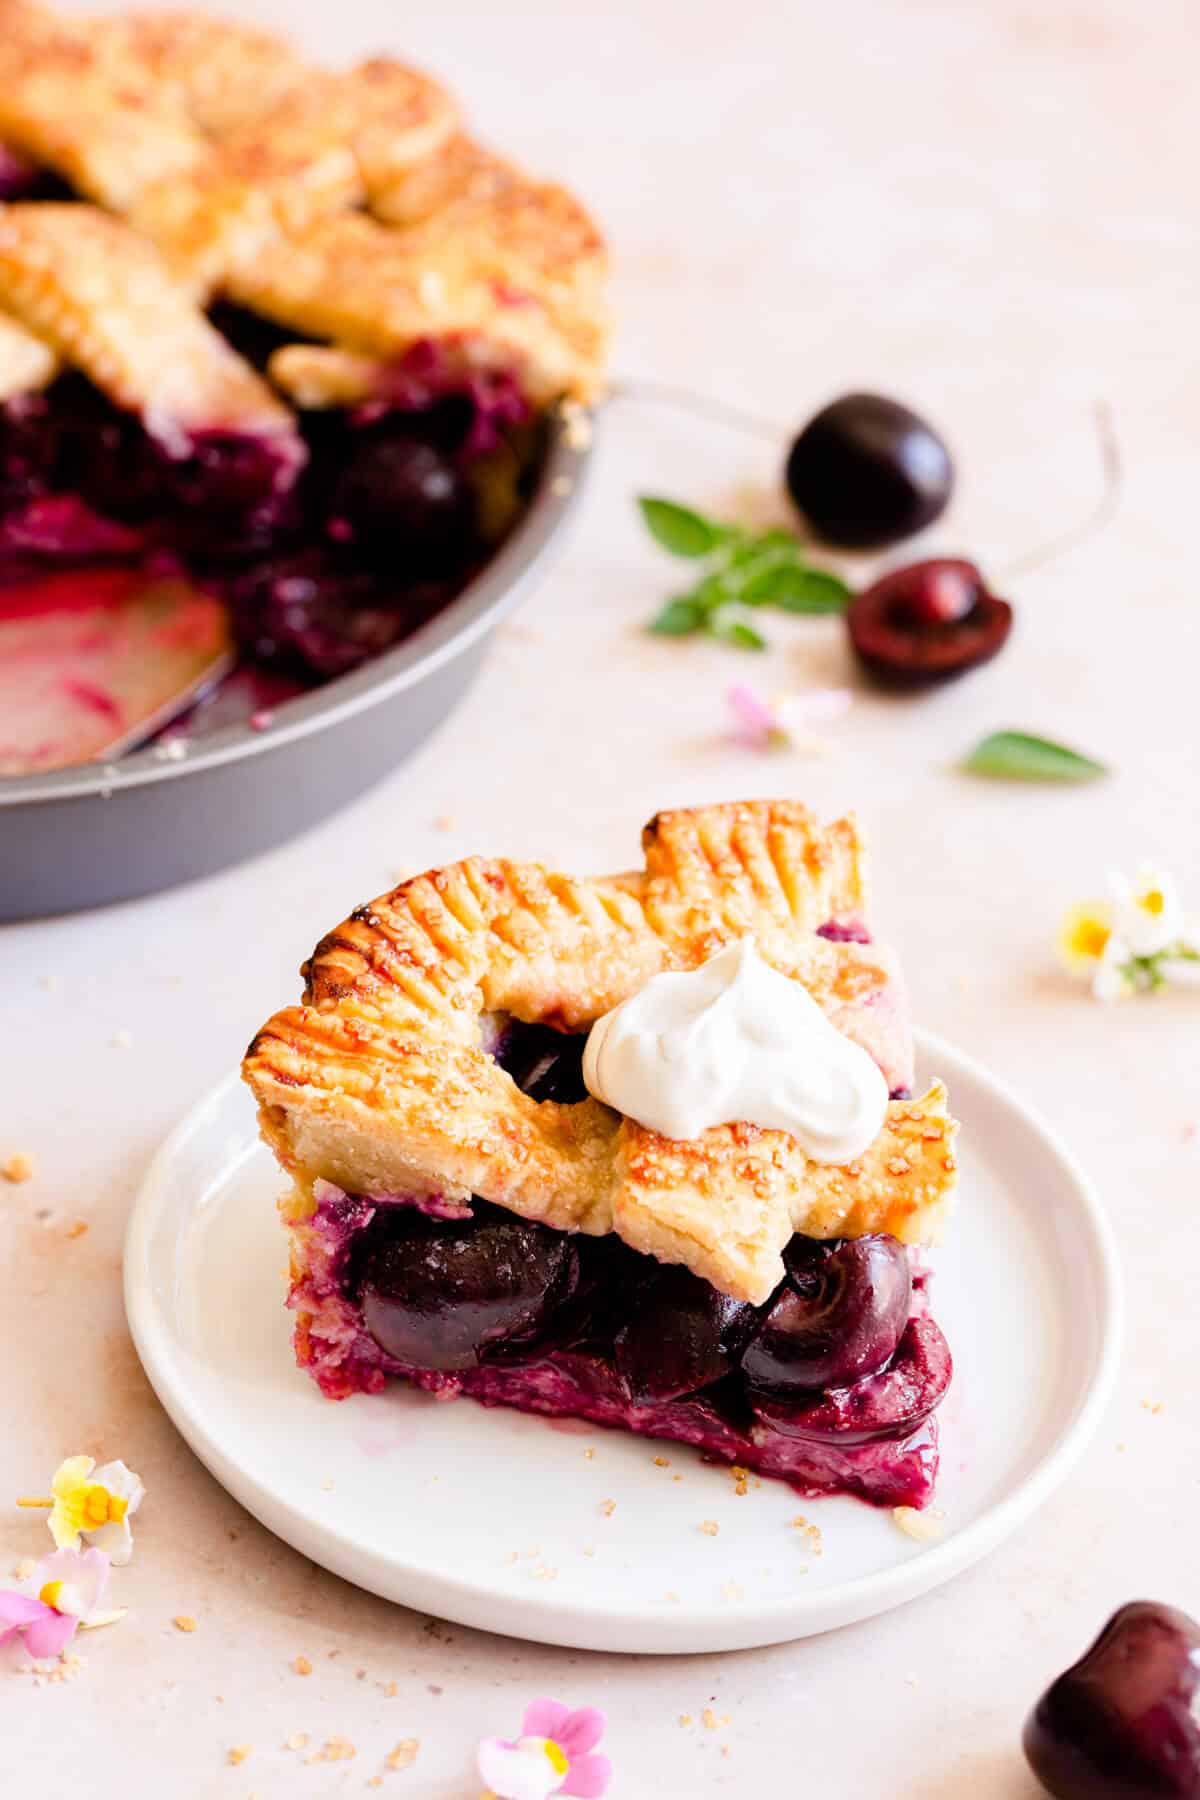
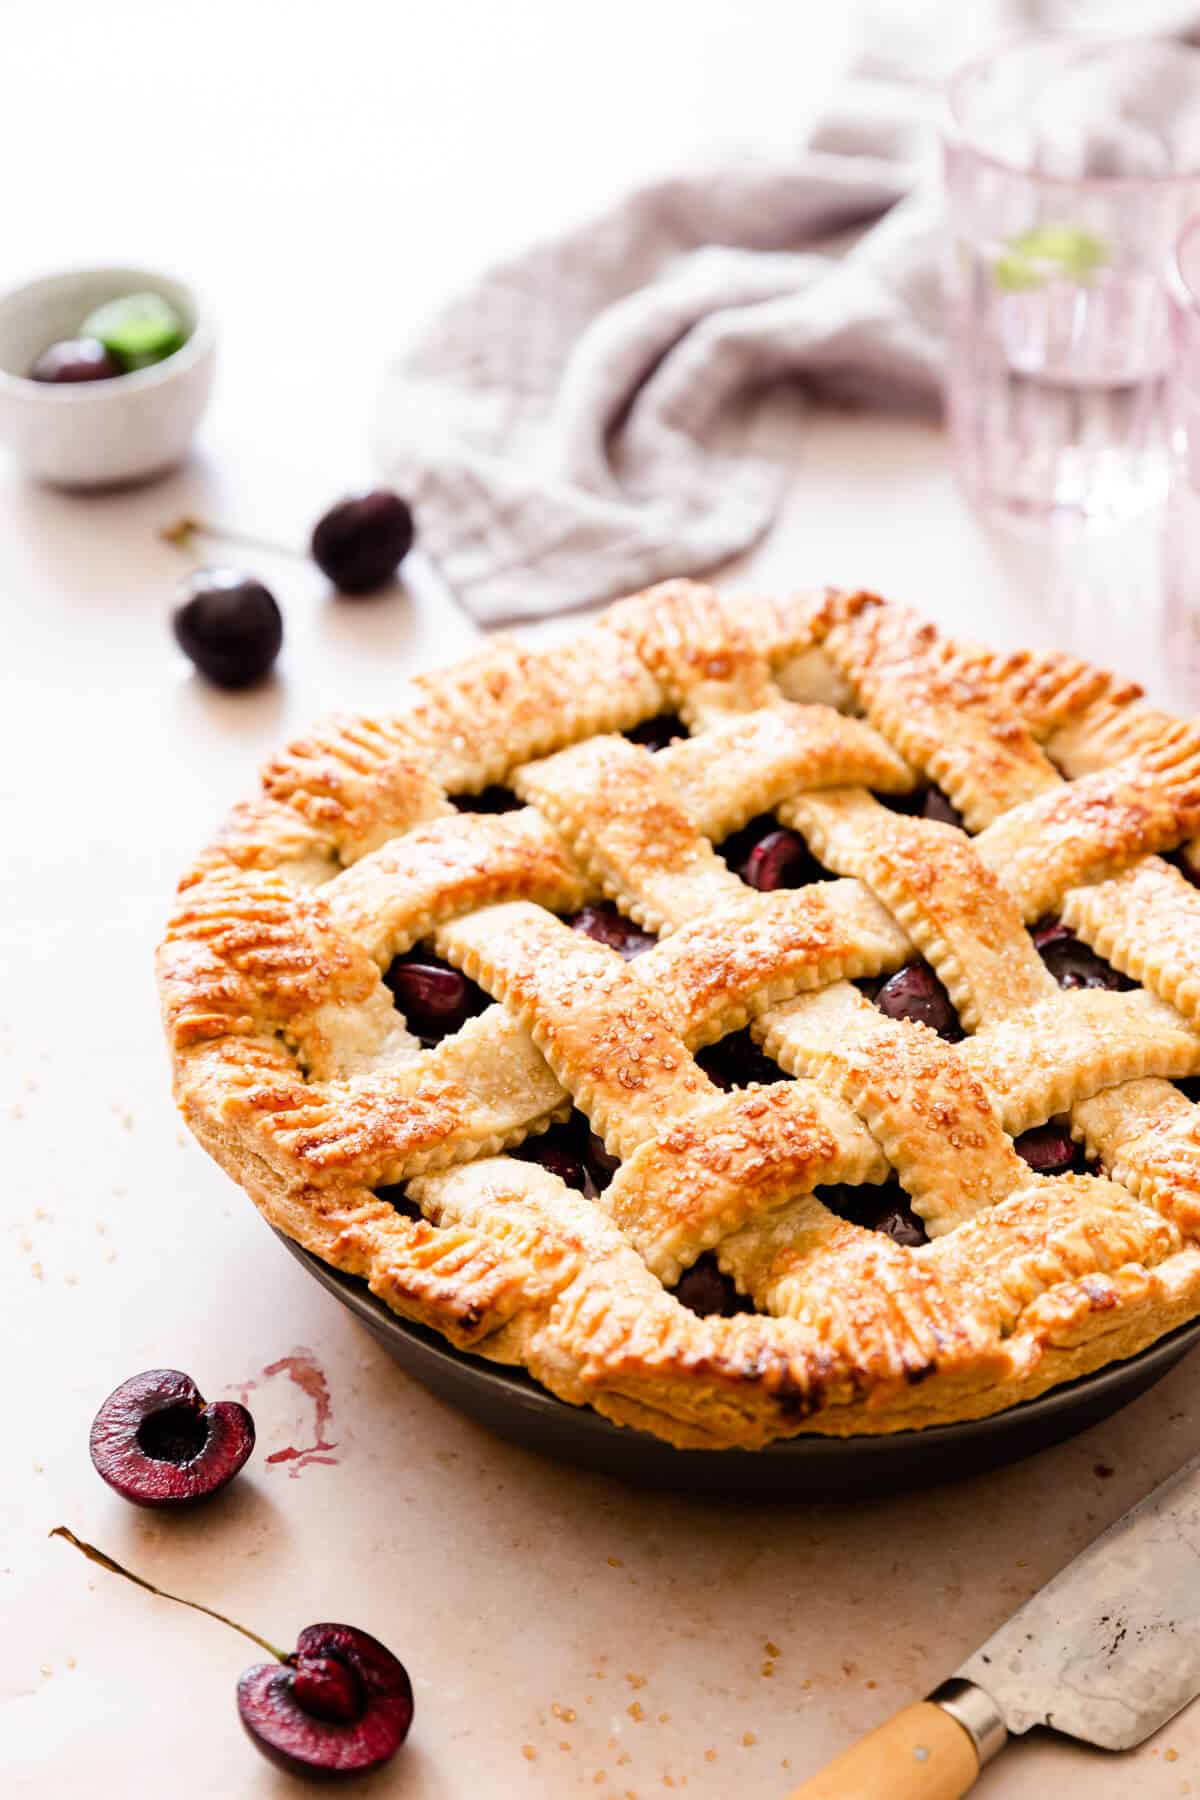
No summer is complete without homemade cherry pie! Crispy and buttery pie crust filled with sweet and juicy cherries, topped with delicious pastry lattice. This easy recipe will be a perfect way to make the most of the cherry season.
Why you should make this pie
Cherry season doesn't last long at all, and this recipe is a great way to enjoy this delicious stone fruit. We are at the very end of the season now, so make the most of them, before they disappear for another year!
Homemade crust is really easy to prepare and I promise you, it tastes soo much better than any shop-bought equivalent! It's crispy, crumbly texture and buttery flavour are not only delicious, but also super easy to make. Plus, it is sooo satisfying to make your own pie from scratch!
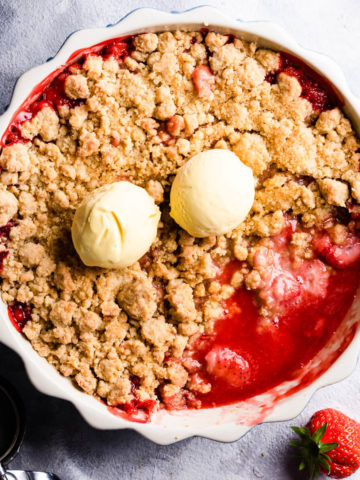
If you are not a fan of making pie from scratch, but want to use cherries in some other delicious bake, check out this Cherry Cobbler recipe from Little House Big Alaska blog.
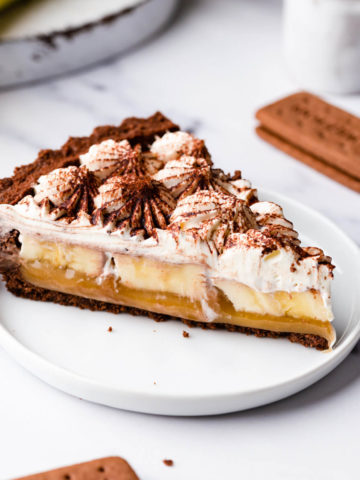
Not a cherry fan? Be sure to check out my other Pies Tarts and Crumbles recipes, where you will find a selection of different pies. Or if you love the cinnamon flavour, I highly recommend this Cinnamon Pie recipe.

Should I use fresh or frozen cherries?
I highly recommend using fresh cherries for the pie filling. If you use frozen cherries, there are high chances that the pie filling will become very liquidy and almost soup-like. And nobody wants that.
So try sticking to your favourite variety of fresh cherries. If you would like, you can use a mix of sweet and some sour cherries. When using dark/ sour cherries, you may want to add a bit more sugar to the recipe.
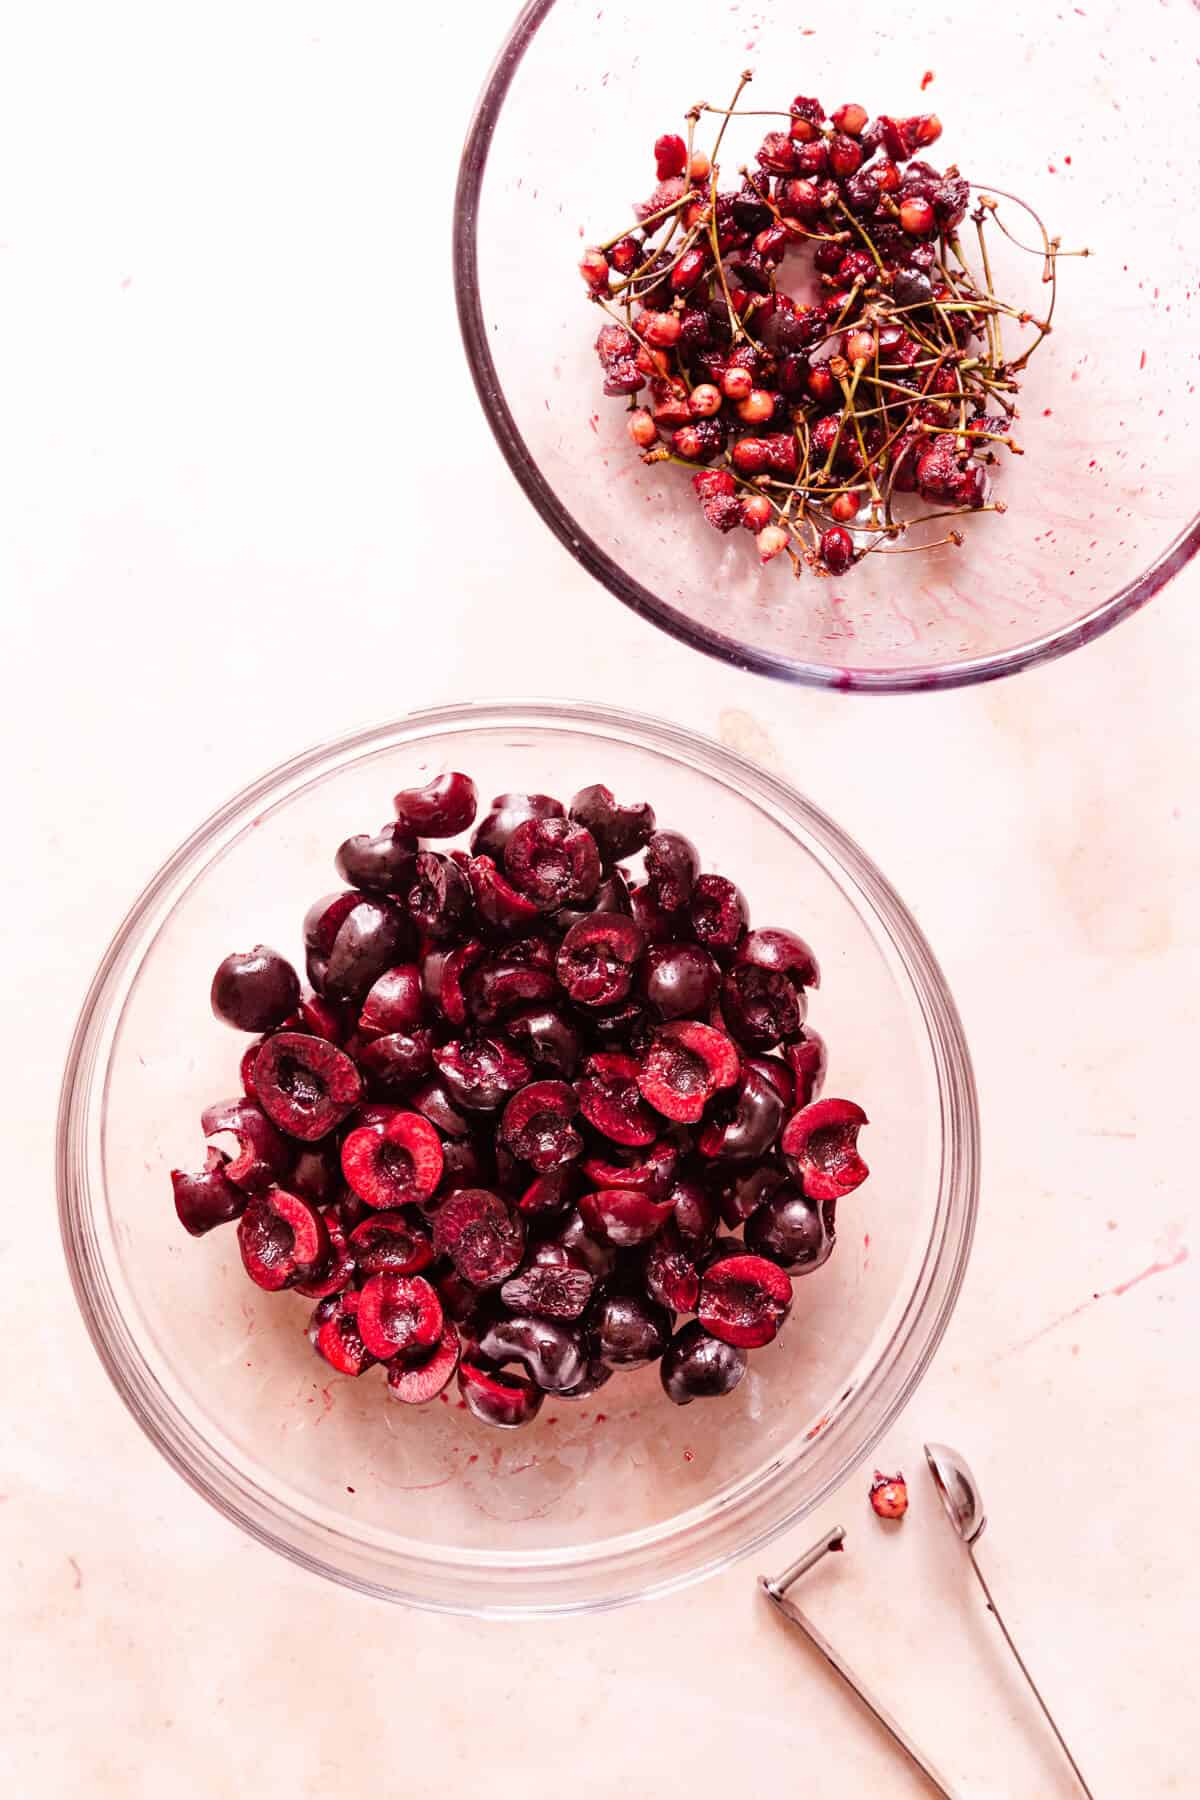
Pitting the cherries is probably the least enjoyable part of this recipe. However, you can help yourself out and do that in advance. Pitted cherries will last for up 2 days in the fridge, so feel free to do so, if you want. I always use my cherry pitter for this step, they are not expensive and super handy to have!
When pitting the cherries, I would also recommend wearing a pair of kitchen gloves. These little stone fruits are notorious for staining your hands! Oh, and wear an apron, unless you are happy for some cherry stains to ruin your favourite t-shirt!
Making a pie crust
I often hear that people are intimidated by making their own pie crust. But there is no need to be worried! My pie crust recipe is tried and tested, and as long as you follow the steps, I promise, you will love it!
The recipe makes enough pie crust for both, the bottom and the lattice top. It's easier to manage it in two batches, so you may want to divide the ingredients in half.
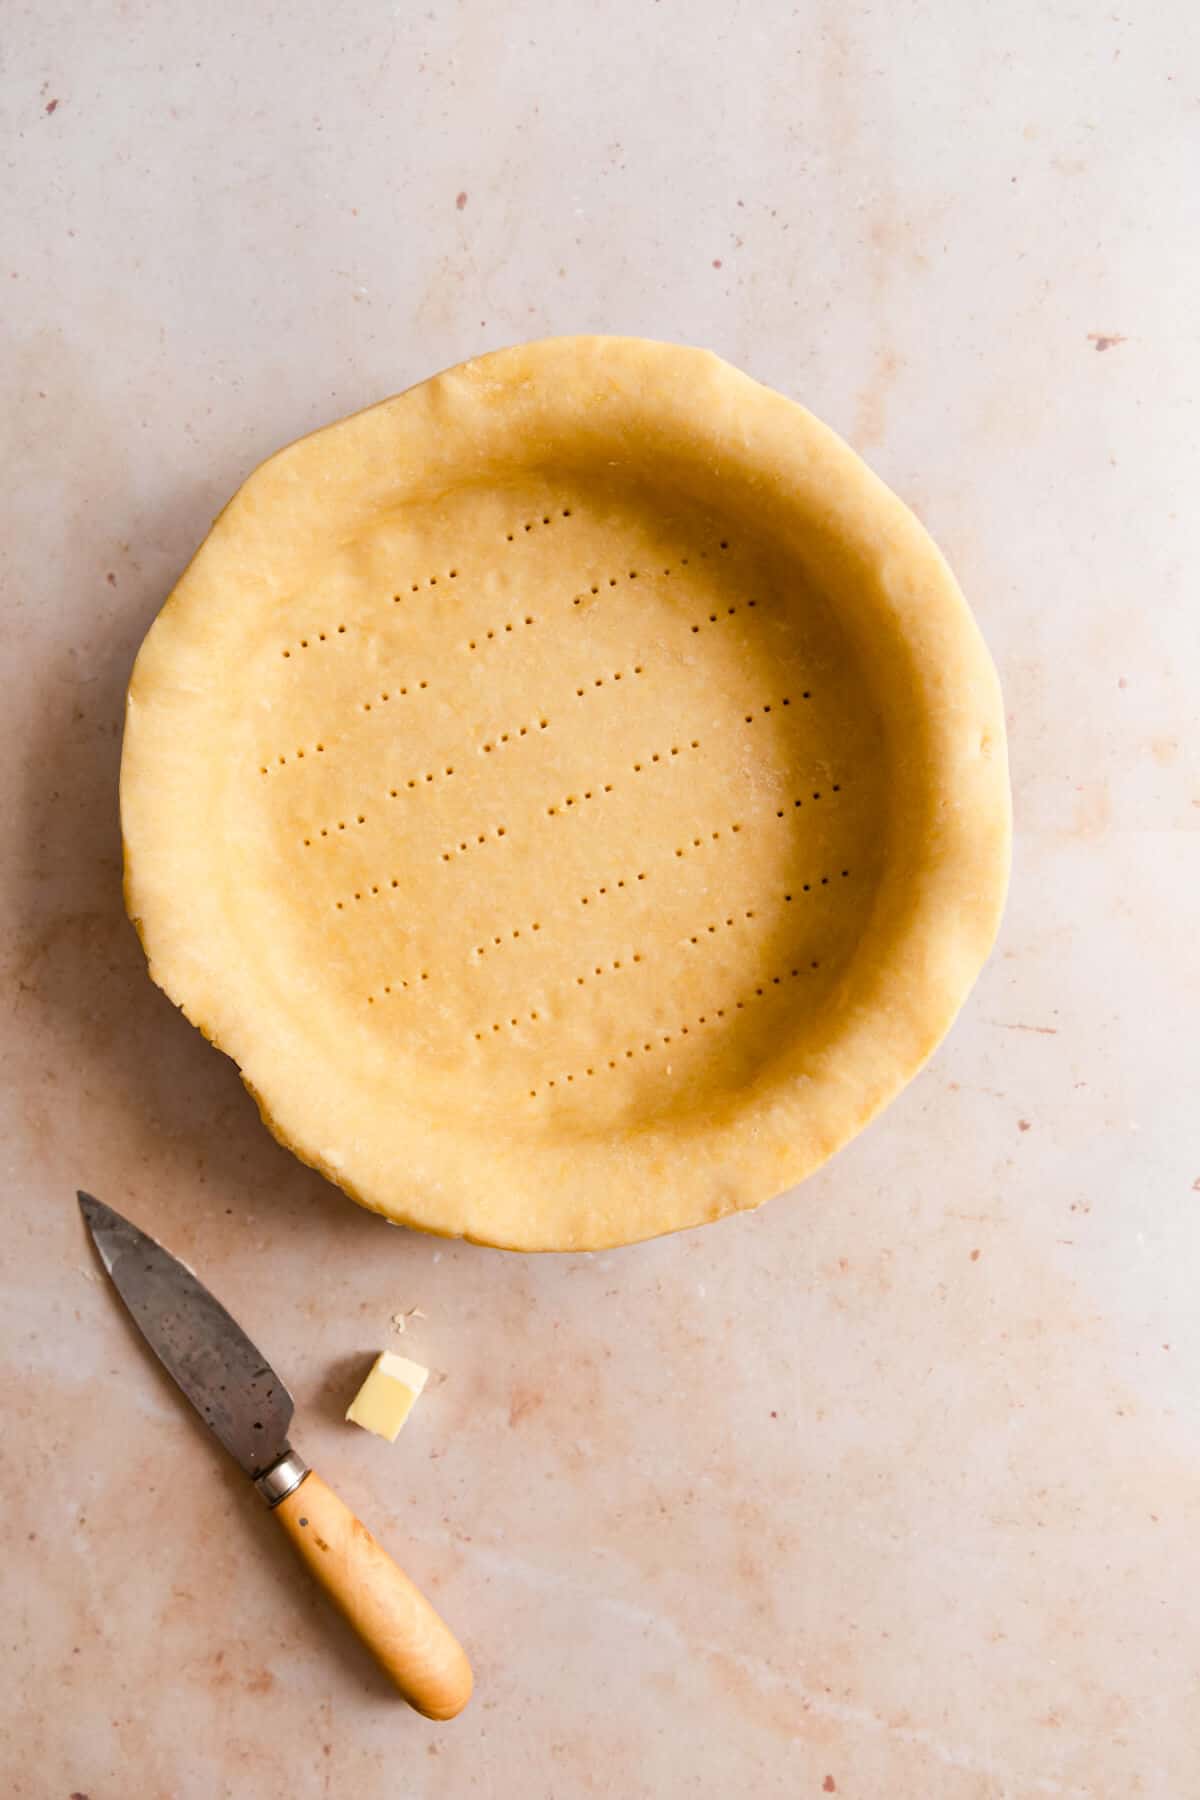
Firstly, make sure you use cold, cubed butter. I normally cut my butter into small cubes (it's easier to work it into flour when it's small cubes), then place it in the freezer for about 15 minutes, while I gather the rest of the ingredients.
You want to work quickly, once the pie pastry is out of the fridge. The longer you roll it or handle it, the softer and more difficult to handle it will be. So roll it into large circle, then line the pie dish with it and spoon the filling into it. If the pastry becomes really soft, place it back in the fridge for 10- 15 minutes.
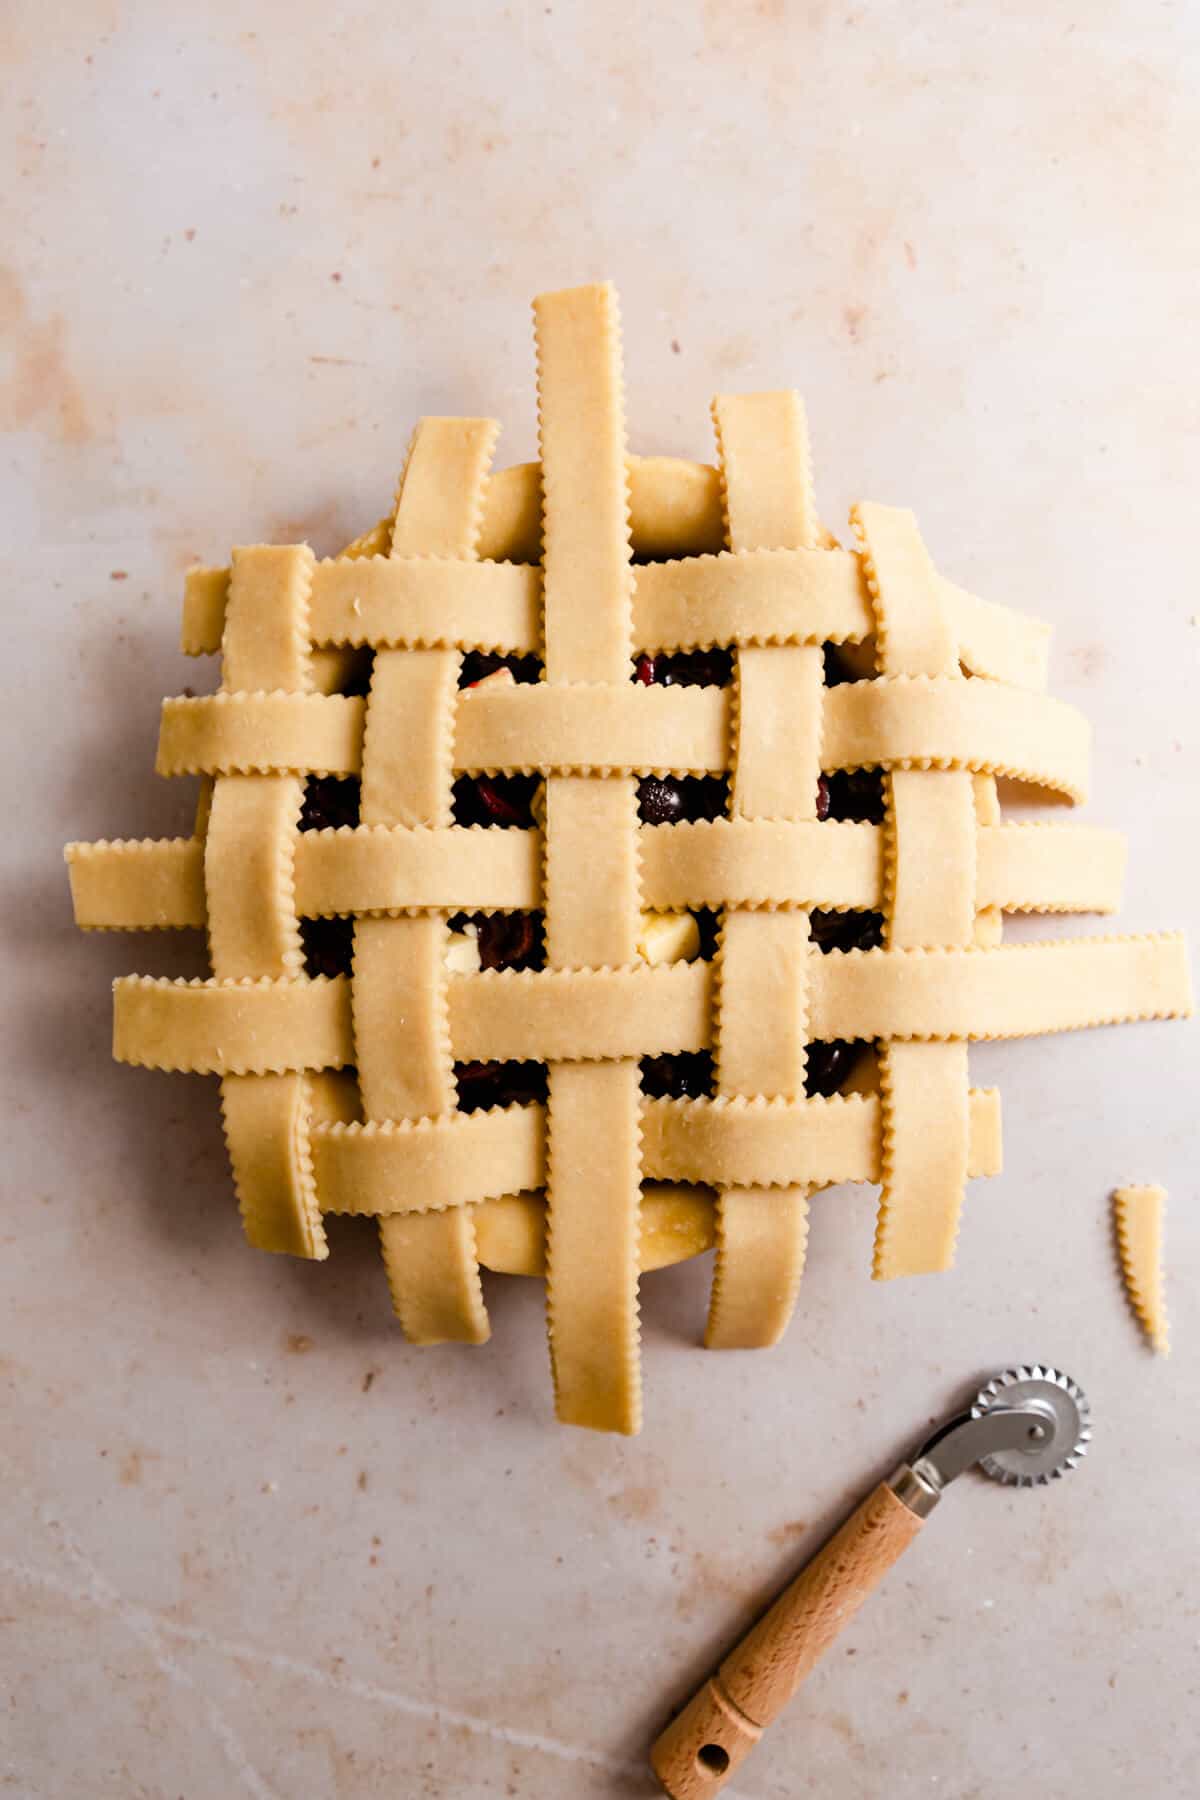
To make the lattice top, roll out the second pastry disc into a large circle. Use a sharp knife, pizza or pastry cutter to cut 10 long strips. Again, if the pastry dough becomes too soft too handle, return it to the fridge. I often cut the strips, transfer them into a baking tray and place them back in the fridge until I'm ready to use them.
Alternatively, you may want to prepare the lattice top and then place it on the baking tray and keep it in the fridge until ready to use. Use a sharp knife or kitchen scissors to trim any excess pastry. Press the edges gently with your fingers to seal the lattice top with pie bottom (you can also use fork).
Finishing touches
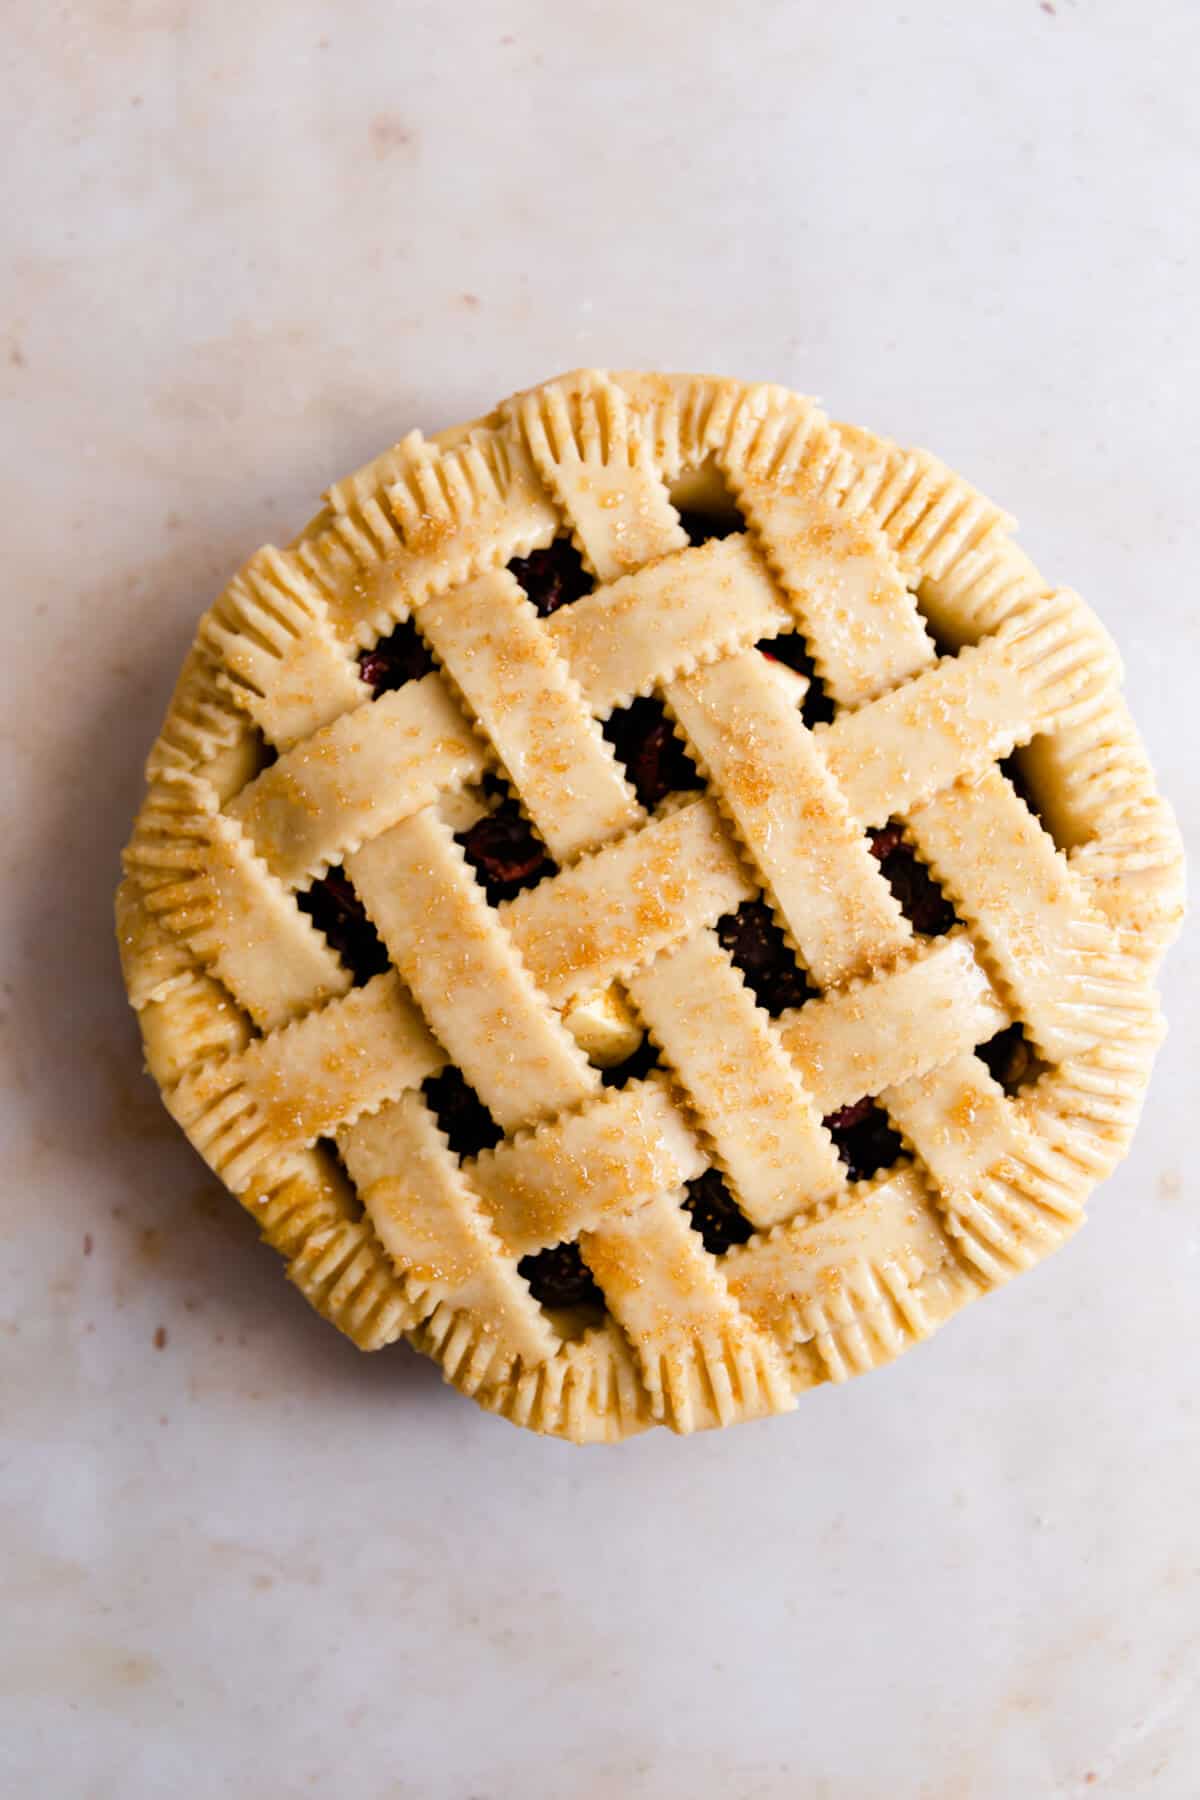
Once you have assembled your pie, brush it with some egg wash or milk. It will add that lovely shine and colour to your bake, plus it helps to seal the edges of the pie more.
Last, but not least, I always add a sprinkle of demerara sugar on top of my pie. I like the crunch it adds to the bake, and it makes it look that extra bit pretty too.
Once baked, allow it to cool completely (the hardest part!). Cooled pie will be much easier to cut/ slice and to handle. Serve it with a dollop of cream or a scoop of vanilla ice cream. YUM!
Can this recipe be made ahead?
Yes it can! There are couple of options to make this recipe in advance. The pie dough can be made ahead of time and stored in the fridge for up to 5 days. You can also freeze the pie crust dough, up to 3 months. When ready to use, thaw it in the fridge overnight
You can also freeze baked pie, for up to 3 months. Once again, thaw it in the fridge overnight, then bring it to room temperature before serving it.
Thanks for tuning in to today's post! If you try this, or any other of my recipes, feel free to leave me a comment and a rating below the recipe card. It makes my day to hear from you guys, so don't be a stranger!
You can also follow me along on my social media channels: my Instagram, Pinterest and Facebook.
📖 Recipe

Easy homemade cherry pie
Equipment
- 8' baking dish
- mixing bowl
- pastry or pizza cutter (sharp knife will also work)
Ingredients
For the pie pastry (bottom and top):
- 500 g all purpose/ plain flour
- 300 g cold butter cubed
- 2 teaspoon salt
- 1 teaspoon caster/ super fine sugar
- 2 large eggs
- 2 tablespoon cold milk or water
For the pie filling:
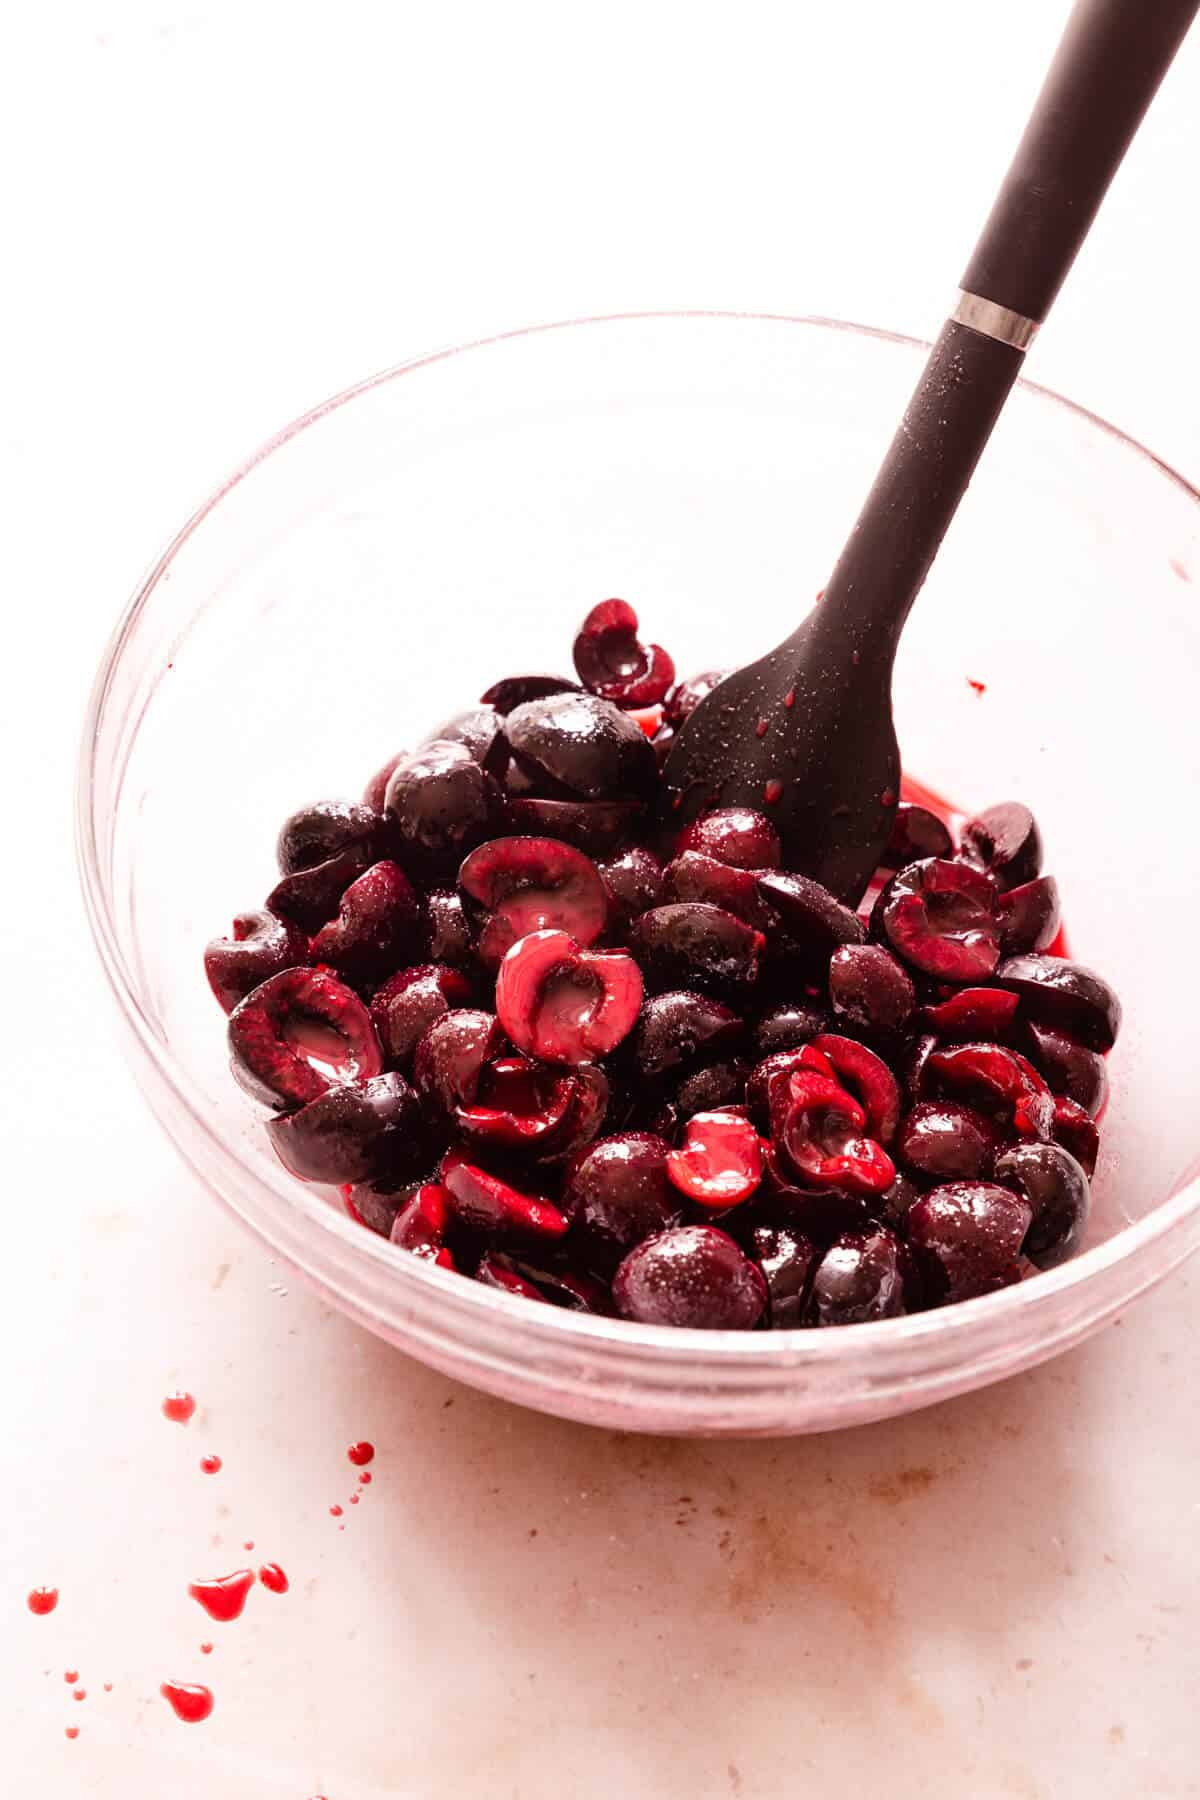
- 700 g cherries pitted and halved
- 140 g caster/ super fine sugar
- 25 g cornflour or cornstarch
- 1 tablespoon lemon juice
- 1 teaspoon vanilla extract
- ½ teaspoon almond extract
- 1 tablespoon butter cubed
- 1 large egg beaten
- 1 teaspoon demerara sugar
Instructions
To make pastry:
- It will be easier to make the pie pastry in two separate batches, as it is much easier to handle. Simply divide the ingredients into half to make each portion. Heap the flour onto clean surface and make a well in the centre. Add cubed butter, egg, salt and sugar into the well and using the tips of your fingers rub the ingredients together until you have a grainy texture.
- Add cold milk or water and mix again until the dough starts to stick together. Knead it few times until smooth, shape into disk, wrap with cling film or reusable kitchen wrap and refrigerate for minimum 30 minutes to 1 hour. If you have made all the pastry together, rather than in two batches, divide it into two disks, wrap each disk and refrigerate.
To make the filling:
- In a large bowl, mix together the cherries, lemon juice, vanilla, almond extract, sugar and cornflour. Place in the fridge. Preheat the oven to 200 C (190 C fan).
- Remove one of the pastry disks from the fridge and gently roll it into a large circle (the circle should be bigger than your baking dish, in my case, I rolled it into about 10'- 11'. Carefully transfer the pastry dough into your baking dish, pressing it gently around the edges. Trim off any excess pastry dough.
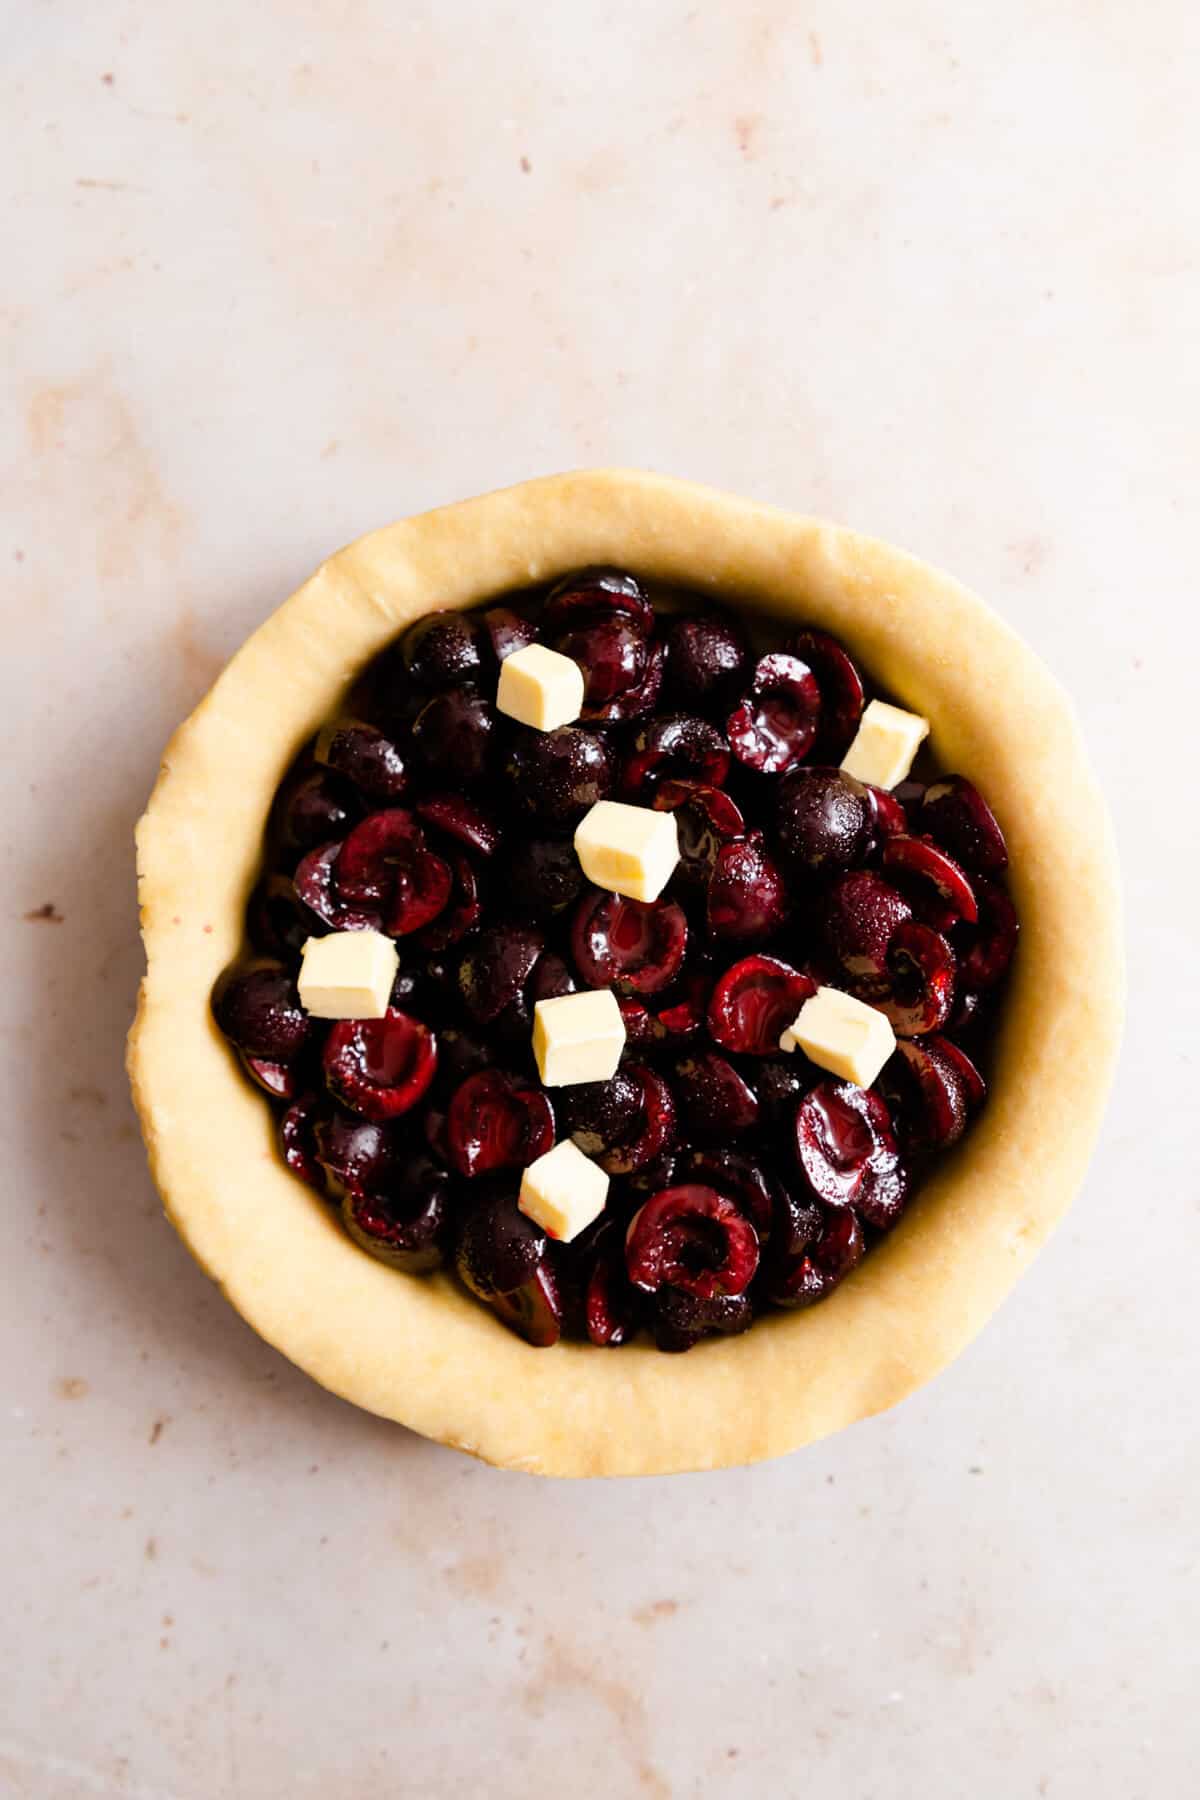
- Spoon the filling into pie crust (discard the juices). Scatter 1 tablespoon cubed butter on top of the filling.
- Remove the second disk of pastry dough from the fridge and roll it out to a large circle, bigger than your baking dish. Using a pastry or pizza cutter (or a sharp knife), cut out 10 strips from the pastry dough.
- Arrange the strips into a lattice pattern (watch the video to see how easy it is!). Trim off excess dough and press the pastry edges gently together. You can also use the fork to gently press the pastry together around the edges.
- Brush the pie with egg wash and sprinkle with dememrara sugar.
- Bake the pie for 20 minutes, then reduce your oven temperature to 190 C (180 C fan) and bake it for another 30- 35 minutes until golden brown (cover with aluminium fol if it starts to brown too much). Remove the pie from the oven and allow it to cool. Slice & enjoy with some ice cream or cream.
Please note that all my recipes are developed and tested in metric grams. I recommend that you use digital scales for a more accurate results. I have provided a conversion to US customary in the recipe but please note that I haven’t tested using this method.
Video
Notes
- If the pie crust dough becomes too soft to handle, place it back in the fridge between each step.
- The pie crust dough can be made in advance and stored in the fridge for up to 5 days. You can also freeze it for up to 3 months.
- This pie is best served fresh, on the same day. You can store it at room temperature for up to a day (cover the pie, or place it in the container).
Nutrition
If you enjoyed this post, and would like to receive any future recipes straight to your inbox, make sure to sign up to my mailing list!

Comments
No Comments