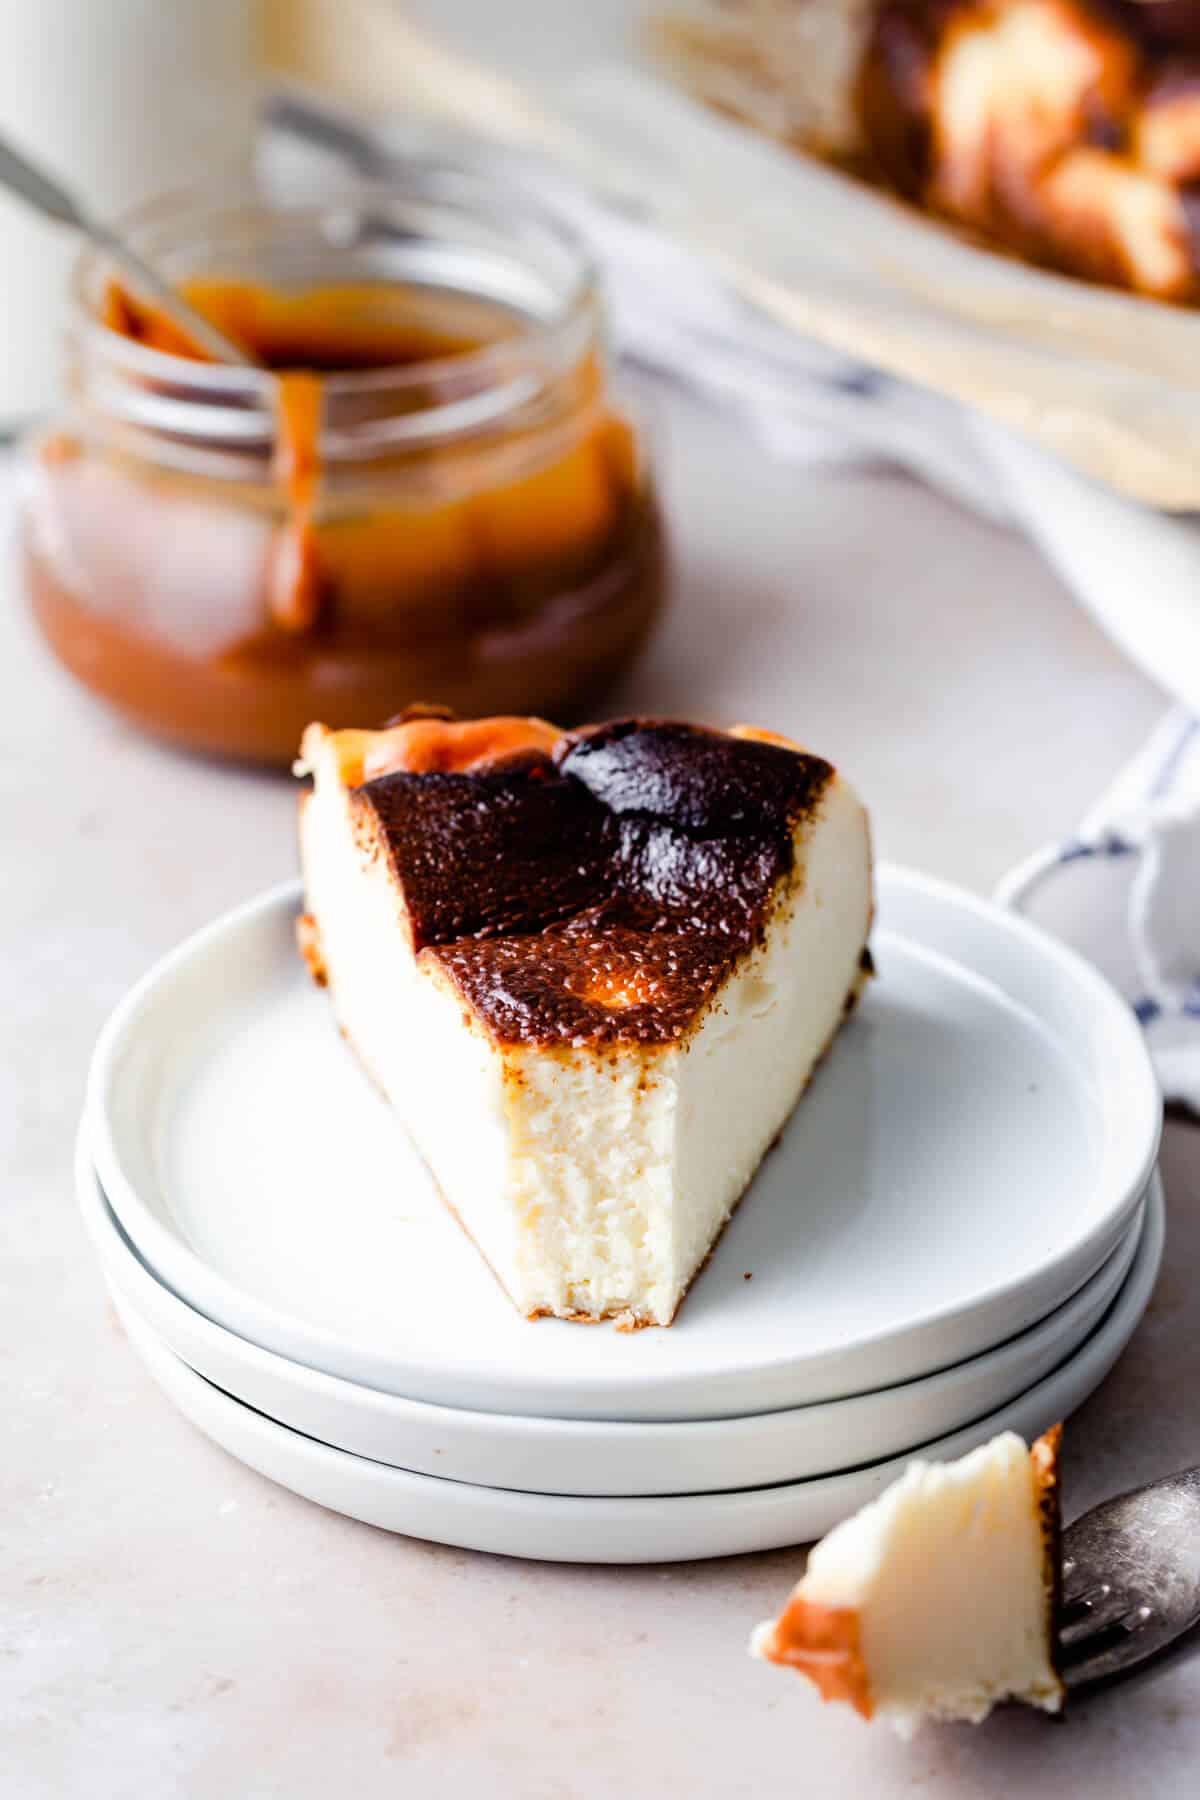
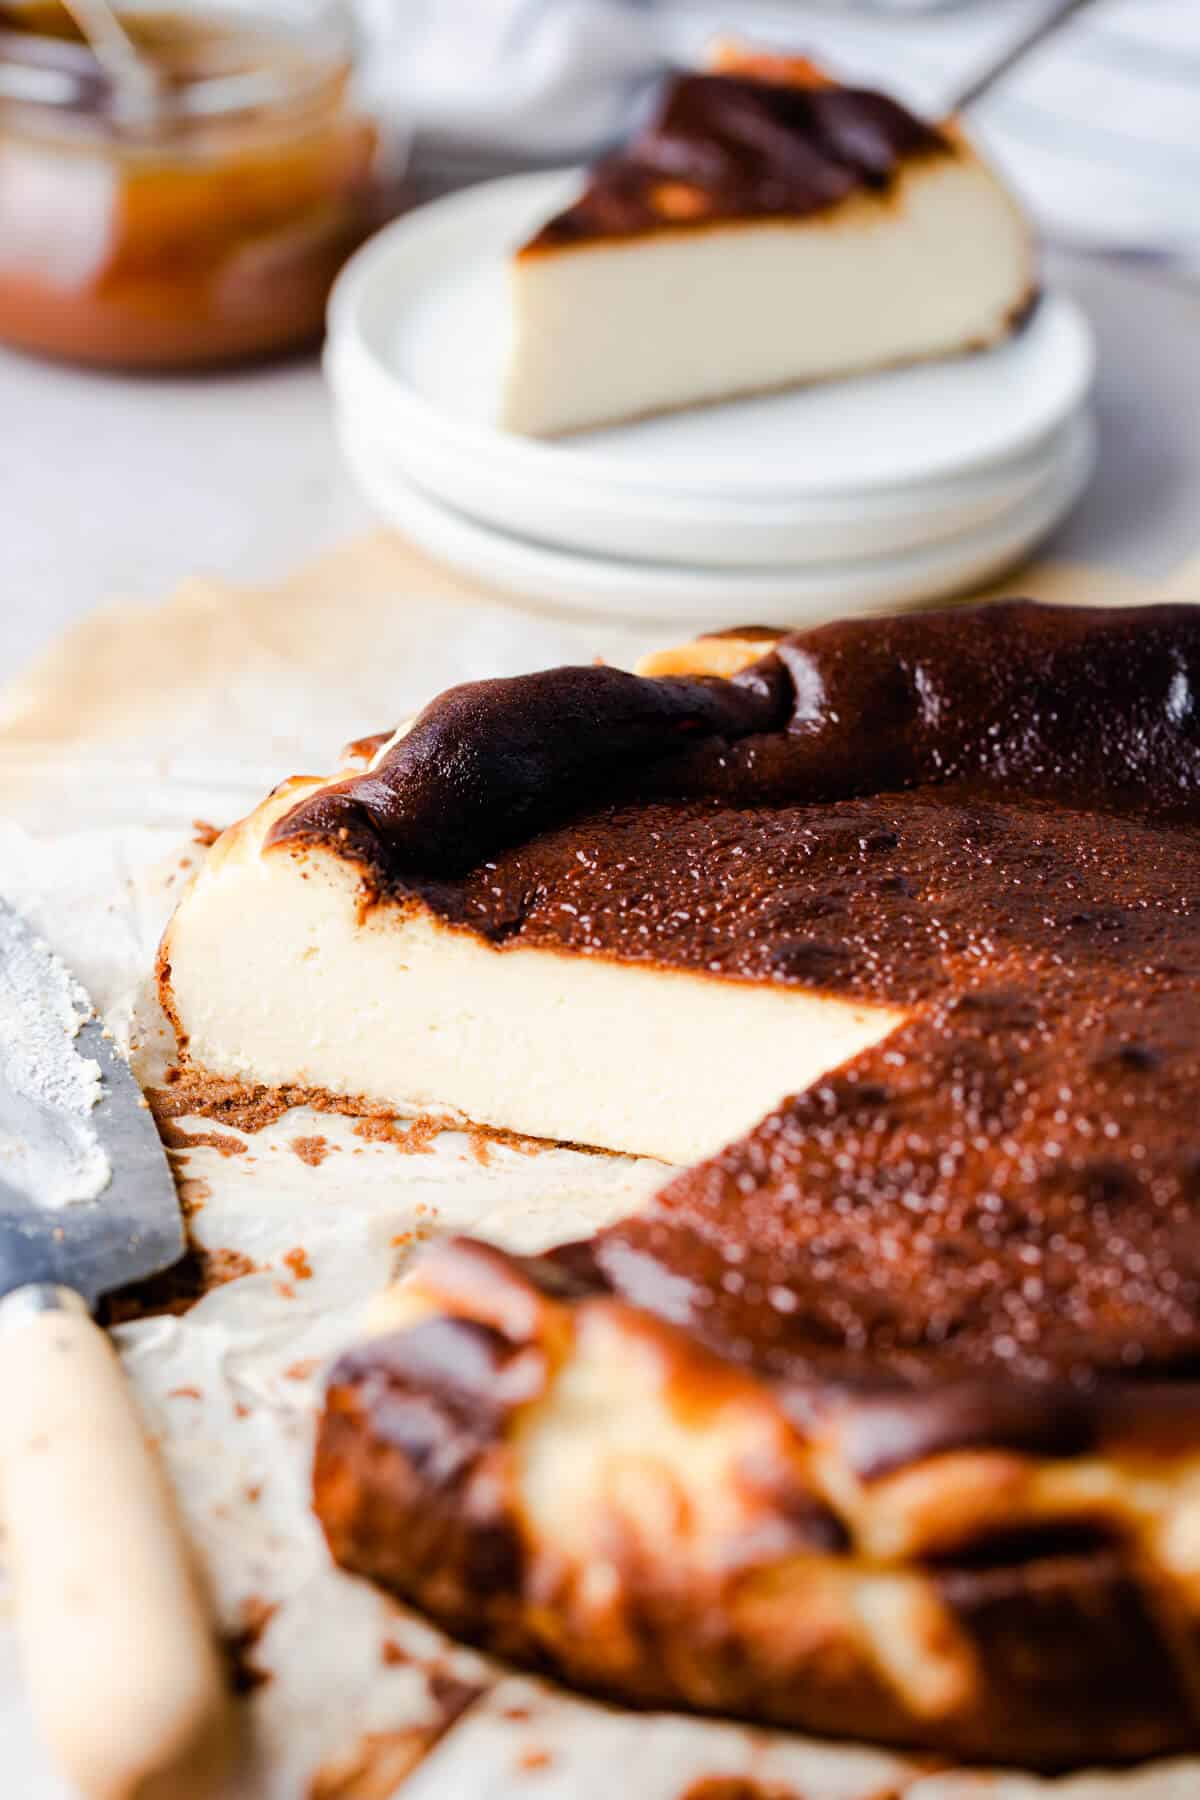
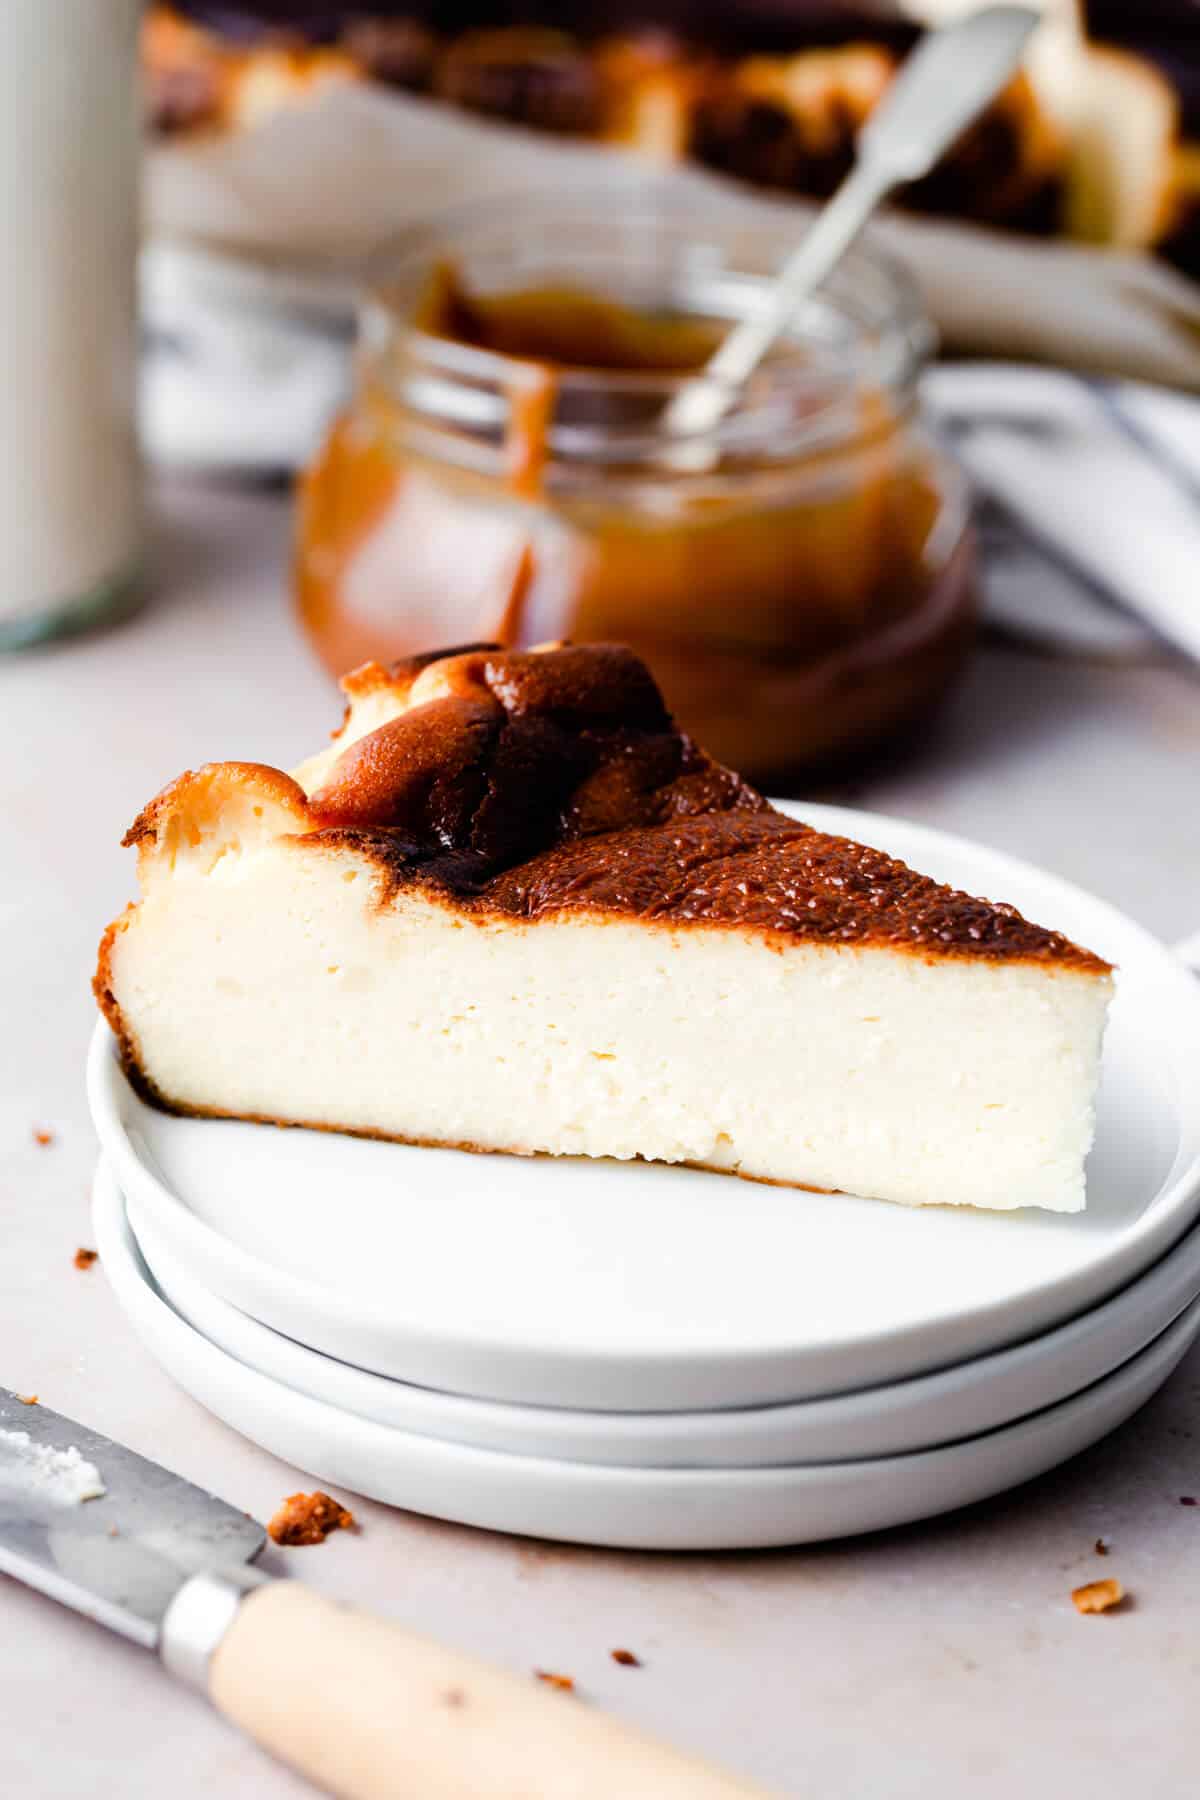
This iconic burnt Basque cheesecake will quickly become your go-to recipe for any occasion! Characteristic, deeply golden-brown exterior, with incredibly smooth, creamy and light texture is what makes this cheesecake stand out from the crowd.
It's a unique bake, very different from the traditional cheesecakes, as there is no crust or a water bath involved in making it. Easy, and very forgiving dessert, absolutely perfect for any novice or less experienced bakers out there!
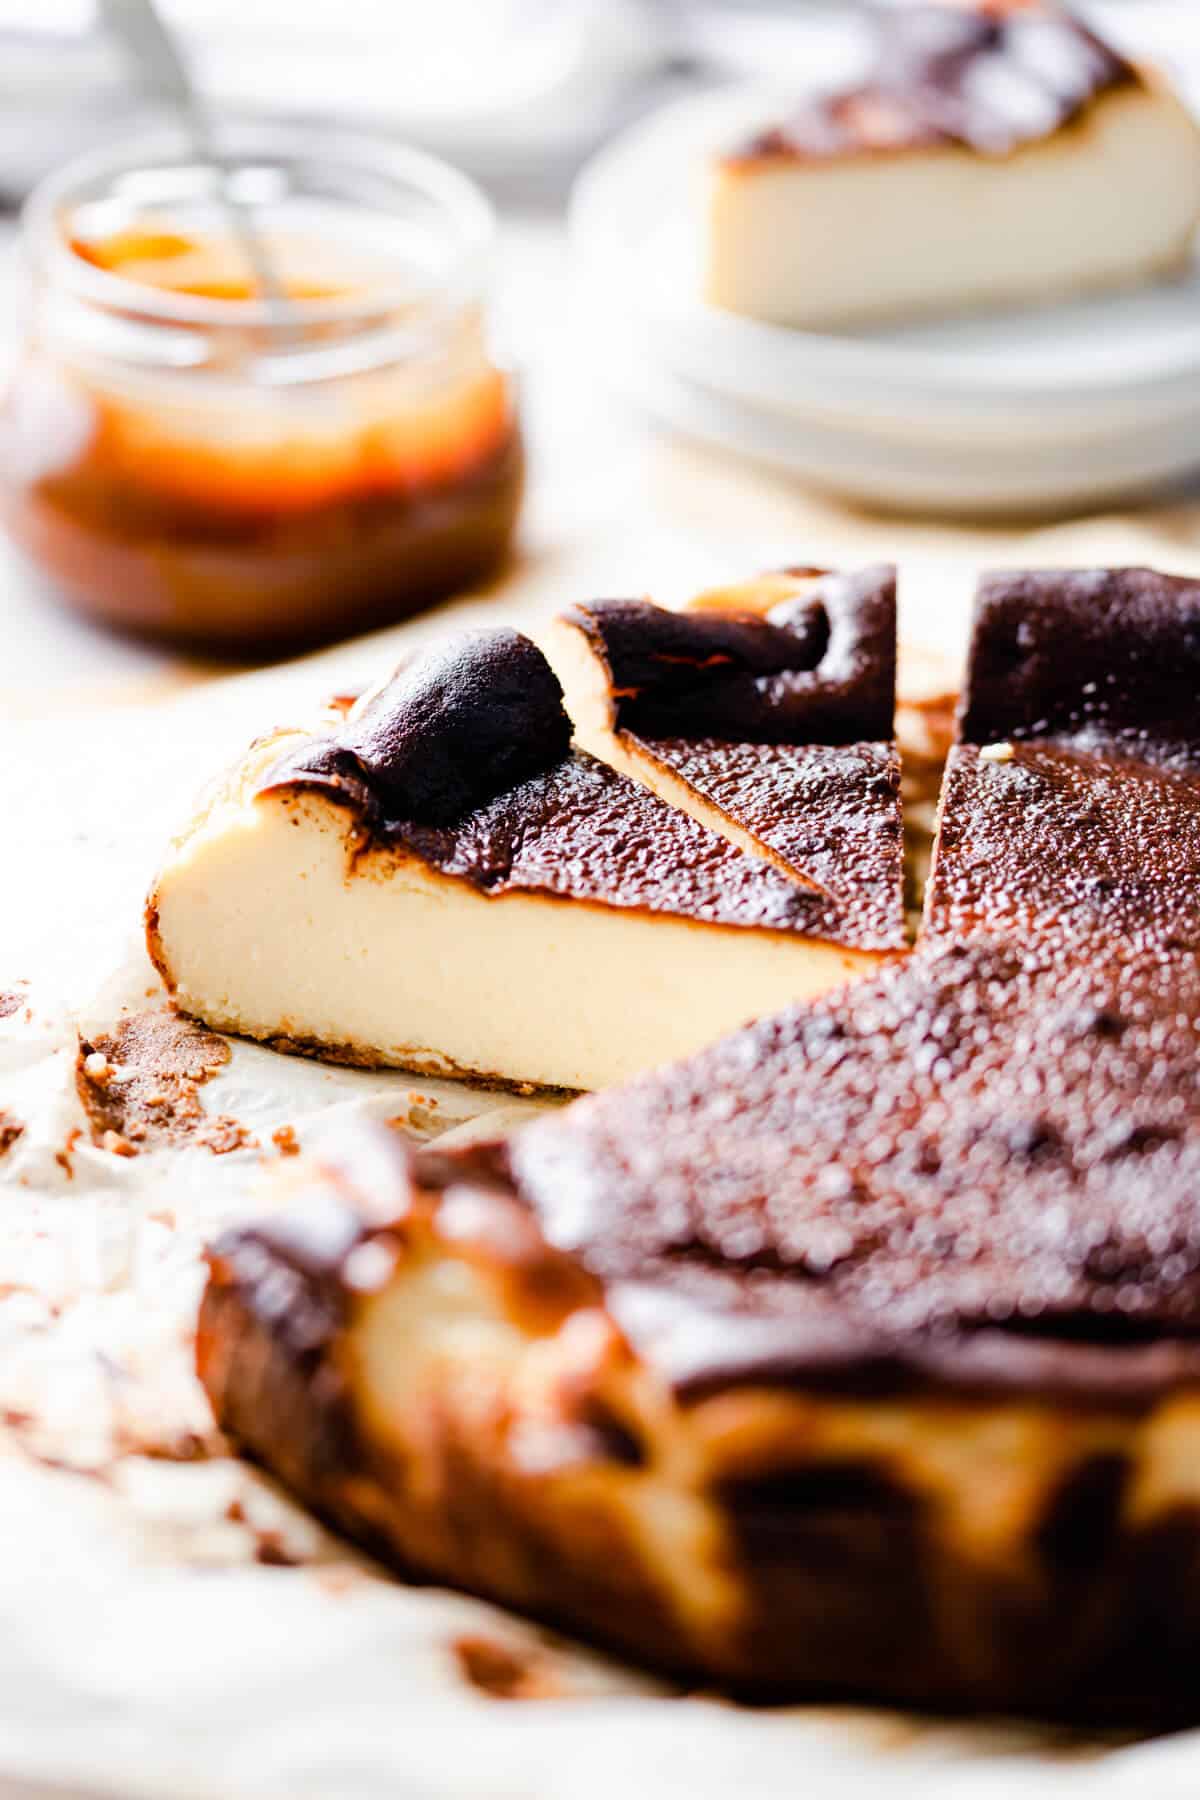
Basque burnt cheesecake, known as Tarta de Queso, is a fantastic and outrageously delicious bake, with light and creamy, almost mousse-like centre and caramelised, burnt exterior that also acts as a crust. It originates from San Sebastian, the Basque region of Spain.
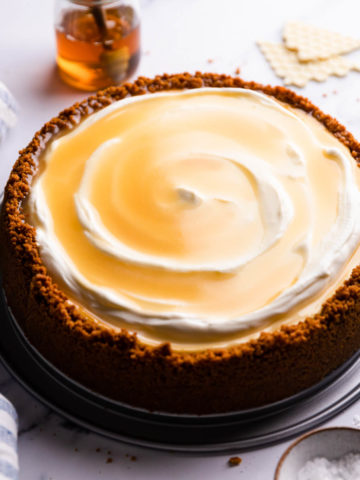
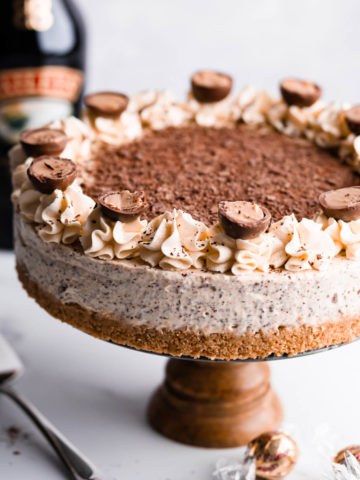
If you prefer more traditional cheesecakes with biscuit / cookie crust, then check out my Honey Cheesecake recipe or this Raspberry Ripple Cheesecake. And if no-bake cheesecakes, are more to your liking, check out my Strawberry White Chocolate Cheesecake recipe or this No Bake Baileys Cheesecake recipe instead.
Jump to:
Ingredients and substitutions
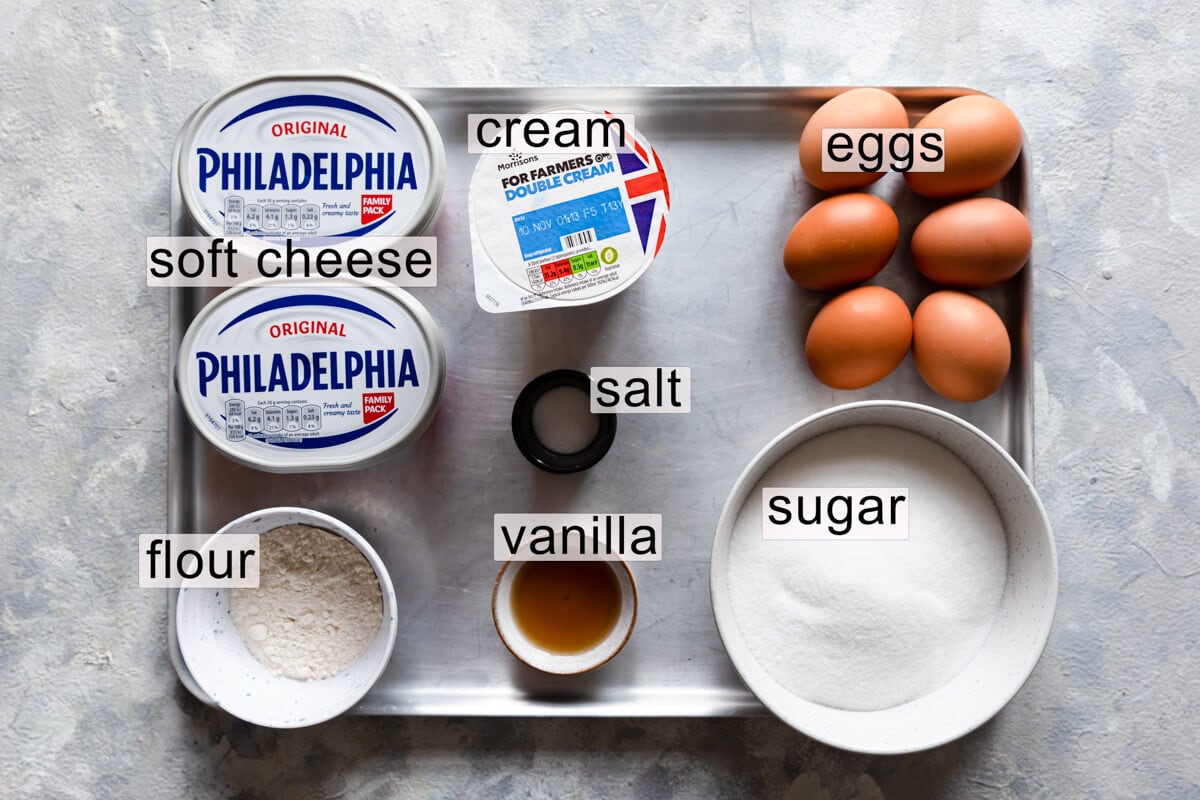
- Cream cheese/ soft cheese - Always use the full fat cream cheese / soft cheese. Philadelphia is the most popular choice, but you can use your preferred make, as long as it is full-fat version.
- Sugar - White caster or granulated sugar will work best.
- Eggs - Use large eggs at room temperature.
- Cream - Double / heavy cream in this burnt Basque cheesecake recipe helps to create that extra smooth and rich texture. It also will help the cheesecake to set properly. Make sure it is full-fat, double or heavy cream, otherwise your cheesecake will not set. No low-fat substitutes here!
- Vanilla - Vanilla extract to enhance the flavour and add these lovely vanilla notes. Alternatively, use the vanilla bean paste instead.
- Flour - Small amount of plain/ all purpose flour is used to help with the texture and the rise of the cheesecake.
It's really important that all of the cheesecake ingredients are at room temperature. Remove them from the fridge at least an hour before making this recipe.
Scroll to the bottom of this post for the recipe card and the full list of the ingredients.
Instructions
Start with greasing your 10 inch round springform cake tin with butter. Make sure to butter the bottom and the sides of the tin well.
Next, you will line the tin with baking paper. You will need 2 sheets, roughly about 16"x12" (40cm x 30cm). Place one sheet at the bottom of the greased pan, pressing it well around. Grease it with some more butter and place another sheet of baking paper on top.
Pleat and crease the baking paper to fit all around the baking tin. Don't worry about all these creases, they will give your bake that characteristic, ridged edge.
The cheesecake will rise quite a bit while it is baking, so you want to make sure there are at least 2 inches (5 cm) of baking paper sticking above the top and sides of the tin.
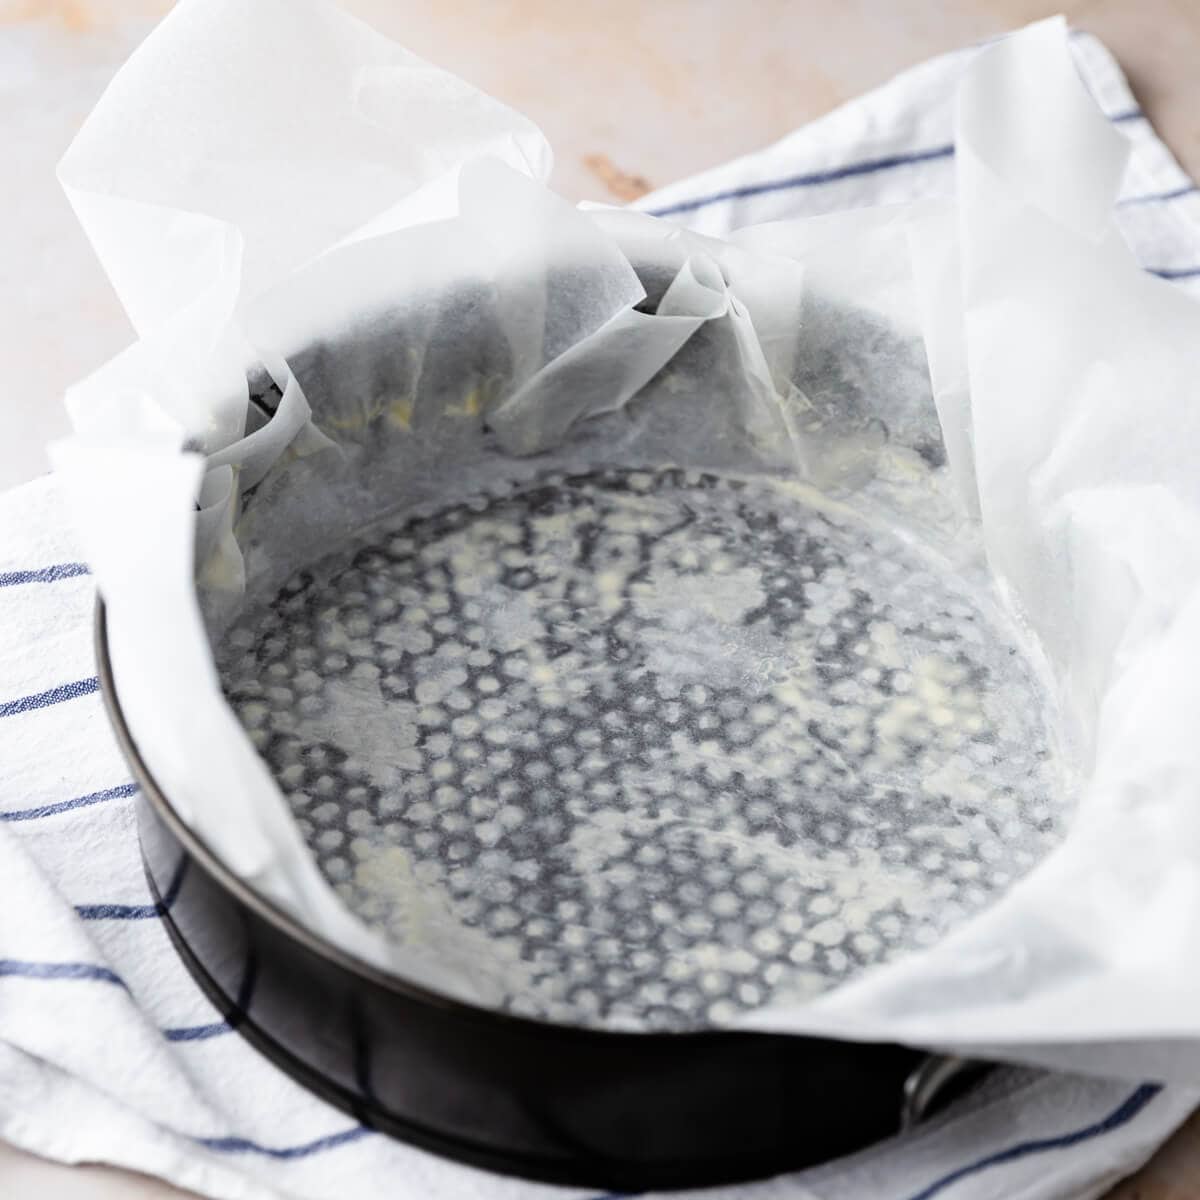
Grease and line the baking tin with sheets of baking paper, leaving plenty of overhang.
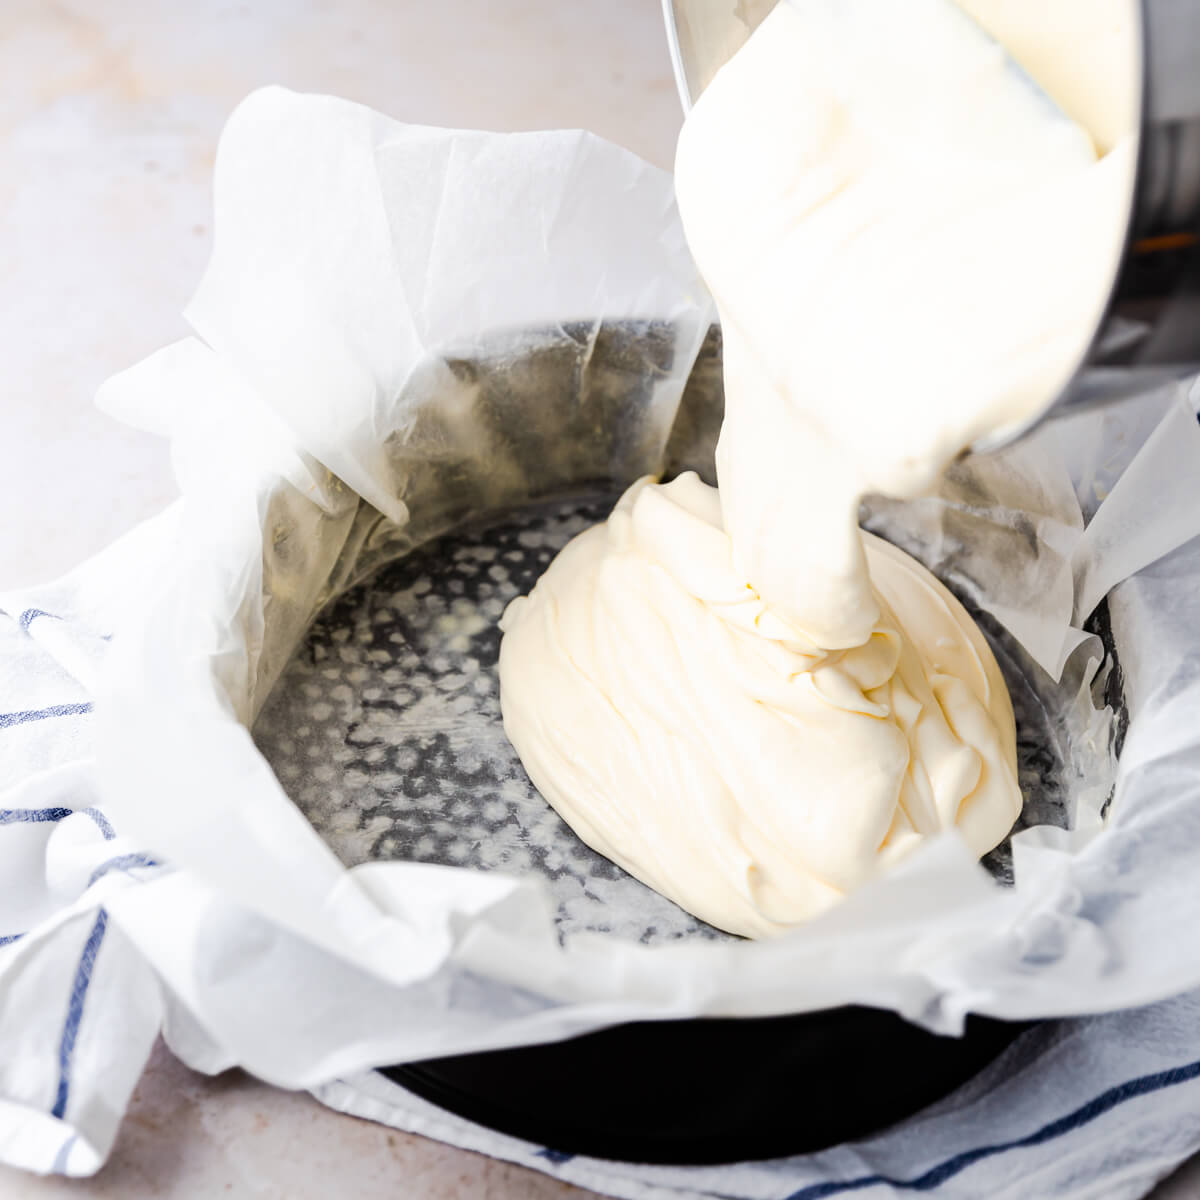
Mix all of the ingredients until smooth, creamy and lump-free. Pour batter into prepared pan.
Hint: Gently tap the baking tin with the cheesecake batter against the kitchen counter to release any potential air bubbles.
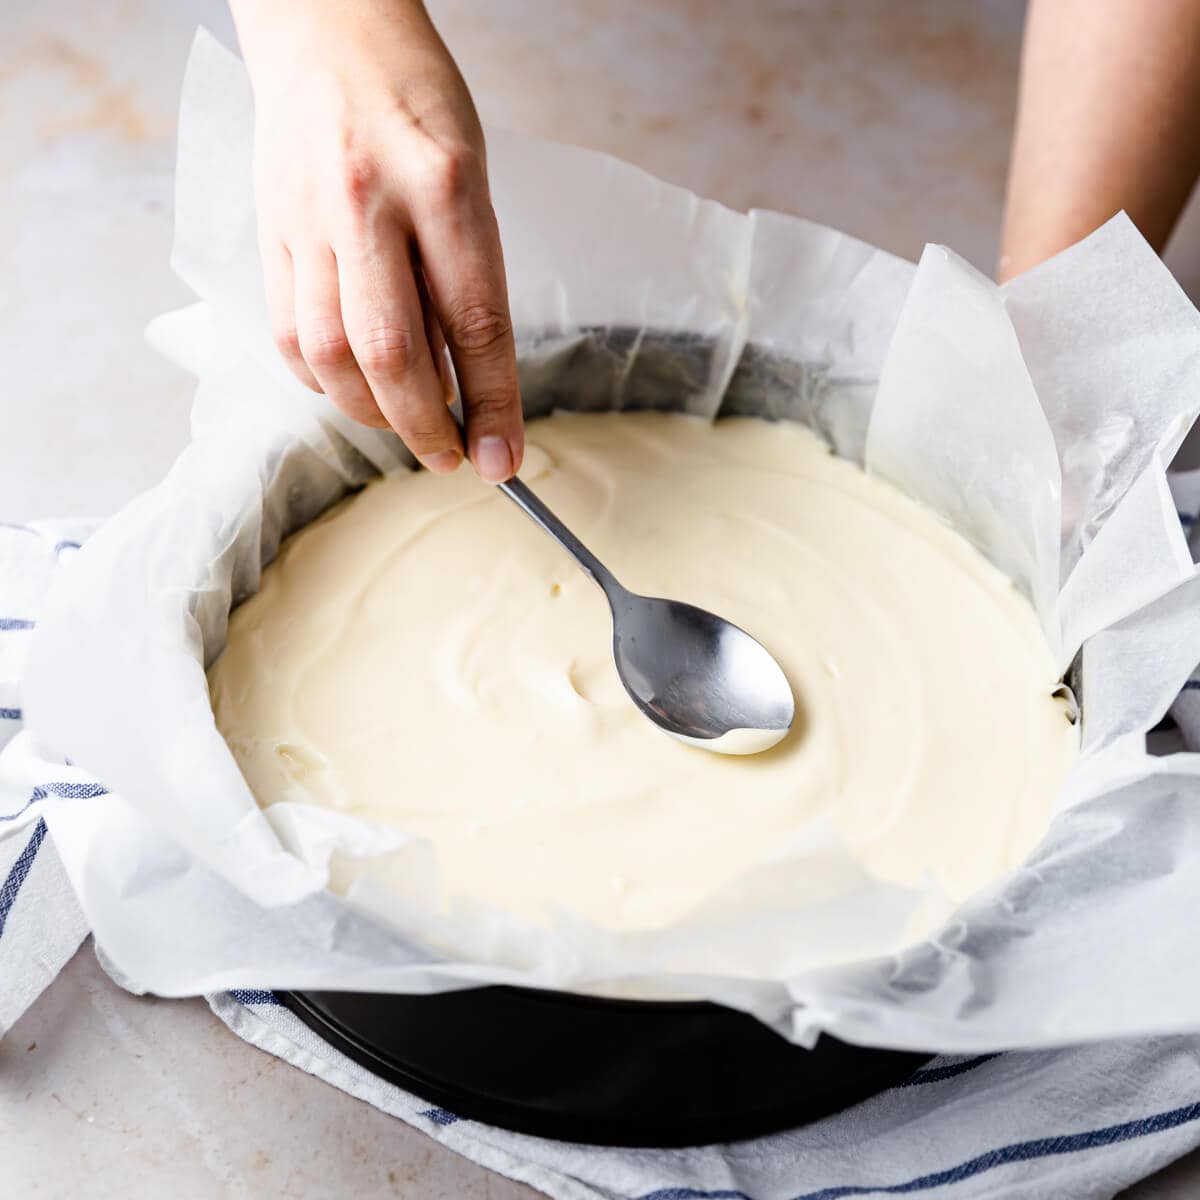
Smooth the top with the back of the spoon or spatula and bake 60-65 minutes.
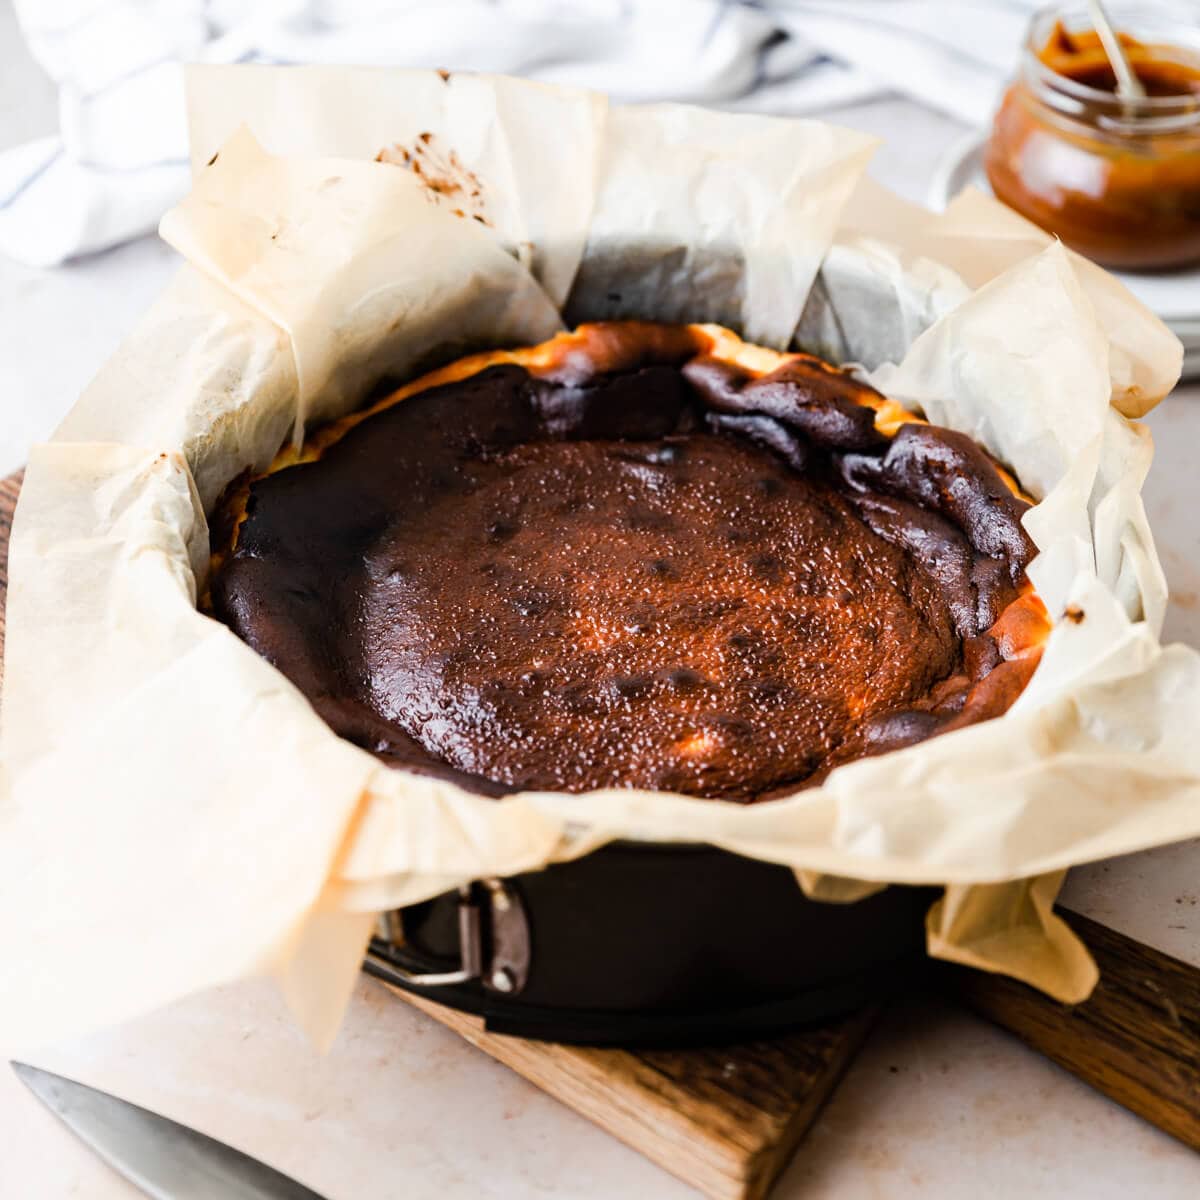
Allow the cheesecake to cool completely and chill in the fridge before removing it from the cake pan.
Hint: If you prefer your cheesecake to be softer and more creamy in the middle, experiment with baking it slightly less (reduce baking time by 5-10 minutes). Similarly, if you like the texture to be firmer and more set, you can add an extra 5- 10 minutes to the baking time.
Variations
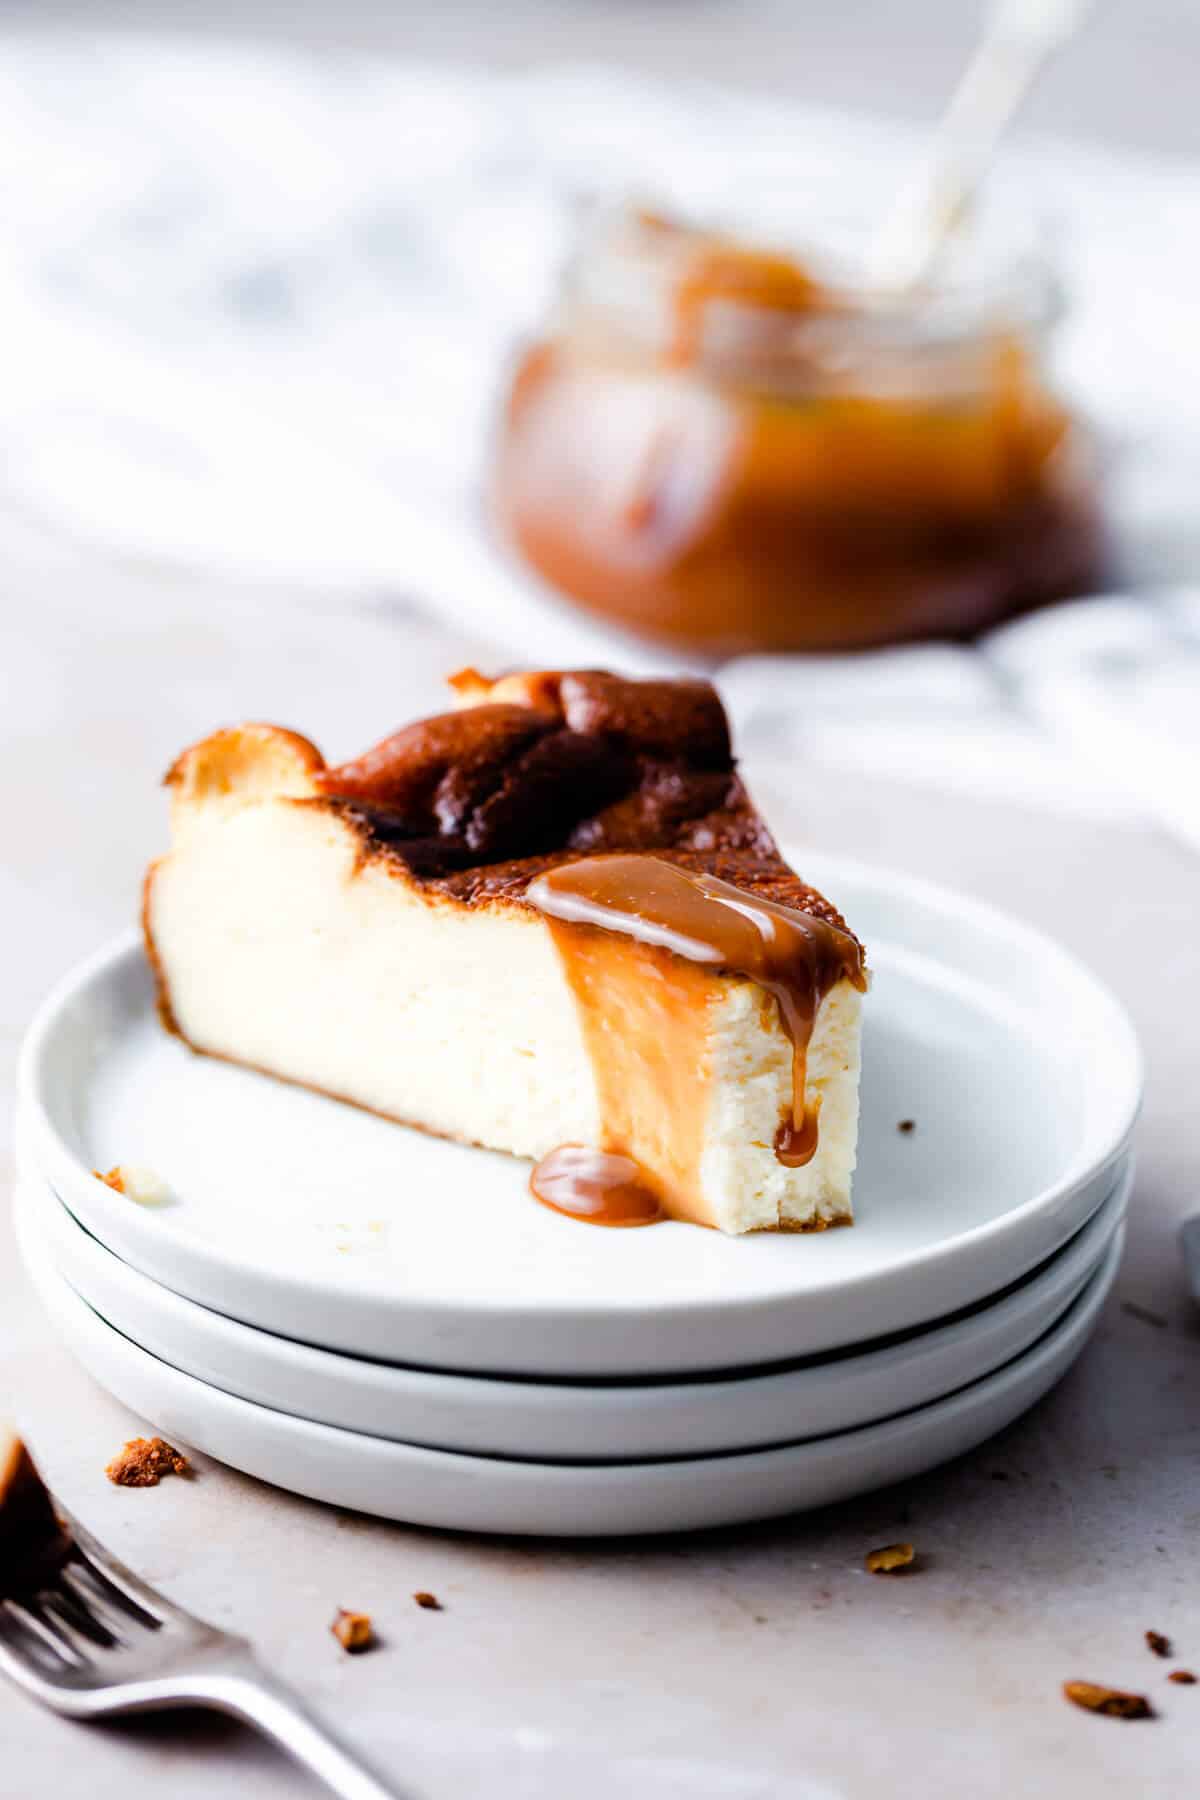
- Try different toppings - I love serving this cheesecake with some caramel sauce drizzle on top, but you can also try chocolate sauce, melted chocolate or some berry compote.
- Gluten-free Basque cheesecake - Swap the plain/ all purpose flour for a gluten free flour.
- Add some zest - Incorporate some fresh lemon, lime, or orange zest into the cheesecake batter for an extra flavour.
Equipment
You don't need any fancy equipment to make this easy Basque cheesecake recipe. All what it calls for is an electric mixer, a springform pan and some parchment paper.
- Electric mixer - It's best to use a stand mixer fitted with the paddle attachment, but a hand-held electric mixer will also work.
- Springform baking tin - This is an important one. Springform pan works best in cheesecakes recipes, because it allows for easy removal of the cheesecake once it's baked. It should have taller sides, as the cheesecake will puff up and rise quite a lot, while it bakes. Alternatively, you can also use a round pan with loose bottom. This recipe was made using 10 inch (25 cm) round springform pan.
- Baking paper/ parchment paper - Make sure to line the baking tin properly, with plenty of overhang, to prevent your burnt Basque cheesecake from leaking.
Storage
Store your Basque cheesecake in the fridge, in an airtight container for up to 3 days. Always bring it to room temperature first, before serving it.
I like to bake mine a day before I plan to serve it, and this cheesecake really benefits from an overnight chill.
Burnt cheesecake is also suitable for freezing for up to a month. You can freeze it whole, or an individual slices. Wrap the cake or the slices in a double layer of clingfilm, then freeze. Thaw in the fridge overnight and bring to the room temperature before serving it.
Top tip
If the top of your cheesecake browns too quickly or too much, place some kitchen foil over the top (just be careful not too burn yourself).
Burnt Basque cheesecake should be chilled for at least several hours before serving it. Not only it will help the bake to set properly, but it also develops the flavour. An overnight chill is ideal.
Frequently asked questions
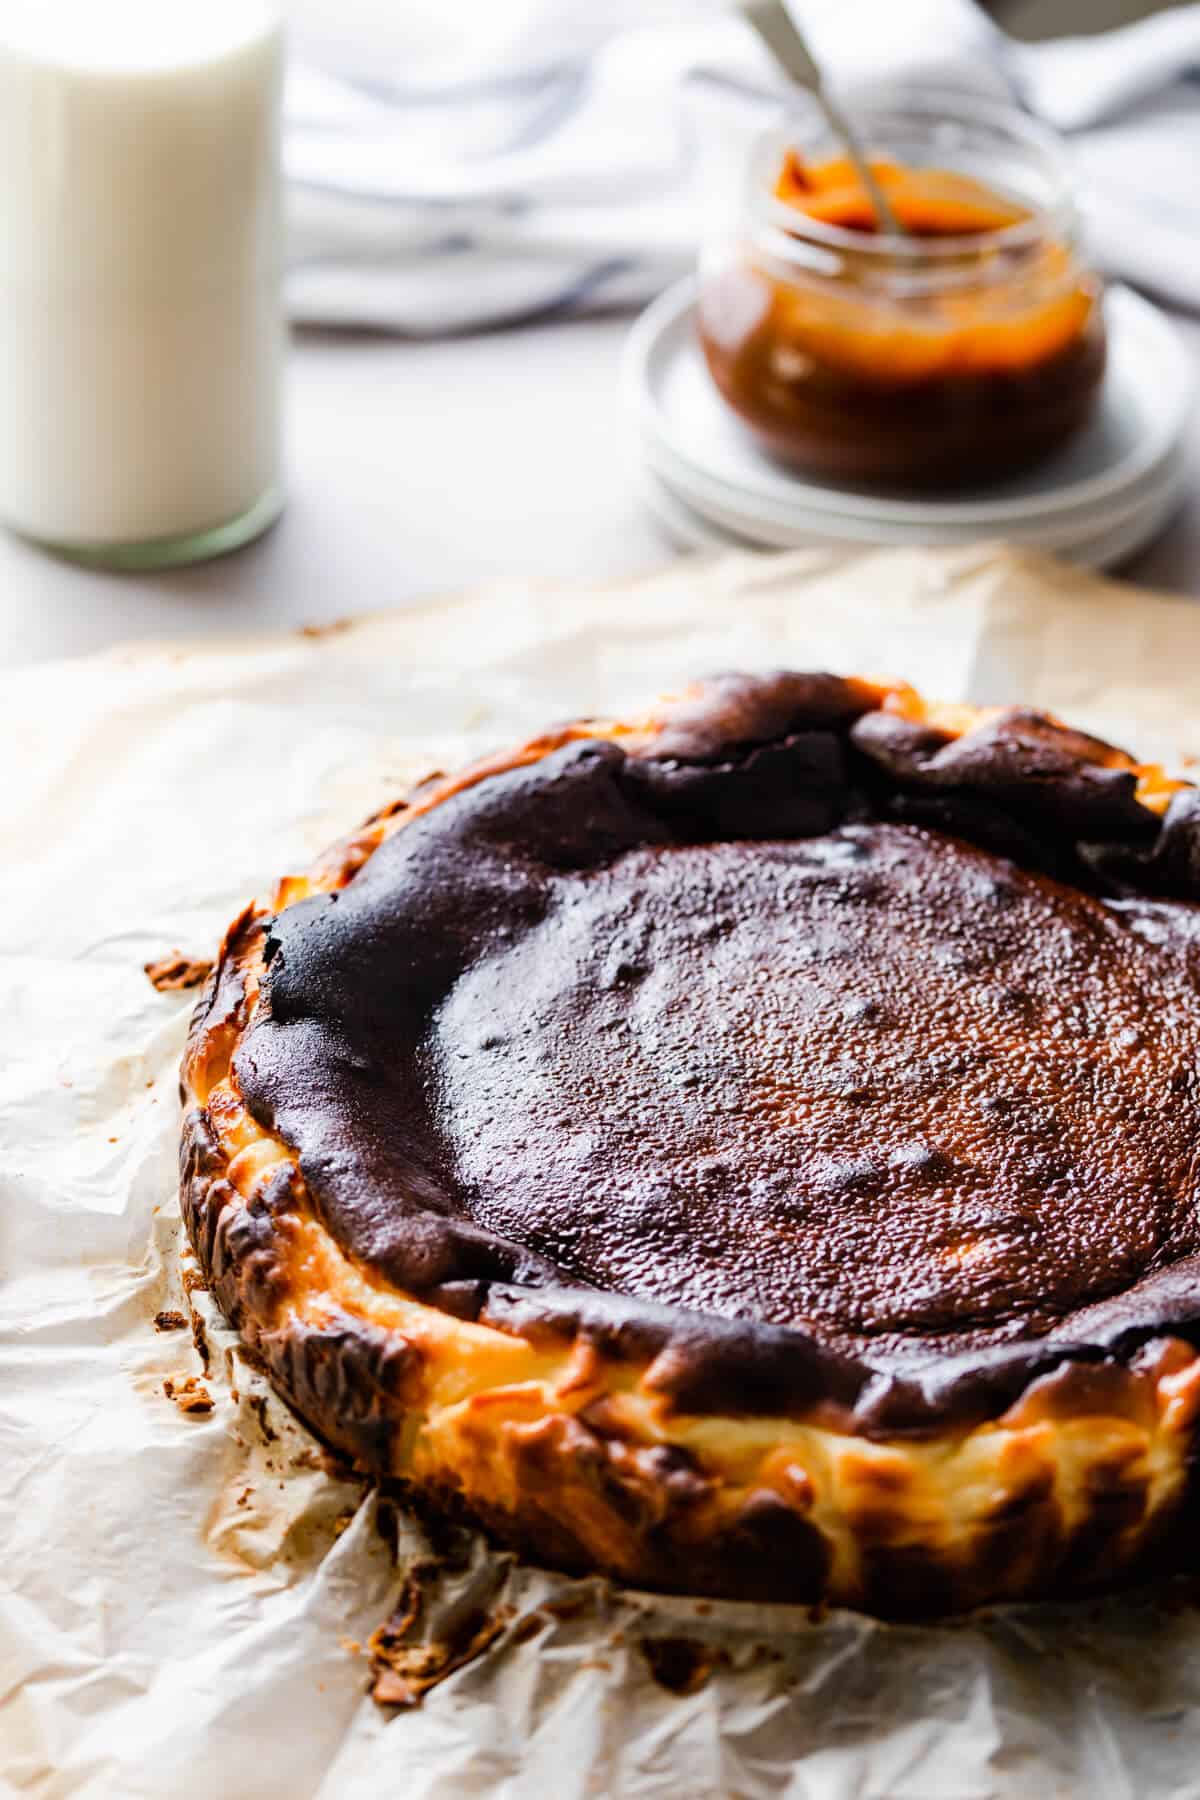
Burnt Basque cheesecake can almost be called an anti-cheesecake, because the usual cheesecake baking rules do not apply here. It has no crust, and it is baked at high temperature, without the water bath, and purposely burnt, to create that caramelised top. Burnt cheesecake should sink and have cracked surface, this is what makes it so special!
Firstly, don't worry! It is absolutely normal for the burnt cheesecake to develop cracks on its surface. This is due to a difference in moisture between one part of the cake and another. As the cheesecake cools down, it will sink and shrink, which will naturally cause the surface to crack.
Check that the oven temperature is set correctly. Using a separate oven thermometer is always a good idea, as the ovens vary greatly, depending on the make and model. If the top looks under-baked or not browned enough, place the cheesecake under the grill/ broiler for few minutes. Keep an eye on it, and once you are satisfied with the appearance, remove from the oven and cool.
To pin this recipe and save it for later, use the button on the recipe card or on the photos above.
If you try this recipe, or any other recipe on Anna Banana, please take a moment to rate the recipe and/ or leave me a comment. I love hearing from you, but it also helps other readers who are thinking of making the recipe.
📖 Recipe
Burnt Basque Cheesecake
Equipment
- 10 inch (25 cm) round springform cake tin
- baking paper
- hand-held electric mixer or freestanding mixer with the paddle attachment
Ingredients
- 900 g full-fat cream cheese (Philadelphia) room temperature
- 300 g sugar caster or granulated
- 6 large eggs room temperature
- 480 ml double cream room temperature
- 1 teaspoon salt
- 1 teaspoon vanilla extract
- 45 g plain flour
Instructions
- Preheat the oven to 200°C (180°C fan). Grease the 10 inch round springform cake tin.
- Line the greased cake tin with 2 overlapping sheets of baking paper, making sure it comes at least 2 inches (5 cm) above top and sides of the tin. This is important, as the cheesecake will raise and puff up a lot while it bakes.
- In a bowl of an electric hand-held mixer or a standing mixer fitted with paddle attachment, beat together the cream cheese and sugar on a low speed, until smooth and creamy, for about 2-3 minutes. Scrape the bottom and the sides of the bowl and mix again. The batter should have no lumps, and all the sugar should dissolved. You can test if the sugar has dissolved fully by rubbing a bit of batter between your fingers. If you no longer can feel any sugar crystals, it's ready.900 g full-fat cream cheese (Philadelphia), 300 g sugar
- Increase the speed to medium and add eggs, one at a time, beating well between each addition, and scraping the sides and the bottom of the bowl well. Reduce the speed to medium-low and add the cream, salt and vanilla and mix well for further 30 seconds.6 large eggs, 480 ml double cream, 1 teaspoon salt, 1 teaspoon vanilla extract
- Turn off the mixer and sift the flour over the cheese mixture. Beat on low speed until fully incorporated, about 30 seconds, scraping the sides and the bottom of the bowl well. Your batter should be silky-smooth, with no lumps remaining.45 g plain flour
- Pour the batter into prepared cake tin and bake cheesecake until it is deeply golden-brown on top but still jiggly in the middle, about 60- 65 minutes total.
- Remove from the oven and let it cool completely (it will sink and shrink as it cools down), then transfer to the fridge to chill for minimum 4-5 hours, or ideally overnight. Remove the cheesecake from the baking tin and gently peel the baking paper. Bring the cheesecake to the room temperature before serving. Slice and enjoy!
Please note that all my recipes are developed and tested in metric grams. I recommend that you use digital scales for a more accurate results. I have provided a conversion to US customary in the recipe but please note that I haven’t tested using this method.
Video
Notes
- Make sure to bring all of the ingredients to the room temperature before making this recipe.
- Use plenty of baking paper to line the baking tin with. Ensure there is at least 5cm of the overhang, as this cheesecake will raise and puff up a lot, while it bakes.
- It is crucial to allow the cheesecake to cool completely in the baking tin, and then to chill it in the fridge properly. Do not attempt to remove it from the baking tin any sooner, as it will not be set.
Nutrition
This recipe was originally published in December 2020. It has been updated with some new photos, revised recipe and tips in November 2022.

Juyali - A Latin Flair
I've always wanted to make this dish! I'll definitely try this recipe!
LaKita
I haven't had basque cheesecake in forever and this recipe certainly did not disappoint. It came out perfect and was so tasty and delicious!
Moop Brown
I don't think I've ever had this kind of cheesecake before but it seems like a unique and tasty take on the classic dessert.
Lauren Michael Harris
This cheesecake was much easier to prepare than I ever thought it would be. It turned out beautiful and to my surprise, even my kids loved it!
Tristin
I have been so excited to try this cheesecake, I'm glad I found your recipe because your instructions were so easy to follow!
Laura
This recipe was super easy to follow and reading all the tips before cooking made the whole process really simple. Thanks a lot, loved the cake and will be making again!
Anna
Thank you Laura, I'm really pleased to hear that you found the instructions and the recipe easy to follow!
Min
My NEW FAVORITE CHEESECAKE!!! So delicious, and I love that burnt texture on the outside. Thanks for an awesome recipe!
Anna
pleasure all mine, so happy to hear that you enjoyed it!
May
I was wondering if this can be made plant-based.. I think I can use plant-based cream cheese but not sure about the eggs! Looks so delicious though, I might just try using an egg replacer!
Anna
Hi May, I'm not sure how this recipe will turn out with plant-based substitutes, but if you try, I would love to know the result! Happy baking!
tiannaskitchen
This recipe seems quite simple to make i have never tried making cheesecake in the oven before but this recipe i might need to change that
Toni
It was a huge hit at my house!
Anna
Happy to hear it Toni! Thank you!
Wendy
Hi Anna
I want to use a 6 inch spring foam pan, would 500 grams of cream cheese and 4 eggs be the correct amount for that size pan. How do you size down on the recipe?
Anna
Hi Wendy, here's how I would scale it down to 6 inch pan: 460g cream cheese, 180g sugar, 3 eggs, 250ml cream and 20g flour. You will bake it for 35- 40 minutes, until deep golden-brown but still jiggly in the middle. I would love to hear from you if you try baking this smaller version and what results you've had! Happy baking!
Wendy
Hi Anna
Made the cheese cake last night. I had to increase the temp to 400 F to get it to burn per say.
Husband says it’s so good! Nice and light in the centre, I will try to send you a picture.
Thanks for the recipe break down☺️
Anna
Hey Wendy! That's so great to hear, I love that it's approved by hubby too! Thanks so much for taking time to leave a comment, I really appreciate your feedback!
Wendy
Your more than welcome, I read your bio and my Grand- Parents were Polish, my dad and his siblings speak a bit. I love your style and baking for me is relaxing and satisfying!! Plus a good treat when it’s all done!!!!
Nice to connecting with you Anna.
All the best!
Anna
That's so great to hear about your Polish heritage Wendy, I think our love for cooking and baking is a huge part of it! Glad to be able to connect with you too, take care and talk soon!