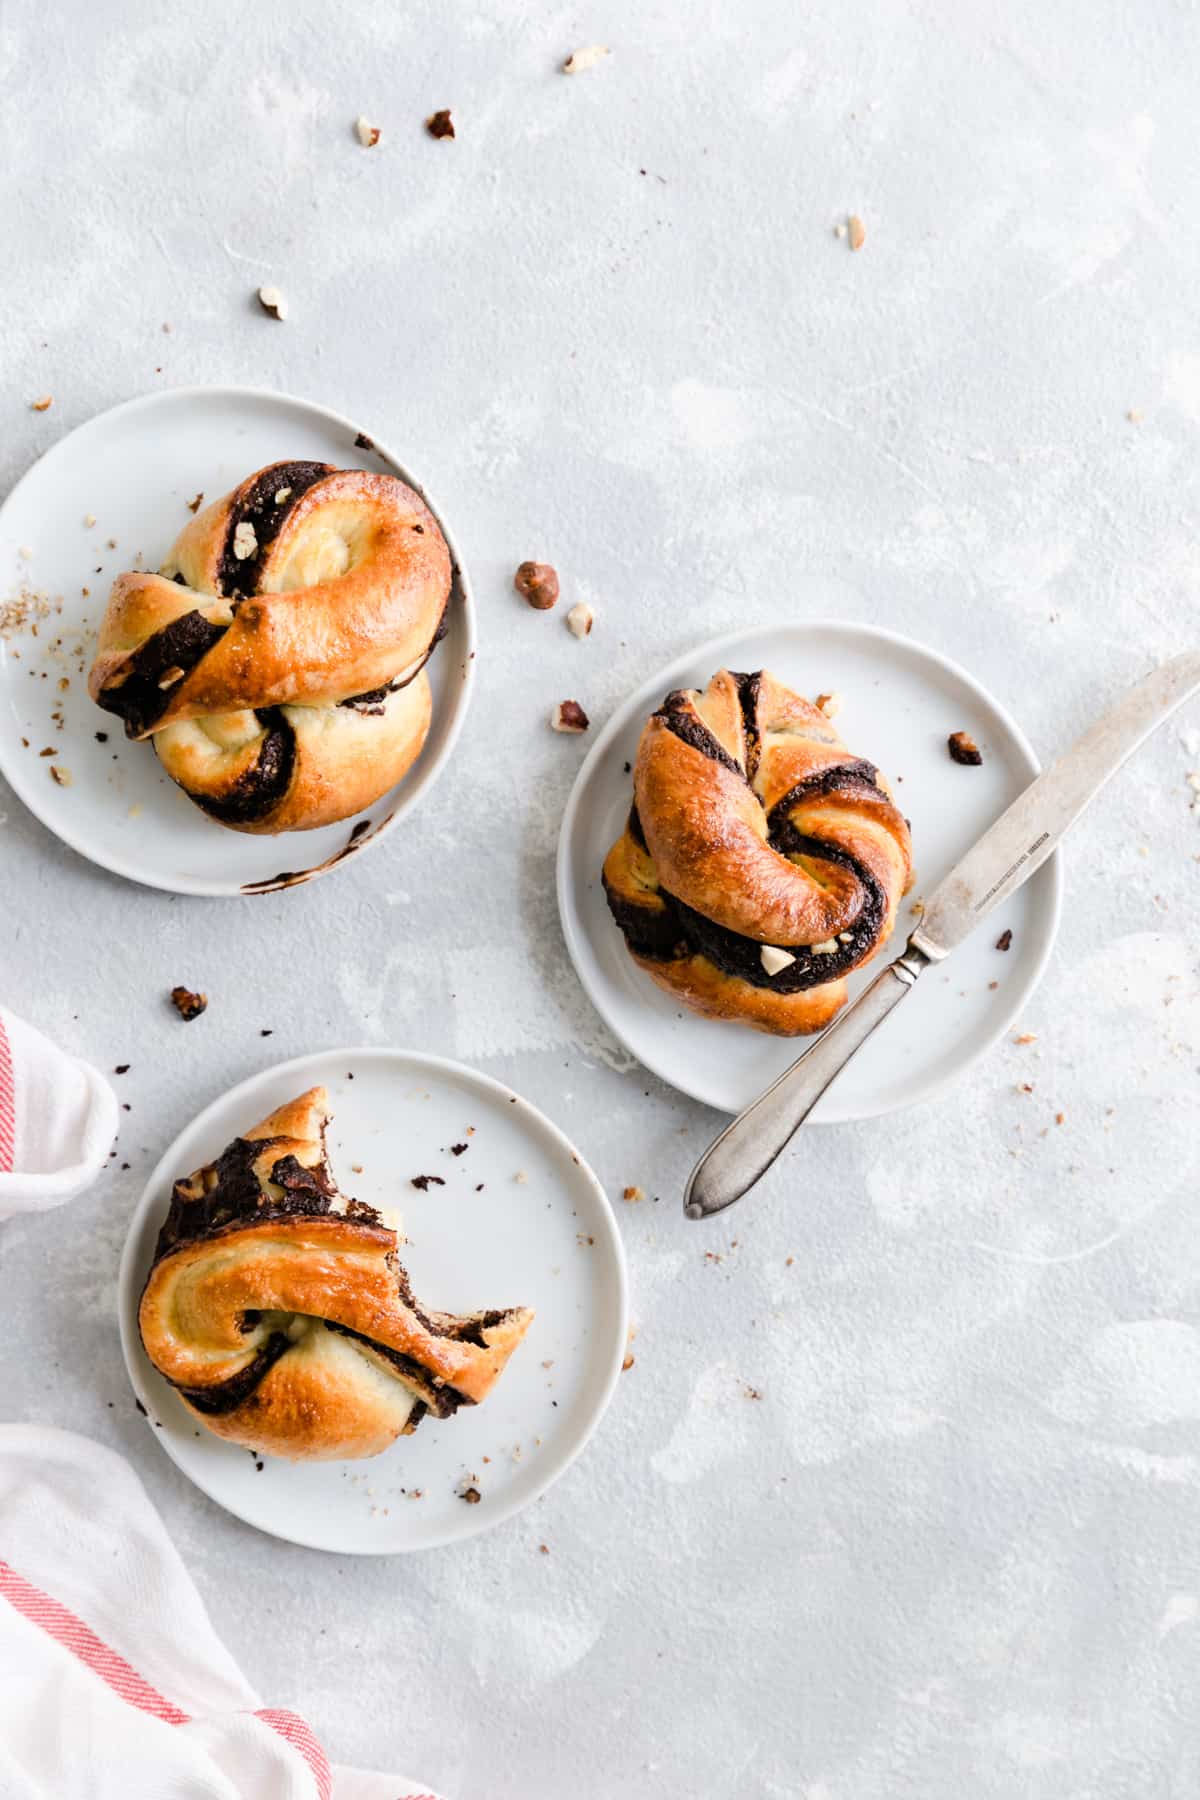
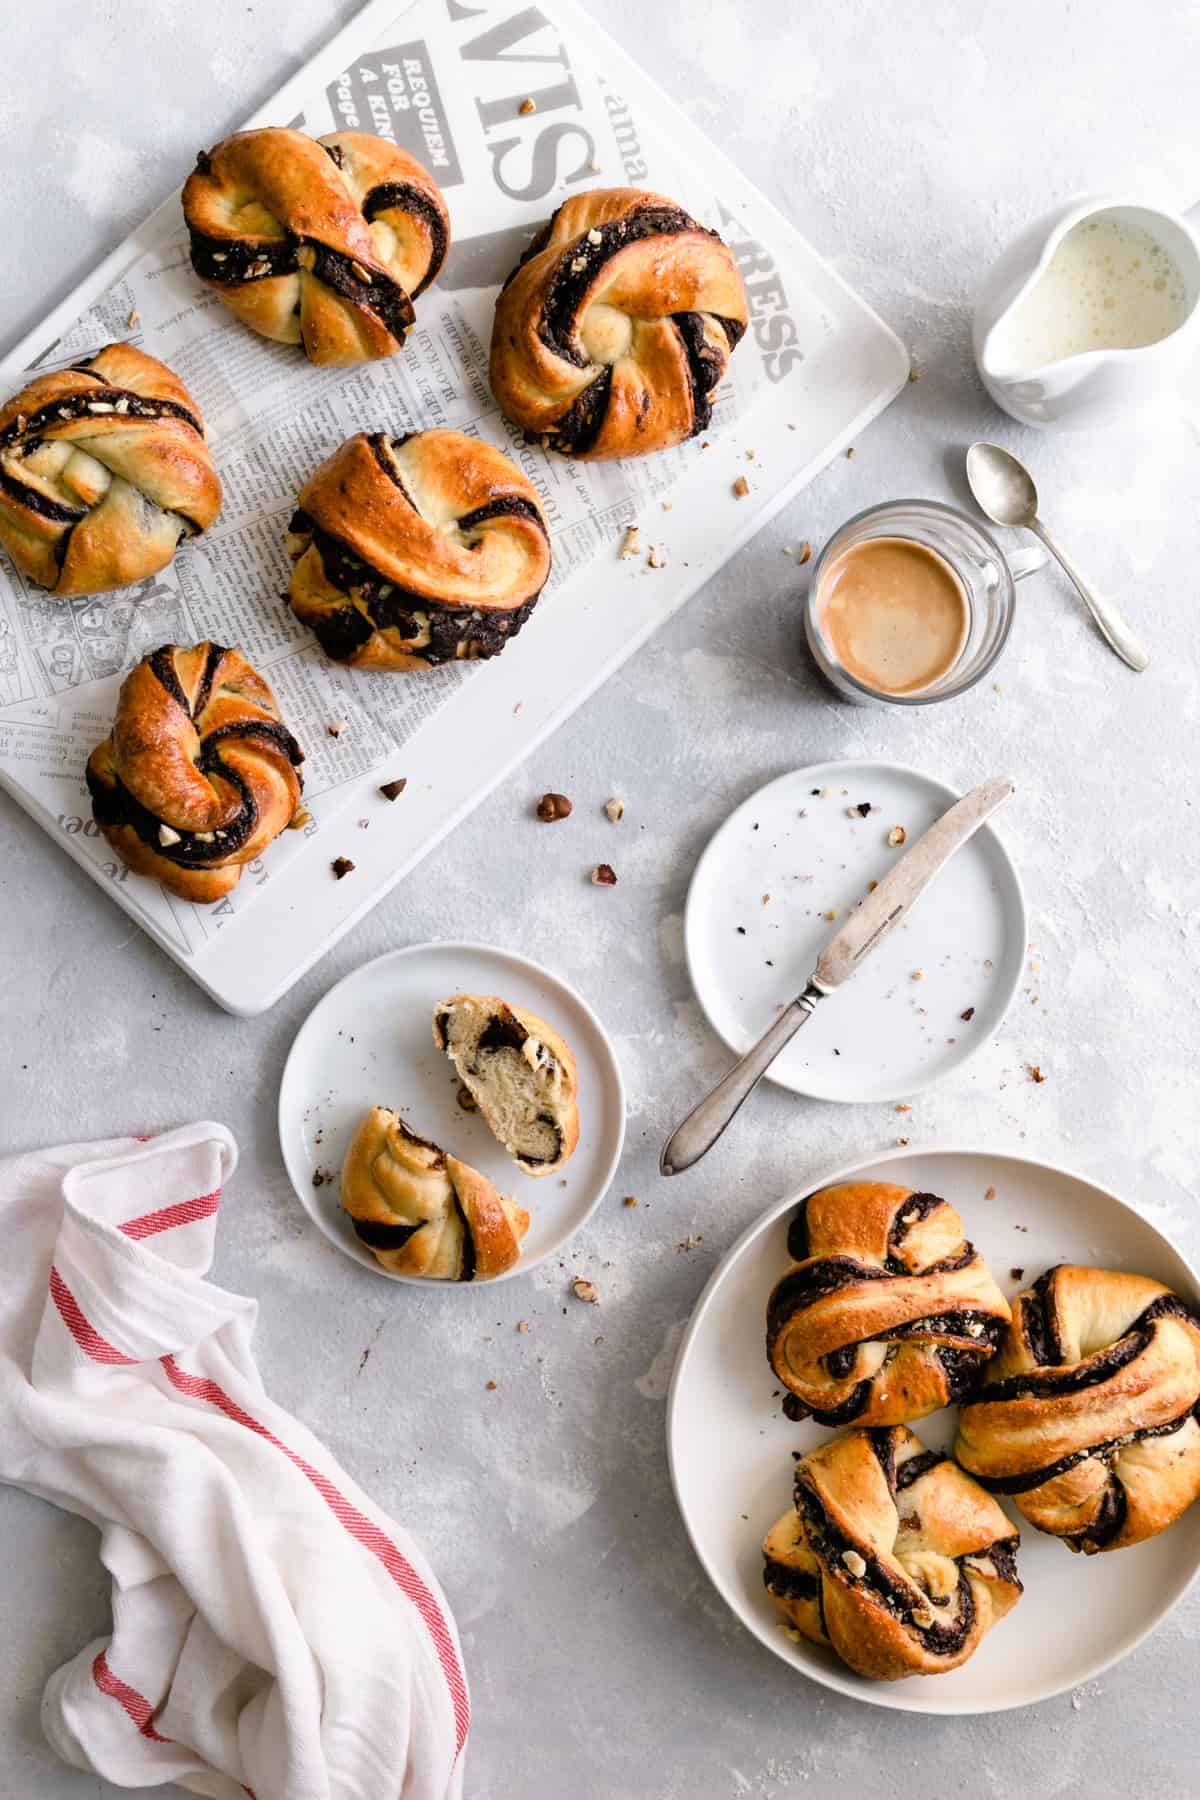
These chocolate hazelnut babka buns will quickly become your favourite weekend baking project! Soft, fluffy dough filled with dark chocolate and crunchy nuts make a delicious treat for the whole family!
Happy Monday!
Where did the weekend go? I seriously feel like this year is flying by, we are almost at the end of March already! There's some good news... in less than two weeks, the clocks will be going back! Heck YES to all that daylight!
I'm kicking off this week with the recipe I have been obsessed with lately. So much so, that I've made it four times last week. Yup, you've heard that right! Soft and fluffy dough folded and twisted with layers of indulgent, dark chocolate and crunchy hazelnuts makes an irresistible treat for the whole family!
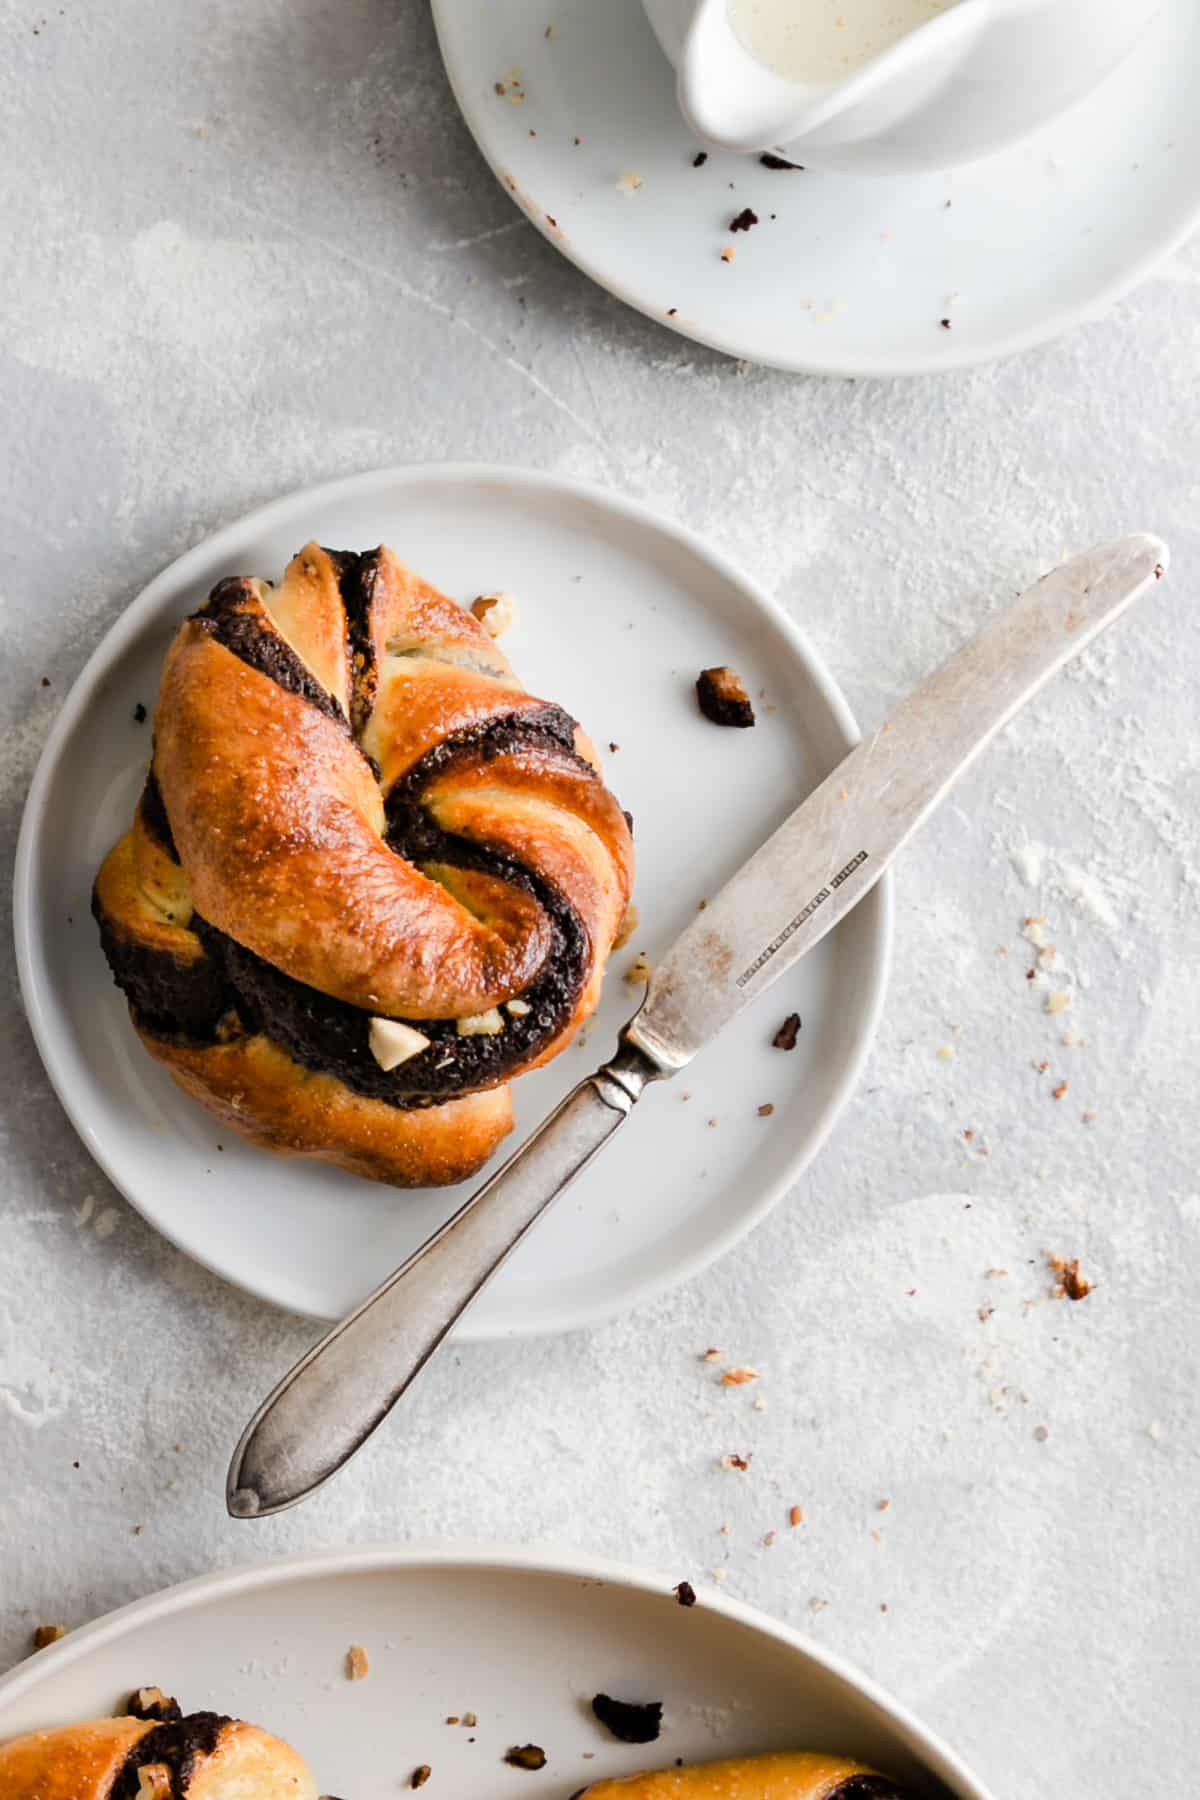
Chocolate hazelnut babka buns
I've been a fan of chocolate babka (or any type of babka) since I can remember. Being born and raised in Poland, these are one of the country traditional bakes, and truly loved by most of the Eastern Europe. Yes, they do take a little effort to make, but the results are soooo delicious and satisfying! Once you start making your own, you will never look back or think of buying it from the shop again!
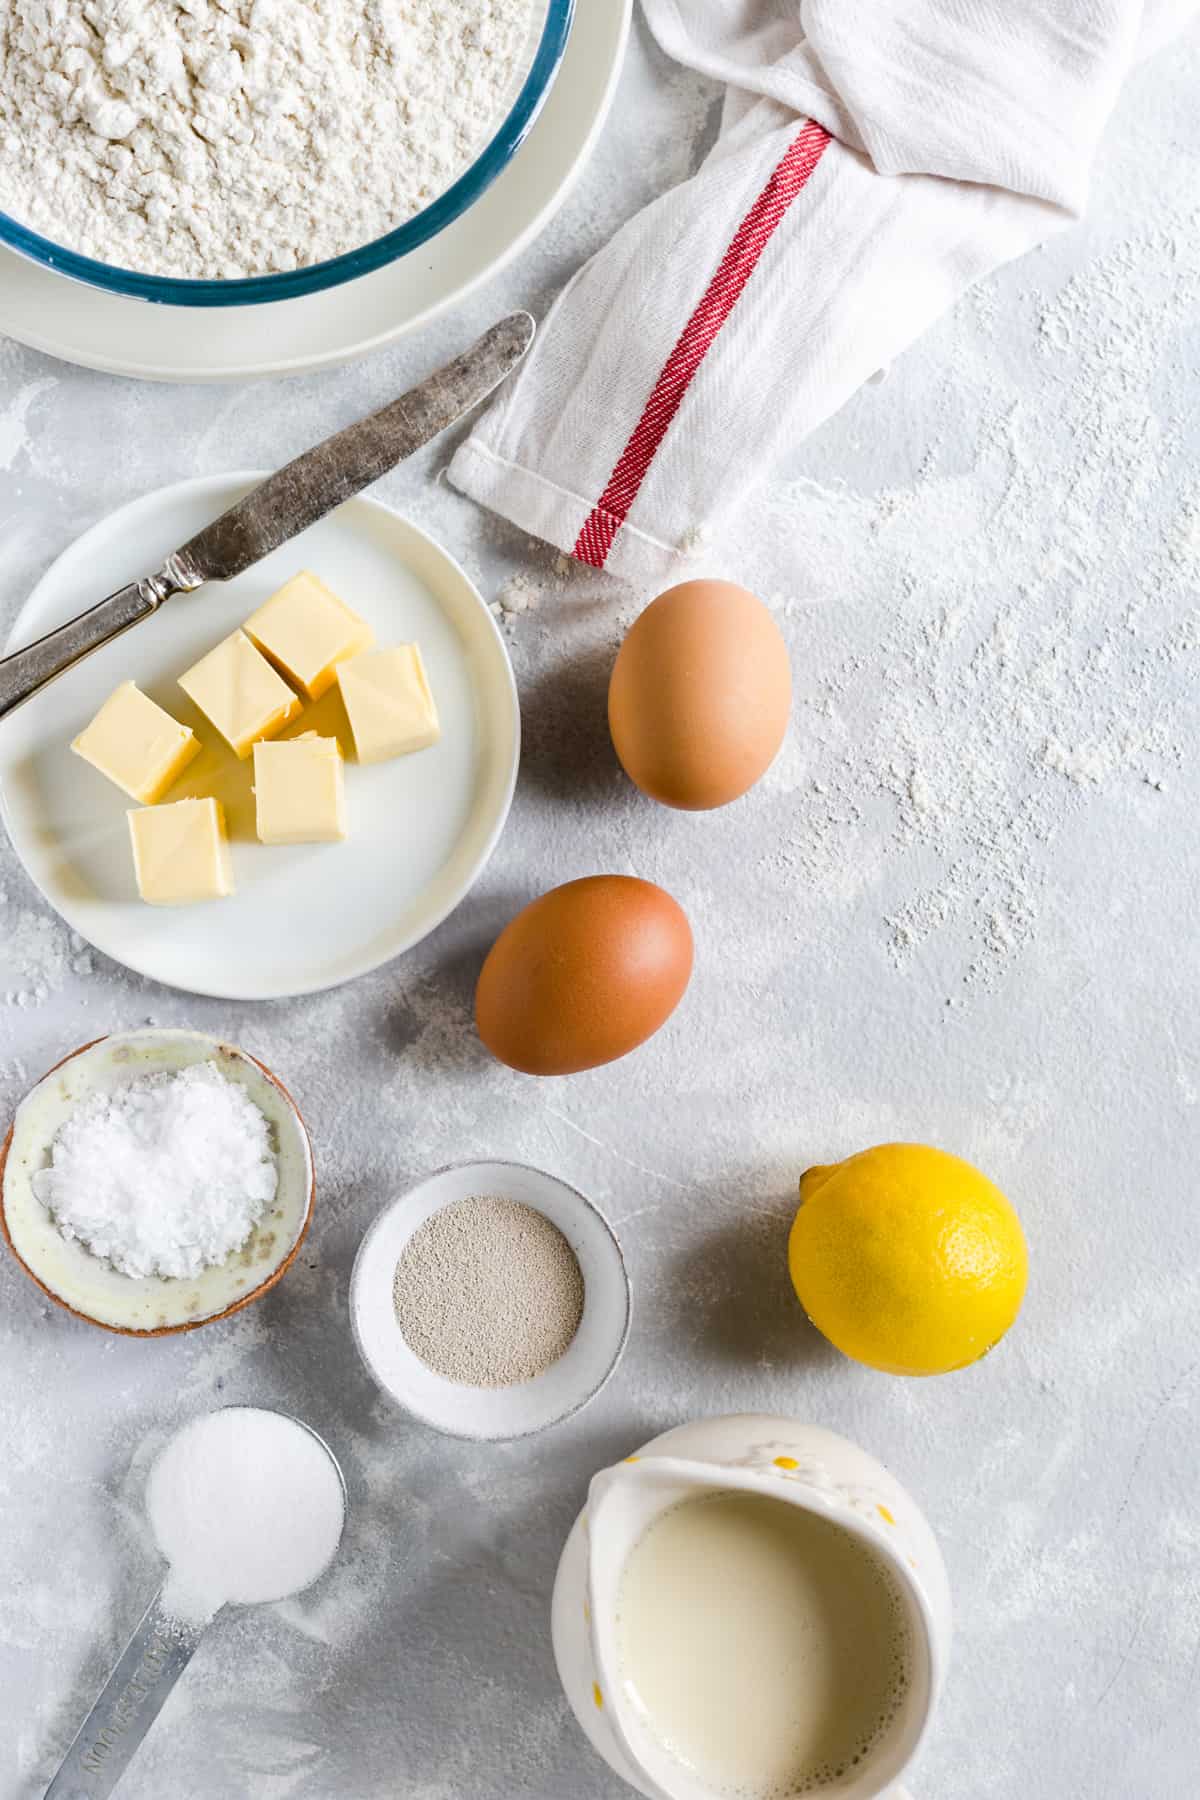
What ingredients do I need to make chocolate hazelnut babka buns?
To make babka buns, I'm using the exact same dough as you would to make babka itself. It's a simple, yeast- risen dough, and the ingredients include: strong white bread flour, caster sugar, yeast (I'm using fast action dry yeast), salt, lemon zest, egg, butter and milk.
For the filling, you will need dark chocolate (minimum 70% cocoa solids), butter, icing sugar and cocoa powder, plus any type of nuts, although they are optional. Pistachios, hazelnuts, pecans, walnuts or almonds will work just fine with this recipe. Alternatively, you can use a ready-made, shop-bought chocolate spread.
Butter and milk can be replaced by dairy-free alternatives, like vegan butter or spread and nut, soy or an oat milk.
How to make chocolate hazelnut babka buns
To knead the dough, you have two options. You can do it all by hand, or in a bowl of a standing mixer fitted with hook attachment. If doing it by hand, it will take longer (10-15 minutes). When using a standing mixer, it should take about 6-8 minutes.
Start by mixing dry ingredients for the dough: flour, sugar, yeast, salt and lemon zest. In a small saucepan, mix the milk and the butter, place it over a low heat and allow all the butter to melt. Set that mixture aside and allow it to cool until it is lukewarm. Add 1 egg into the flour mixture, and gradually start pouring the milk mixture to it, while having the mixer on a low speed.

After 6-8 minutes your dough should be ready. It should be smooth and elastic, and no longer stick to the sides of the bowl or your hands. Transfer it to the lightly oiled, large bowl, cover with cling film and allow to rise for about an hour or until it has doubled in size.
Prepare the filling while your dough is resting. The filling should be slightly thick in its consistency, it needs to be spreadable and not runny.

On a lightly floured surface, roll the dough into a rectangle, roughly about 60 x 40 cm. Spread the filling on half of the dough, then sprinkle it with chopped nuts (if using).

Fold the uncovered dough over the filling and gently press it together. Divide it into 12- 15 strips (about 2.5- 3cm thick), and using a sharp knife or a pizza cutter, cut the dough. Twist each strip few times, then form a bun/ knot shape. You can watch this video or this video to see how to twist and shape the buns. Place buns on baking trays lined up with baking parchment, cover loosely with cling film and allow them to rise again, for about 45 minutes to an hour.
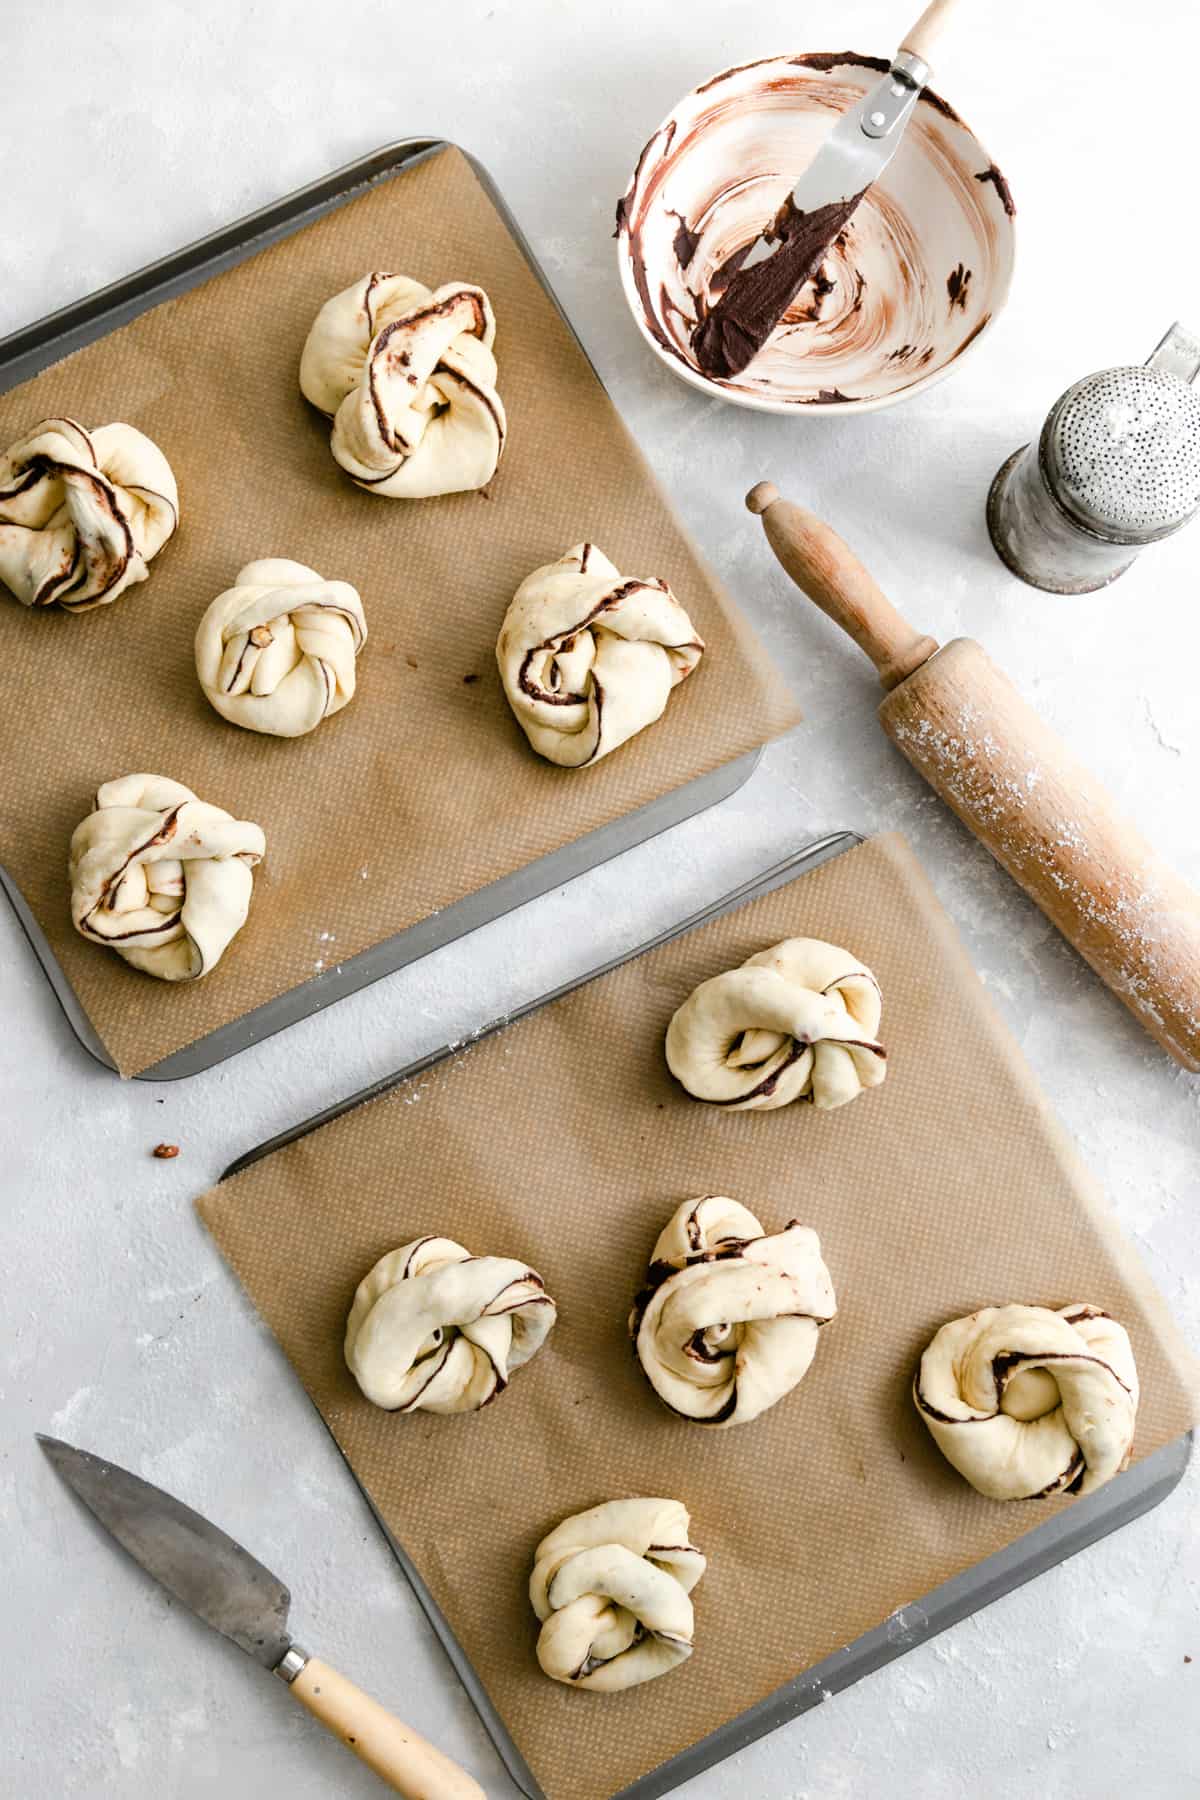
All that is left, is to heat the oven to 170C (fan), brush your buns with some egg wash or milk and bake for about 20 minutes, or until they are golden brown. It is worth adding, that your house will smell like heaven, while they are baking!
After that, they are ready to be demolished. However, to make them even sweeter, some recipes call for coating the buns with simple sugar syrup. I like to eat mine as they are, without the sugar glaze, but if you want to try it, simply boil 75g caster sugar in 75 ml of water together for a couple of minutes. Brush the buns with this glaze while they are still warm. Enjoy!
Things to remember when making chocolate hazelnut babka buns
The recipe for these babka buns is quite simple and straightforward, but there are few things to watch out for while preparing it.
Use good quality, strong white bread flour. It contains higher gluten content and works better for this type of the dough.
Make sure your yeast is fresh and in date. Old or out of date yeast may cause your dough not to rise.
The dough should be smooth and elastic, easy to work with. You know it's ready when it's no longer sticking to the sides of the bowl or your hands and it's easy to knead it.
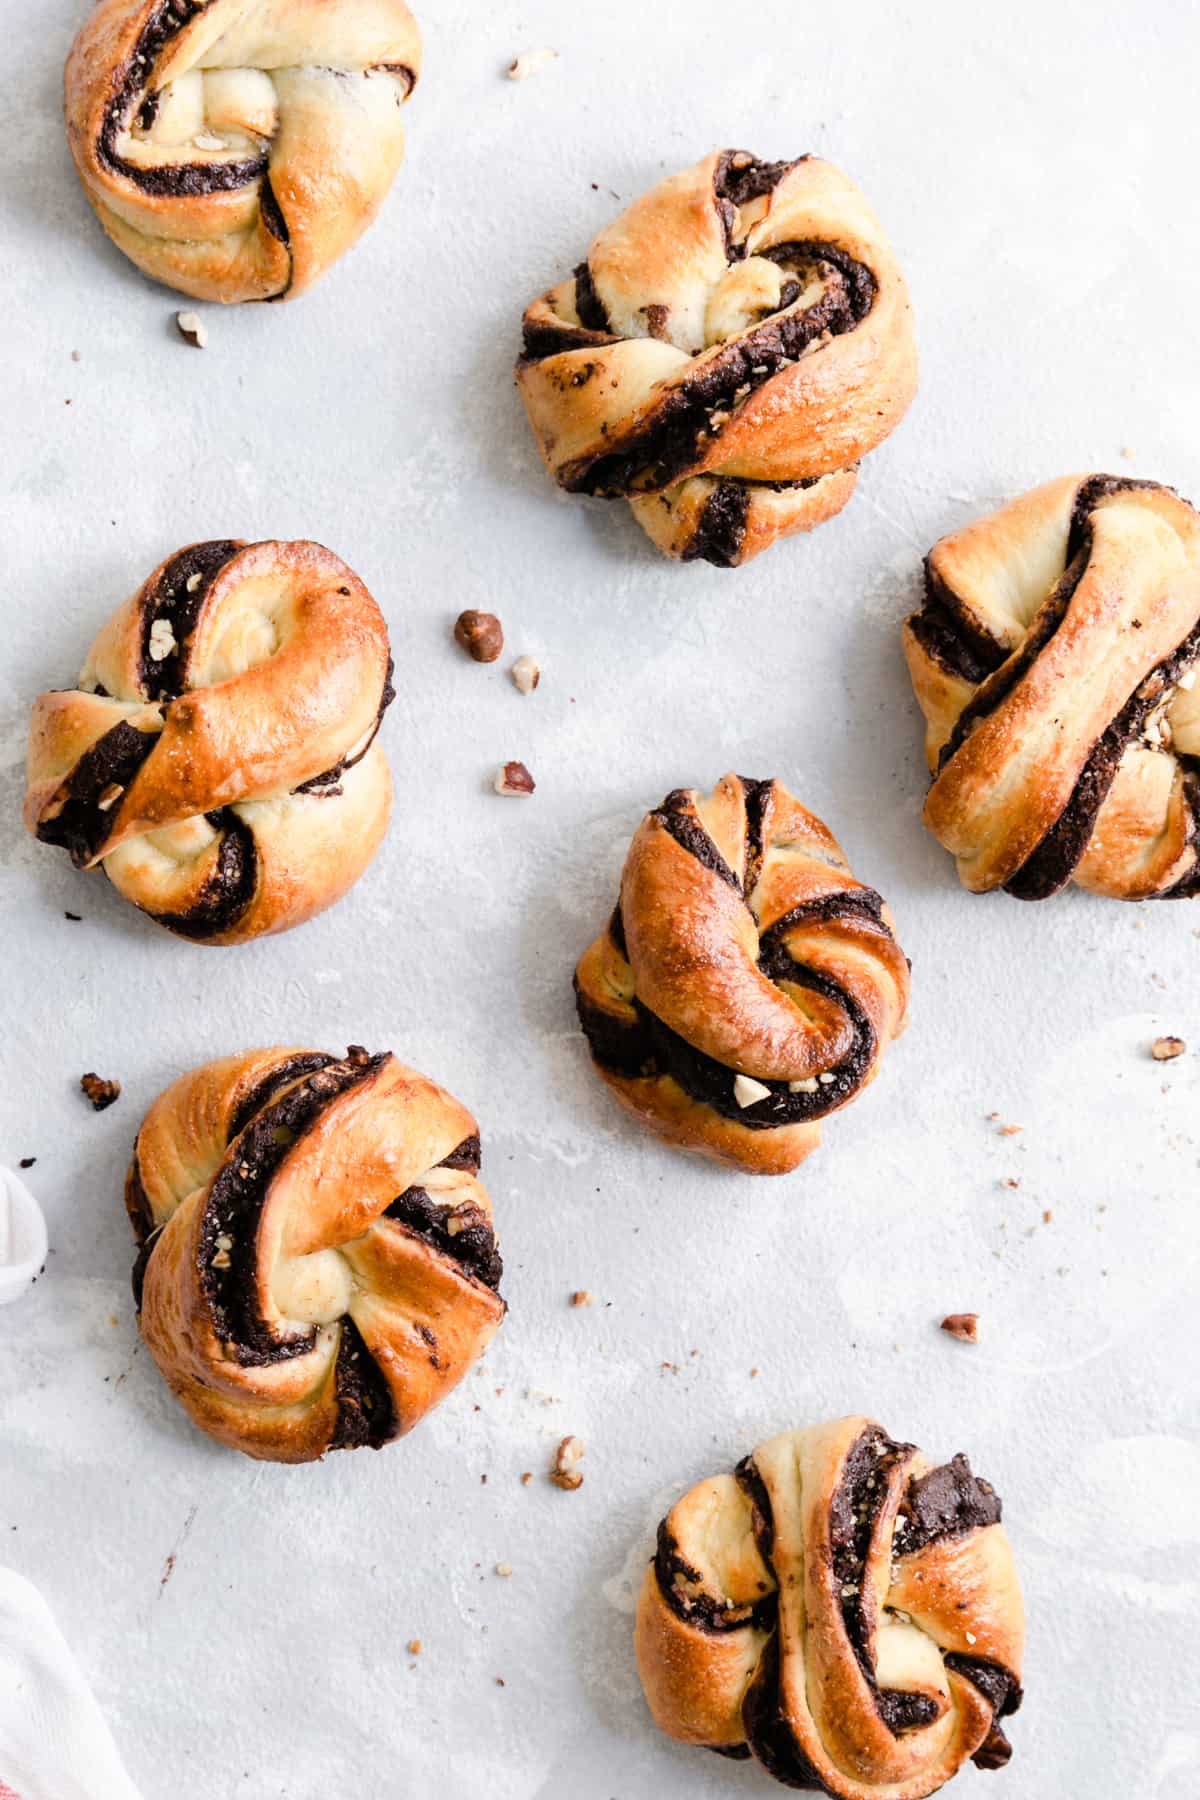
Don't worry if your babka buns are uneven in shape. They will still taste delicious!
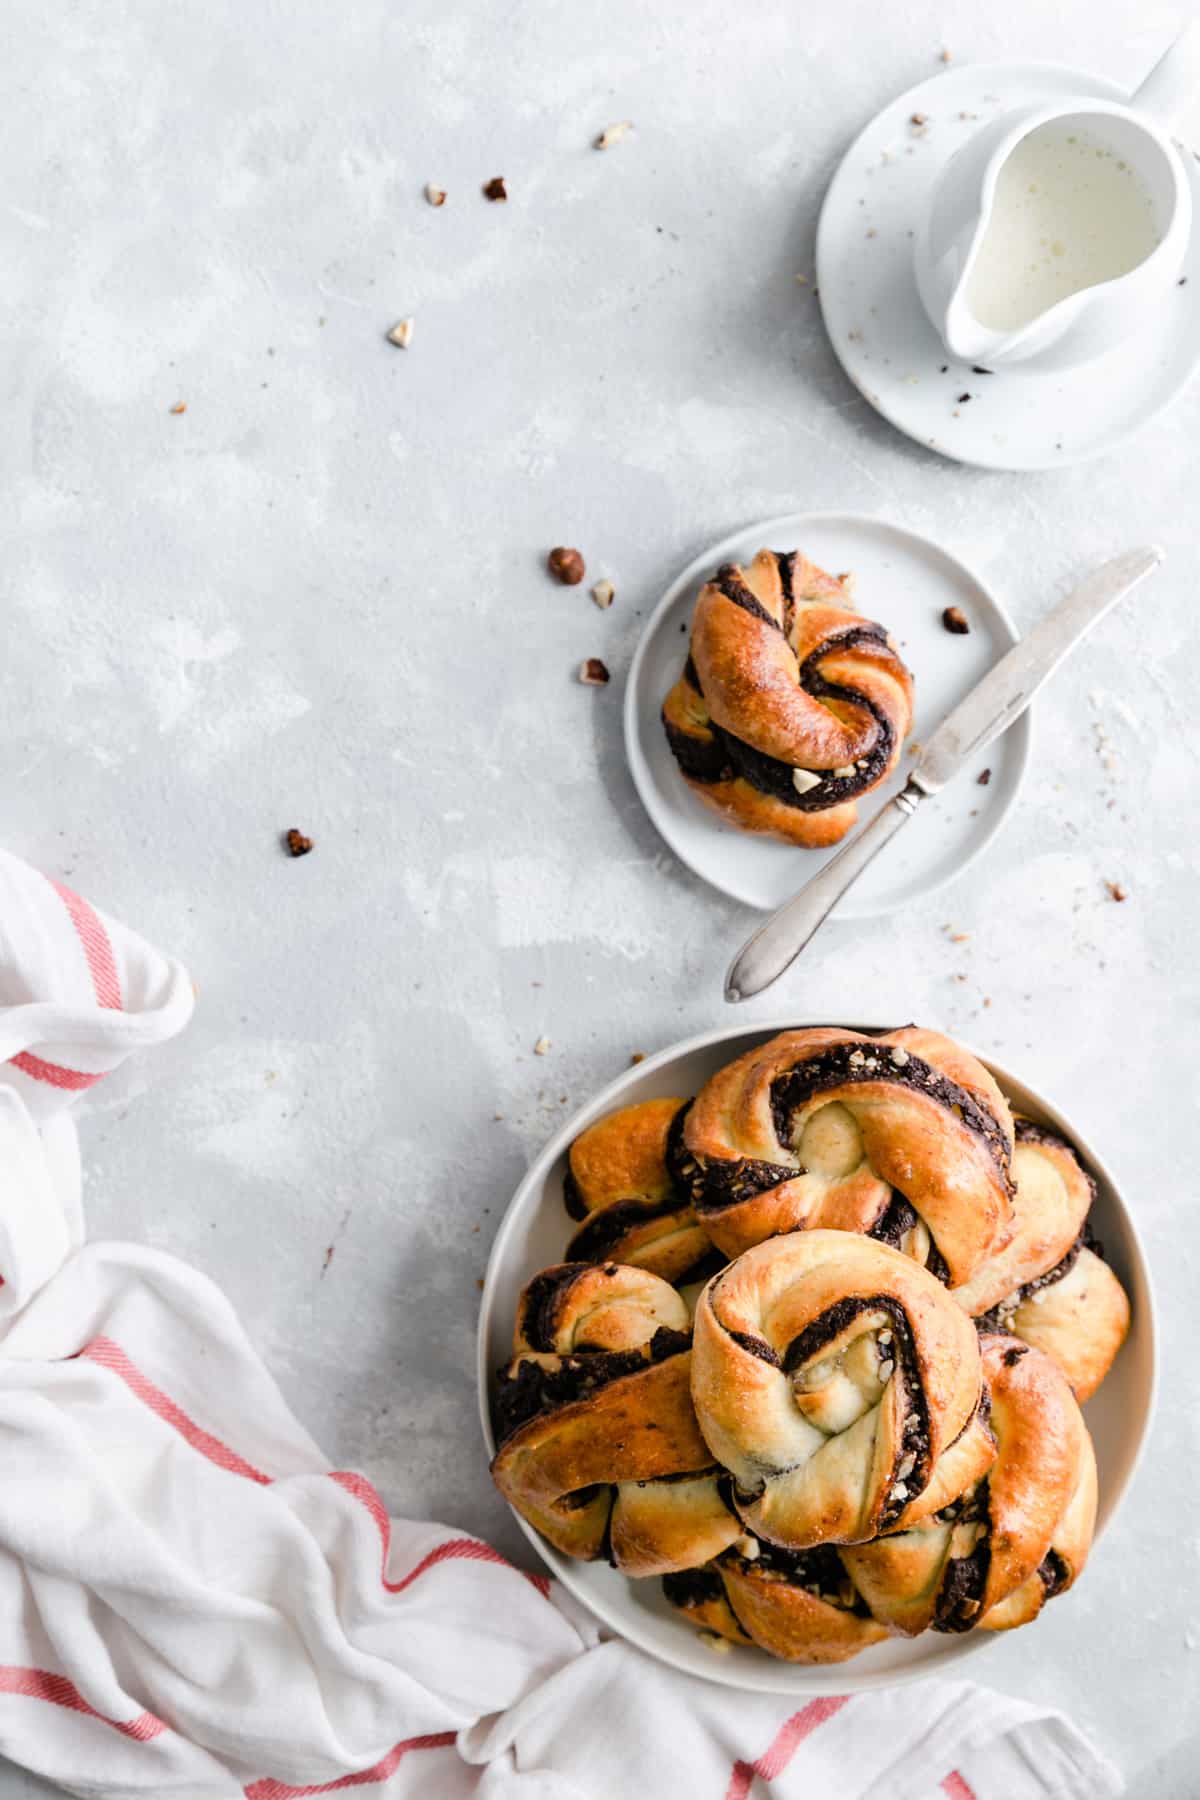
Babka buns are best, while eaten fresh, slightly warm and shortly after they've been taken out of the oven. However, they can be stored in sealed container for up to 3 days.
Thanks for reading today's post! As always, I hope you have enjoyed today's recipe, and would love to hear from you if you try it out! Feel free to leave me a comment and rating below and don't forget, you can follow me on my Instagram, Facebook and Pinterest too!
📖 Recipe
Chocolate hazelnut babka buns
Ingredients
For the dough:
- 500 g strong white bread flour (plus extra for dusting)
- 40 g caster sugar
- 7 g dried yeast
- 1 teaspoon salt
- 1 medium lemon (zest only)
- 275 ml milk of choice (I've used oat milk)
- 75 g unsalted butter or vegan spread
- 2 medium eggs (1 beaten to glaze)
For the filling:
- 75 g unsalted butter or vegan spread
- 75 g dark chocolate (min 70% solids)
- 2 tablespoon icing sugar
- 2 tablespoon cocoa powder
- 75 g roughly chopped hazelnuts (or any other nuts of choice)
Instructions
To make the dough:
- Place flour, caster sugar, yeast, salt and lemon zest into a large bowl of a standing mixer fitted with the hook attachment and mix well (you can also do it all by hand). Place the milk and the butter into a small saucepan and heat gently until the butter has melted. Set this mixture aside until it is lukewarm. Add the egg and the milk mixture into the bowl with flour, and start mixing it on a low speed for about 6-8 minutes until it forms smooth and elastic dough. Transfer the dough into oiled bowl, cover with cling film and allow it to rise for about an hour or until it has doubled in size.
To make the filling:
- Put the butter and chocolate into a small heatproof bowl set over a pan of simmering water and heat until fully melted. Remove from the heat and add the icing sugar and cocoa powder and stir together. Set aside until it has thickened into spreadable consistency.
- Put the dough on a lightly floured surface and roll into rectangle, about 40 x 60 cm. Spread the filling over half of the dough and sprinkle with chopped nuts. Fold the uncovered dough over the filling and gently press together. Using a pizza cutter or a very sharp knife, cut the dough into strips, about 2.5- 3 cm thick. Twist each strip of the dough few times then, gripping one end between your thumb and forefingers, coil the dough around the fingers to form a bun shape, finishing by folding the end of the dough over and under (see recipe notes for how-to).
- Place each bun on a baking sheet lined with parchment paper, living about 5 cm space between each bun. Cover with cling film and set aside until buns have risen and puffed up (about 45 min- 1 hour).
- Heat the oven to 190C (170C fan). Brush each bun with egg wash and bake for about 20 minutes or until golden brown. Enjoy!
Please note that all my recipes are developed and tested in metric grams. I recommend that you use digital scales for a more accurate results. I have provided a conversion to US customary in the recipe but please note that I haven’t tested using this method.
Notes
Enjoyed reading this post? Make sure to sign up to my mailing list to receive future posts and recipes straight to your inbox!


Nash
I totally want to make these asap! These are dreamy and I can only imagine the smell of the kitchen once these are the oven. Anna, I love your site, your recipes and your 'about' story. So many things I want to try here ;o) Thank you!
Anna
Hey Nash, thanks so much for stopping by and for your lovely comment! I'm very grateful for you taking time to read the blog, and I hope you will enjoy this recipe, these buns are really yummy and one of the favourites in our house! Let me know if you try them!
Shan
These look so amazing!!! I’m wondering if I can replace strong white bread flour with all purpose flour? I’ve so many packs of those just sitting at home 😛
annabanana
Hi Shan, glad you like the recipe and you are thinking of making it at home! In short, yes, you can replace the flour. I found this article online, hope that will help: https://www.kingarthurflour.com/blog/2016/07/21/substitute-bread-flour-all-purpose-flour
Bea Louise
This looks amazing! Will try it for my mom to take to the office. Any suggestions on should I reheat it or pack if I do this the day before? Sometimes bread that I make gets hard easy 🙁
annabanana
Hi Bea, I will suggest to store them in the airtight container to prevent them from drying. Hope this helps!
Jacqueline Meldrum
Those look heavenly. I just want to reach into the screen and grab one. I love the step-by-step tutorial too. It made them look doable! Sharing.
annabanana
Hello Jacqueline! Thanks so much for your comment and for stopping by! Glad you enjoyed the step-by-step photos and the recipe!
Mayuri Patel
Oh these babka buns look so so so pretty. What a wonderful way to begin the morning with ---chocolate and nut filled bun and coffee.
annabanana
Thanks Mayuri, I can't think of a better way to start a day than with these bunz! 😉
Deseree
I love how easy and authentic these babka buns are. I can't wait to make them for Easter.
annabanana
Thank you Deseree, I'm so happy to hear that! Hope you will enjoy them around your Easter table!
Amanda Mason
These look amazing!!! My kids would love to make these and you are right - what an amazing weekend project!!! Definitely making these soon!!
annabanana
Hey Amanda! Thanks so much for stopping by! They would be great to make together with kids! I used to bake buns like these with my aunt, when I was a kid, it was one of my favourite things to do! And I guess it kinda stayed with me and continues to this day...:)
Cathleen @ A Taste of Madness
Yess!! I think I would be obsessed with these too!
Also, good reminder about the yeast. I have ruined so many breads by using old yeast 😛
annabanana
Hey Cathleen! I've baked them on Sunday again 😀 but used strawberry jam as a filling, instead of chocolate and they were soooo good! I think I'm addicted! And I also have ruined few great bakes, just because of the OOD yeast, so it's super important to check!
Sharon
These chocolate hazelnut buns look fo good! I would love these with a strong cup of coffee on the weekend. Looks delicious.
annabanana
Thank you Sharon, glad to hear you like them! And yes, they will make a perfect coffee companions, especially on these lazy weekend mornings!
Leanne | Crumb Top Baking
It's currently Saturday morning and I would love one of these with my coffee right now! Love chocolate hazelnut anything! Great step by step photos too!
annabanana
Thanks so much Leanne! They are the greatest companion to a morning cuppa! Glad you like the photos, that is awesome to hear!
Veena Azmanov
These Babka Buns look Cute and chocolaty. Lovely recipe. Will make it for my Kitty party friends.
annabanana
Thank you Veena, I hope that you and your friends will enjoy these tasty buns!
Jacque
These sound simply amazing! I can’t wait to make them they look delicious and easy.
annabanana
Thanks Jacque! Hope you will enjoy them as much as I do!
Jane Saunders
Thanks for testing out the recipe at least 4 times for us - I can be 100% sure you've nailed it now. They look gorgeous and I know my family would be so happy if I made a batch for them.
annabanana
You're more than welcome Jane! 😉 Had to make sure they all came out well! Glad you like the recipe hun, have a lovely Sunday!
Paula
Can you put the ready babka’s in the fridge over night to bake them first thing in the morning?
annabanana
Hi Paula, you can keep the buns in the fridge overnight (unbaked) and bake them next morning. Hope this helps!
Paula
Yes, that’s great thank you!
Bianca Zapatka
These mini Babkas are beautiful! And the filling seems to be so delicious. Definitely need to try it out.
Much love, Bianca
annabanana
Hey Bianca, thanks so much gorgeous! I think we got babka's in our DNA 🙂 Next on my list is to make that blueberry babka of yours!
Choclette
I would absolutely love one of these to accompany a mid-morning cup of coffee. I adore yeasted buns, but rarely make them as they do require a bit of effort. But I think I'm going to have to try these at some point. Wow!
annabanana
hi Choclette! Thank you so much for stopping by! These are THE BEST with a cup of coffee! And I know what you mean, I was very hesitant to make my own for a long time! Using standing mixer helps, as it's much less time consuming, but either way, they are worth the effort! 🙂
Katherine | Love In My Oven
These are GORGEOUS - I absolutely love your photographs and styling too. Can you believe I've never made a babka!? I have got to try these - chocolate and hazelnut is such a delicious combo!
annabanana
Hi Katherine! You're very sweet, thanks so much for this lovely comment! Babka always looks more complicated than it actually is, and I was reluctant for a long time to make my own. But once you've made it... you will never look back!
Krista Price
Ok. I'm drooling. These are perfect! Chocolate and hazelnut are a match made in indulgent sugar-laden heaven. Love this!
annabanana
hehe, thanks Krista! I couldn't agree more! We all deserve a tasty treat like this, every now and then!
Heather
I've made babka buns once a few years ago but love the idea of adding in some hazelnuts! Gorgeous photos too 🙂
annabanana
Hello Heather! Yes, hazelnuts and chocolate are such a great combo! Glad you like the photos and the recipe, thanks so much!
Cat | Curly's Cooking
This look amazing! I've not made Babka before but I want to start making more bread. These look absolutely perfect and I love your step by step photos. I've pinned to make soon!
annabanana
Thanks so much Cat! Glad to hear you've found it helpful, and I really hope you will try making your own some time soon! Once you start making your own, you will never look back! 😉
Kylie | Midwest Foodie
You had me at chocolate!!! These look perfect for my ladies brunch this weekend. Pinning this recipe for later!!
annabanana
Hello Kylie! Glad to hear that you will be trying it out! I hope you and the ladies will enjoy them as much as I do! Thank you for stopping by!
Lori @ The Kitchen Whisperer
I love how cute and adorable these look! Babka has such a special place in my heart. It looks so difficult and easily impresses your guests; I love the tutorial! Awesome job!
annabanana
Hey Lori! Thanks so much, I'm happy to hear you've found it useful! And couldn't agree more, babka is one of these recipes that does requires a bit effort, but it's not actually difficult, yet never fails to impress!
Jon
These look amazing
annabanana
Aww, thank you! Let me know if you want me to bake you some! 😉