
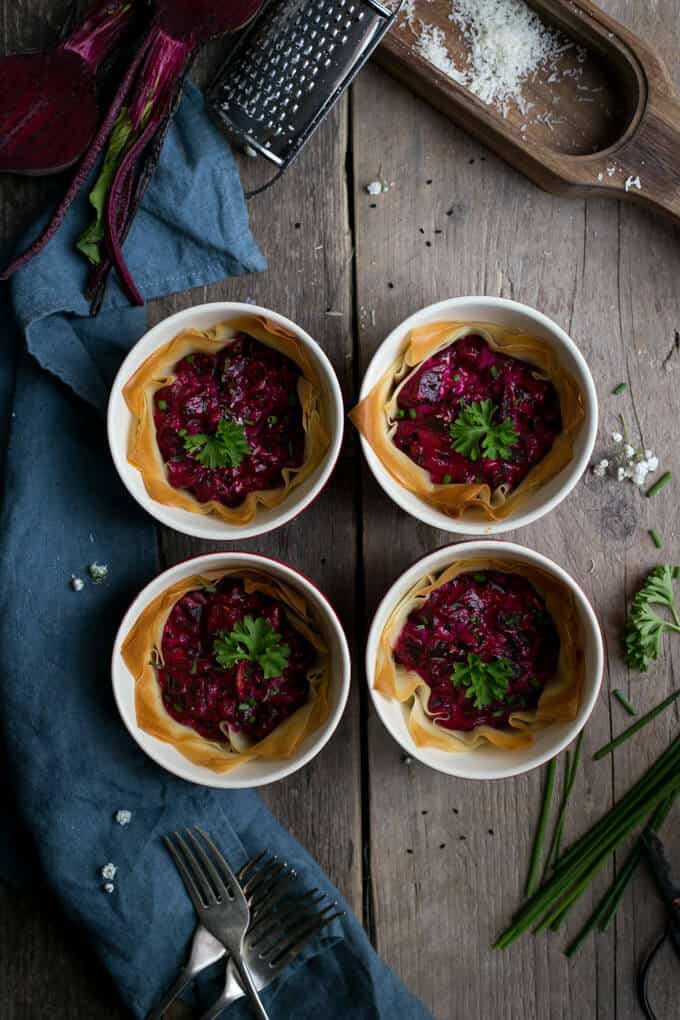
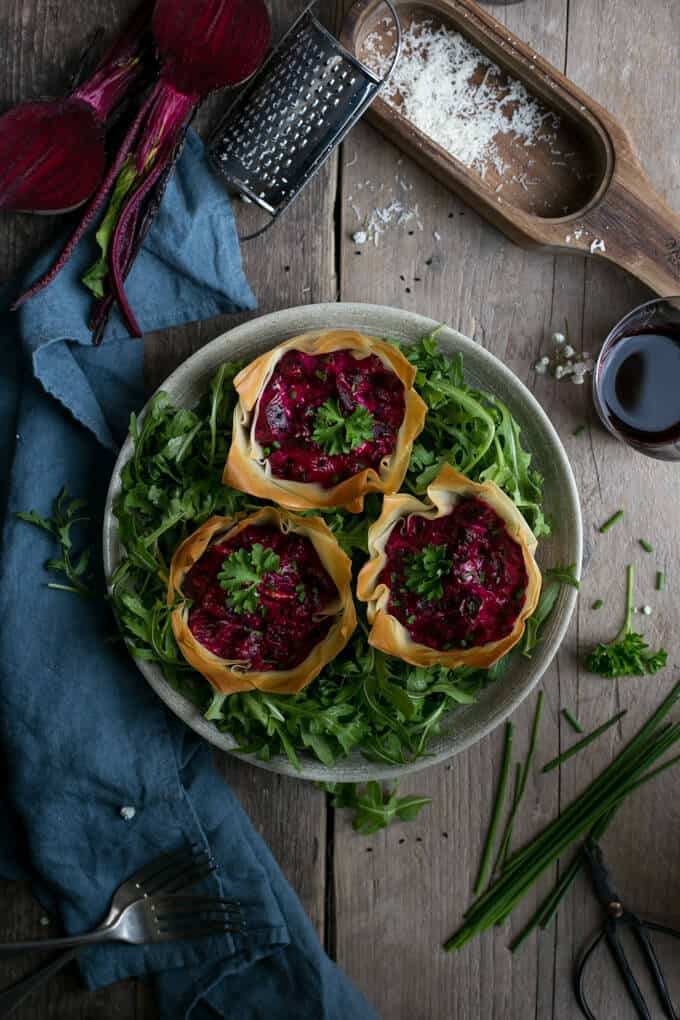
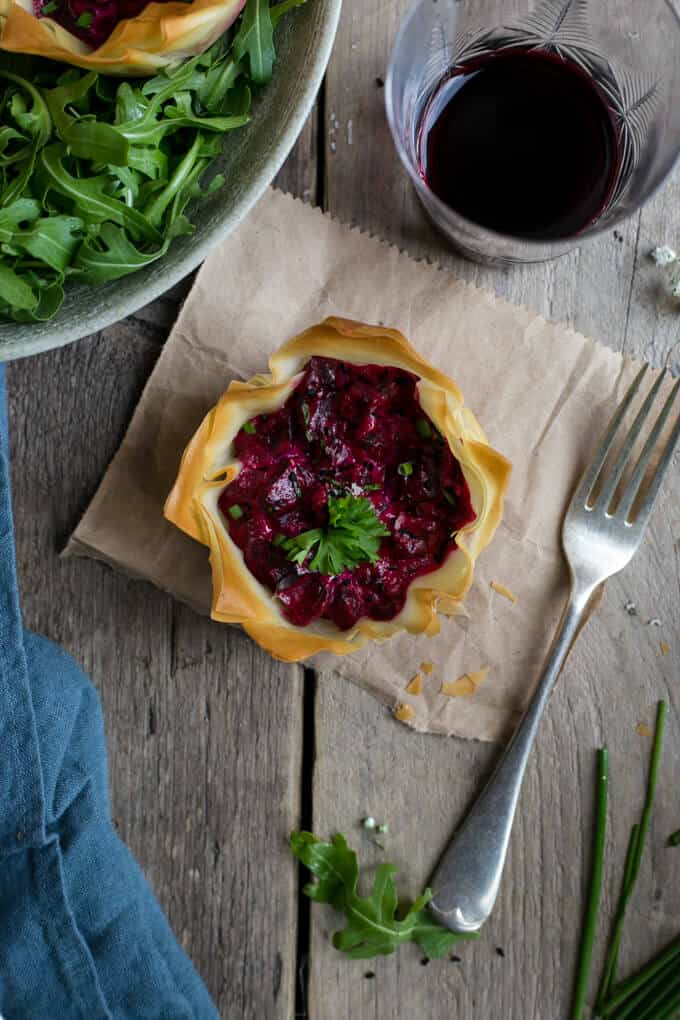
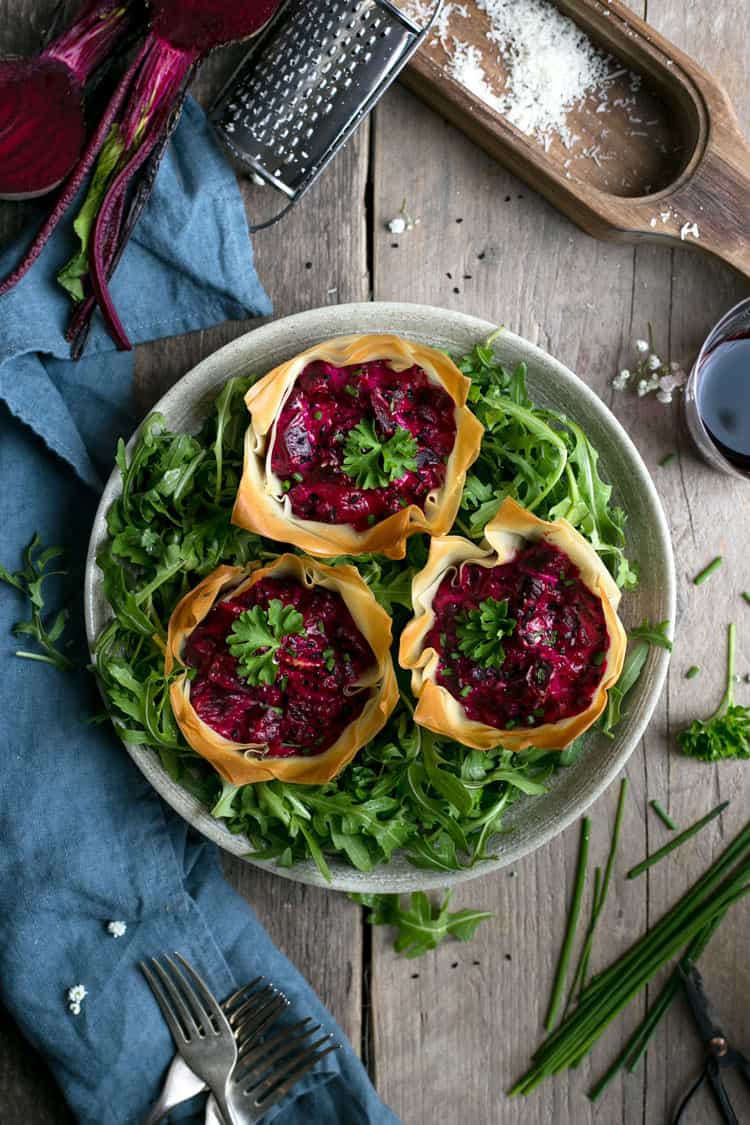
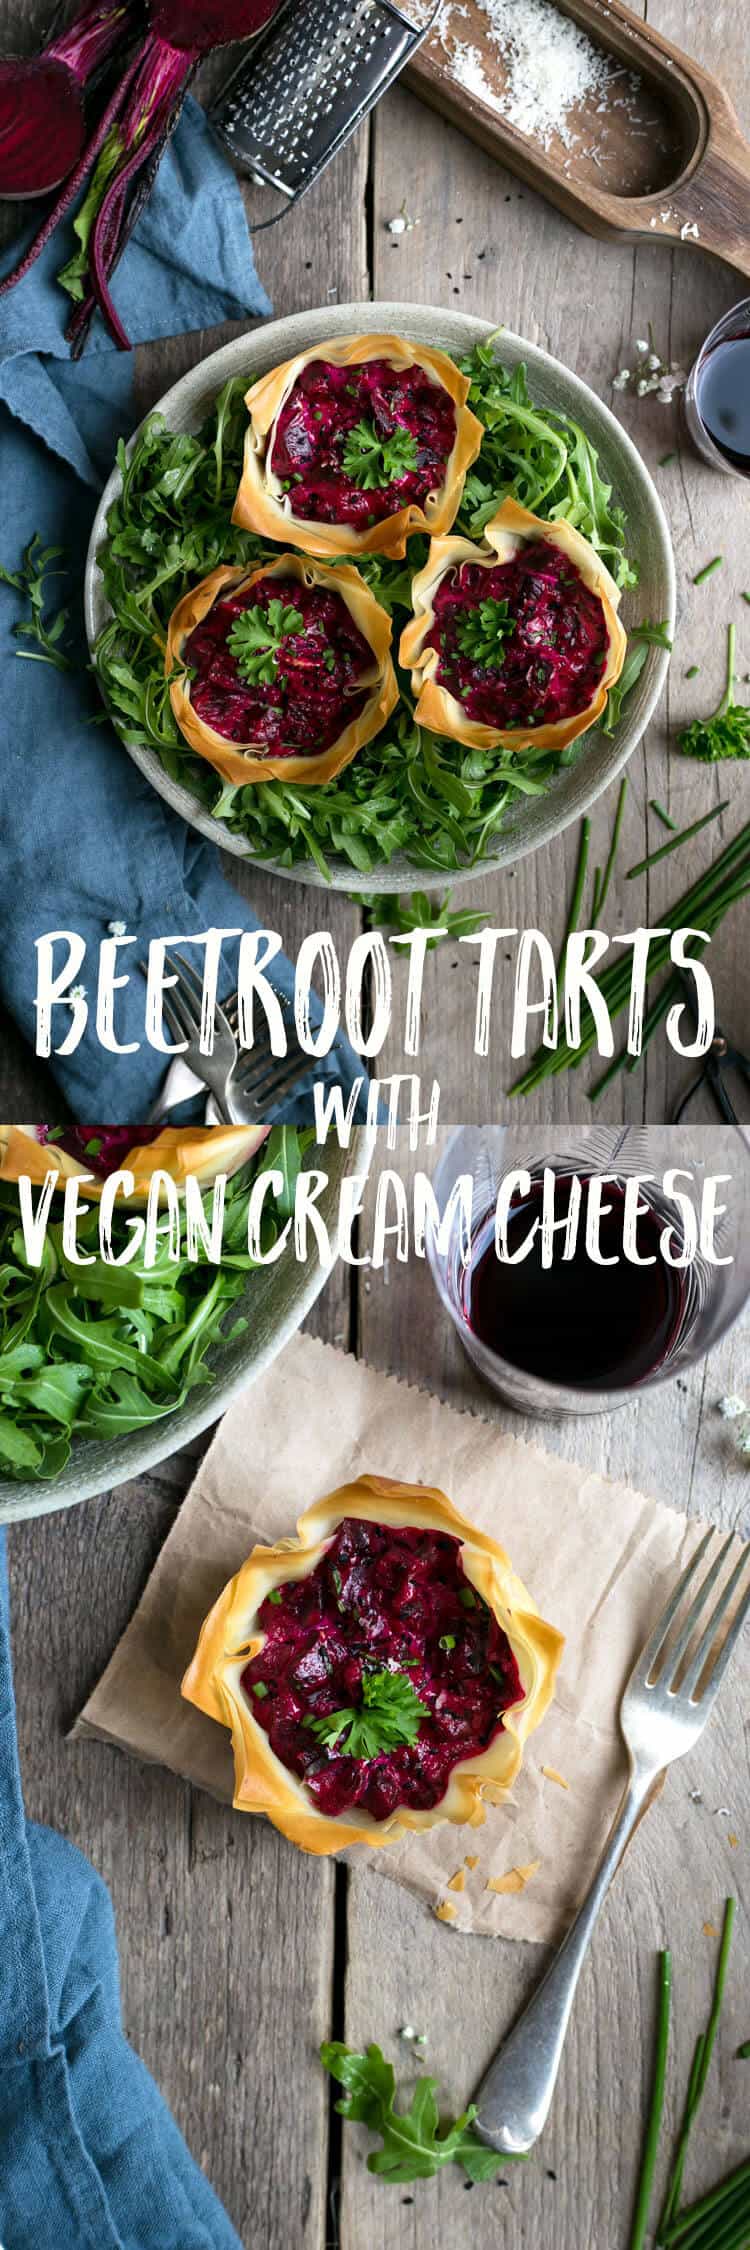
Beetroot tarts filled with cream cheese, chives and nigella seeds! Delicious, crispy snack that can also serve as a main course. Can be served hot or cold!
Hey there Dear Reader!
I hope that so far, you are having fantastic start of the month, and May is giving you same fuzzy feeling as it gives me! And excuse my 'all over the place' posting schedule at the moment, but sometimes, life just happens and takes the priority 😉
Before my passion for food photography was even born, I have always been drawn to 'rustic' things. Fatigued looking wooden tables and chairs, chipped paint, rusty baking trays, cutlery and ramekins... I want it all! Ideally, I need to win a lottery and get myself one of these old barns or farm houses, with a small green patch (see, I'm not greedy) so I can grow my herbs there. There is so much character in them, and they just... I don't know, kinda speak to me...
So to have this kind of a house is one of my big dreams. But what about all these little dreams and aspirations and things we want to achieve? Well, they are, non less, super important to me. They keep me going. Also, give me a purpose and motivate me. They are the reasons why I'm not giving up and want to keep going, developing myself and my passions. And believe it or not, one of my 'smaller' dreams, ever since my adventures with food photography started, was to find that perfect backdrop!
It may sound a bit pathetic, I know. But if you are a starting food blogger/ photographer, it can be really tricky to find that one board you are obsessed with. So I thought that perhaps, it will be beneficial to some of you, if share couple of places where you can find one. And couple of tips on how to make one yourself.
So, let's start with photo boards. If you are on a budget and perhaps just starting with photography, they are ideal! They are small backdrops designed to look like real textures. Although, I have not tried one myself, I've seen bloggers achieving great results using photo boards. There are quiet few places online, where you can get one. Photoboards.org is one of them, and I like how affordable some of them are.
If you have some extra cash to splash, or want to invest in something a bit more professional, with real, interesting textures and colours, I will highly recommend checking out Woodrow Studios. The background you can see in today's recipe for beetroot tarts comes from them, and I couldn't be happier with it. It took me really long time to find what I was looking for, and when I saw it, I decided to bite the bullet and pay a bit extra. It has this exact rustic feeling to it, that I'm so attracted to! And I know it will be with me for a very long time, so I treat it as an investment.
Hungry for more places, where you can get fantastic backdrops from?
Fill in the form below and receive my bonus list with 8 fantastic online sources for unique backdrops!
Another way of getting that ideal background/ backdrop, is to make it yourself. It may sound a bit challenging, but bear with me. I've seen and read many tutorials on how to make your own, and yes, some of them can be a bit overwhelming, especially, if like me, you have no DIY skills, whatsoever. But, recently, I have come across this brilliant tutorial on IG stories by super talented Bea Lubas and I loved it! The idea is really simple, the technique seemed really easy and seeing others re-makes of it really encouraged me to make one too!
So stay tuned, because I will be making one very soon. But if you want to make yours ASAP, here is how:
- buy a large board of plywood in DIY store and ask to have it cut into smaller squares, 800mm x 800mm has been recommended in Bea's tutorial
- buy tester pots of wall paint (ideally 3-4 pots in different shade of a similar colour)
- pour small patches of each colour into plywood and using a small sponge, gently, in circular motion, start distributing the paint onto the board, do not over mix the paint, you want to see different colours on the board, and if over- mix it, they will become one
- let it dry
So that's it. Easy, right? I can't wait to try it out myself!
Now, finally, let's get into today's recipe for beetroot tarts!
The idea for these delicious filo pastry tarts with beetroot was based on the recipe from Love Beetroot. Awesome page with many, many beetroot based recipes and fun facts about...errrmmm...beetroots! 🙂
I've used all dairy- free substitutes for cheese (including vegan Parmesan!) but I have used an egg in my version. However, it can be easily omitted from the instructions, and the recipe will be 100% vegan. Rather than using ricotta cheese, as per the original recipe, I'm using vegan cream cheese. But this cashew cream cheese will also be a fantastic substitute!
Beetroot tarts with filo pastry are great to serve with salads, and they taste delicious, hot or cold. So give them a try, they are much easier to make than you may think!
Until next time!
A.
Also, just wanted to add, that this post is not sponsored by any of the companies mentioned!
📖 Recipe

Beetroot and Cream Cheese Filo Tarts
Ingredients
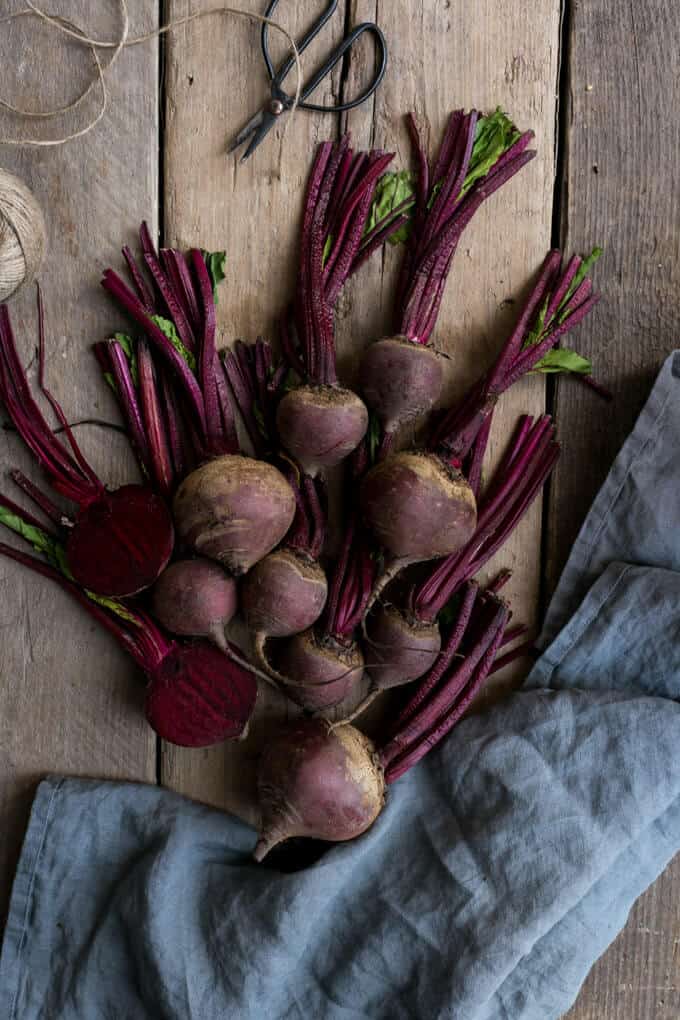
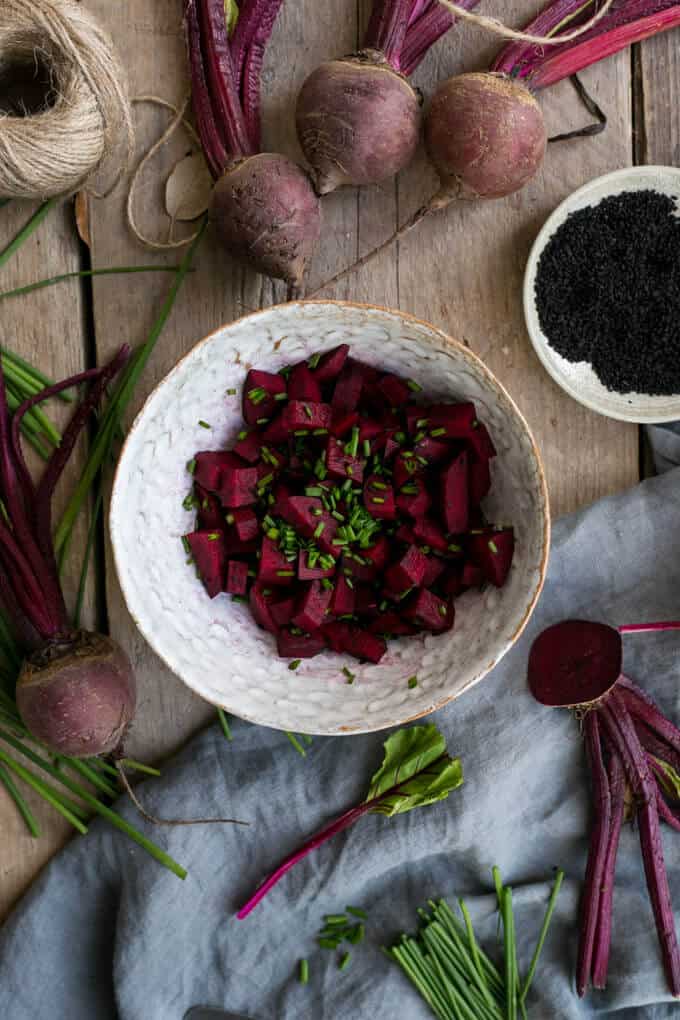
- 4 medium beetroots (cooked and cut into ½ cm pieces)
- 4 sheets filo pastry
- 3 tablespoon cream cheese (dairy- free if needed)
- 1 small bunch of chives (chopped)
- 1 tablespoon nigella seeds
- 50 g grated parmesan (dairy- free substitute if needed)
- 1 small egg (optional)
- 20 g melted butter (dairy- free if needed)
- ½ teaspoon sea salt
- ½ teaspoon black pepper
- 1 tablespoon olive oil
Instructions
- Preheat your oven to 180 degrees.
- To make the tart mix, in a bowl add the beetroot, cream cheese, egg (if using), chives, nigella seeds and half the Parmesan and mix together. Season with salt and pepper and set aside.
- Butter 4 ramekins of your choice and set aside.
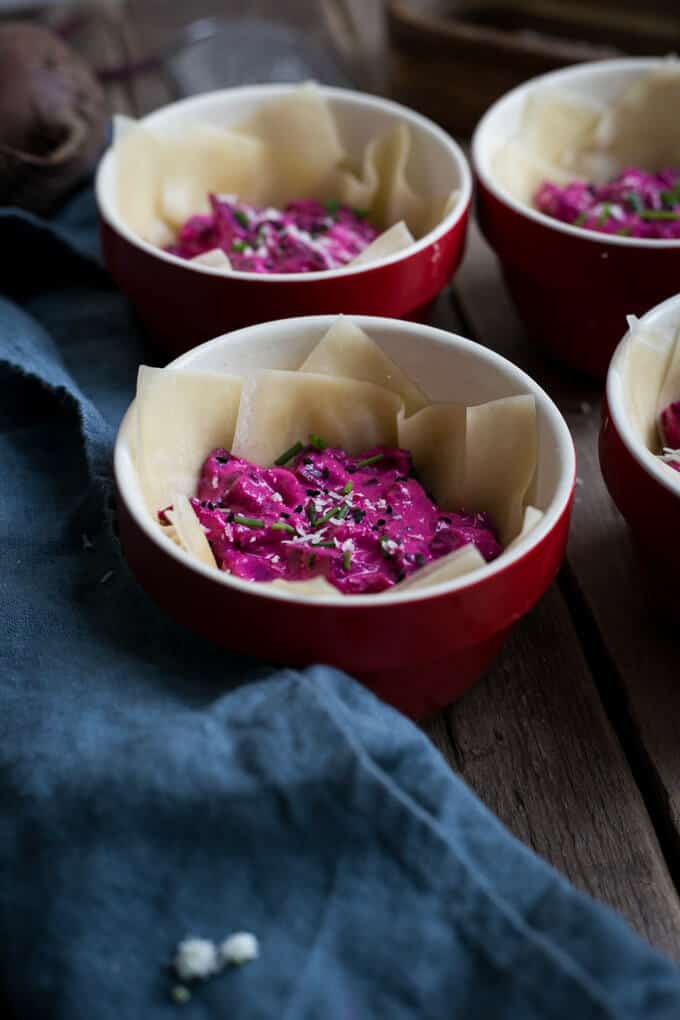
- Brush each filo pastry sheet with melted butter, fold the filo sheet in half over itself, then brush with some more butter.
- Rustically, put each prepared filo sheet into a ramekin, pushing it down gently so it's touching the bottom. Because my ramekins were quiet small, I've ended up cutting my prepared filo sheet into another half and putting two layers into the ramekin.
- Divide your beetroot and cream cheese mix equally between each ramekin. Sprinkle with the rest of the Parmesan or your cheese of choice and bake for about 10 minutes until pastry is golden brown.
- When ready, drizzle with some olive oil, sprinkle with more chives and nigella seeds and serve in or out of ramekins.
Please note that all my recipes are developed and tested in metric grams. I recommend that you use digital scales for a more accurate results. I have provided a conversion to US customary in the recipe but please note that I haven’t tested using this method.
John
Wow what a find - love your recipes!
annabanana
Hi John!
Thanks so much, I'm very happy to hear that!
Rebecca de Silva
OMG Anna, I loooooooooove these! Your amazing! Thanks again for a great receipe idea - my boyfriend doesnt know where I'm getting these all from for his dinner. P.S. mine didn't look half as pretty as yours, all your recipes are so beautifully presented, I just want to eat the page! X
annabanana
hahah, that made me laugh Rebecca!
I don't mind if we keep it a secret, and I promise, I will not tell your other half where the recipes are coming from 😉
You are the sweetest, thanks so much, and I'm sure your creations look just as good!
Kimberly/TheLittlePlantation
The colours here! Just so, so gorgeous. And I totally get your backdrop obsession. I have one too. You've seen my collection so you know how deep my obsession goes. Love this backdrop by the way.
Thanks for sharing and love where yur blog is going :).
annabanana
Ohhh Kimberly!!!
I remember your backdrop collection so well! 🙂 love every single one of your backdrops, including that massive slab of concrete ????
Your comment just made my day, it's super kind of you to say!!!
And thank you for popping over!
Xxx
Jo
Love love love them!!!
And everything else about this post!!! Your tips are definitely going to be the ones I'm referring to, when it comes to my blog going live! So thank you for providing a bit of info about boards, etc.
These beetroot tarts look so rustic and yummy! I will be trying them for sure! x
annabanana
That is so great to hear that you have found it helpful Jo!!!
I can't wait to see your blog! Sending hugs! X
Evi @ greenevi
Oh, Anna, how could these dreams be pathetic? Or they might be, but then I'm super pathetic too! Things like a new background, or kitchen and photo props make me soooooo happy. And I'm dreaming about a lovely farm house too, but with an extra large garden for fruits and veggies, and all the animals to rescue 🙂
Anyways, these beet tarts look so delicious, you know how much I love beets <3
And thanks for the background tips! I usually make my own backgrounds, though I'm not too good with DIY things 😀
annabanana
Hah, Evi, you have no idea how happy it makes me that someone out there shares the same dream, and pathetic wishes! 😉
I absolutely adore your backgrounds (especially that blue one!), and it's so interesting to discover that you have been making your own! Defo convinced me to go to DIY shop this weekend and make my own (mind you , with my skills- or the lack of it, it will probably come out more like a mug coaster than a photography background!).
And we must meet one day in real life, just so we can eat all the beetroots and potatoes together! 🙂
Thanks so much for visiting the blog!
x
Rebecca de Silva
These are lush!!! Thanks Anna
annabanana
Thank you Rebecca! 🙂
Glad you like the recipe, and as always, thank you for popping in and leaving this lovely comment!
xxx
Heather
Hello! I just found your site and am so happy I did 😀
I love beets and can't wait to try this recipe!
Have a great day 🙂
annabanana
Hey Heather!
So happy to hear that you have found my page! 🙂
Hope you will get to try it, let me know if you do!
And you too! x