
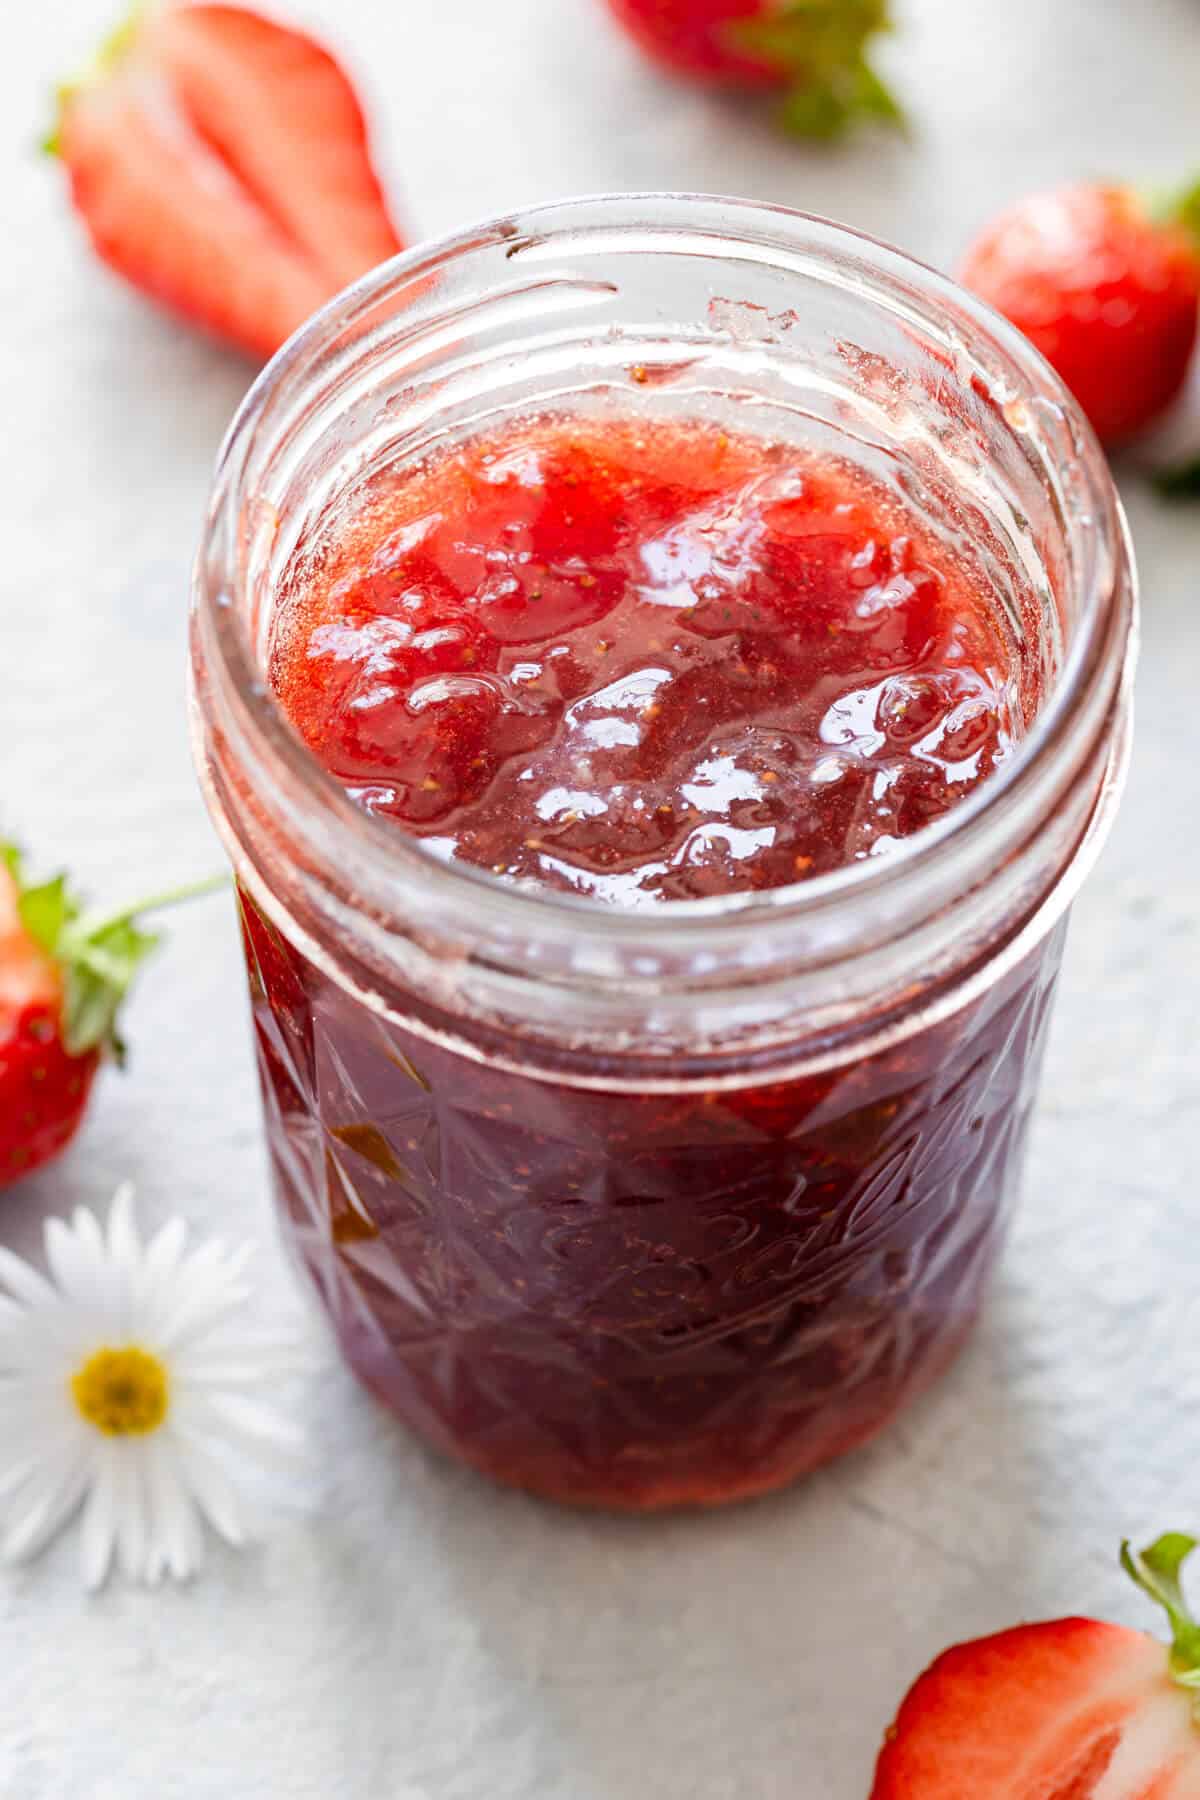
This easy, homemade strawberry jam will quickly become your go-to. Made with only 3 ingredients and no pectin, this jam is better than any shop-bought version. Perfect to use in bakes, on toast or crumpets, or eaten straight out of the jar!
This post is a part of paid collaboration with Tate & Lyle Sugar. All thoughts and opinions are my own.
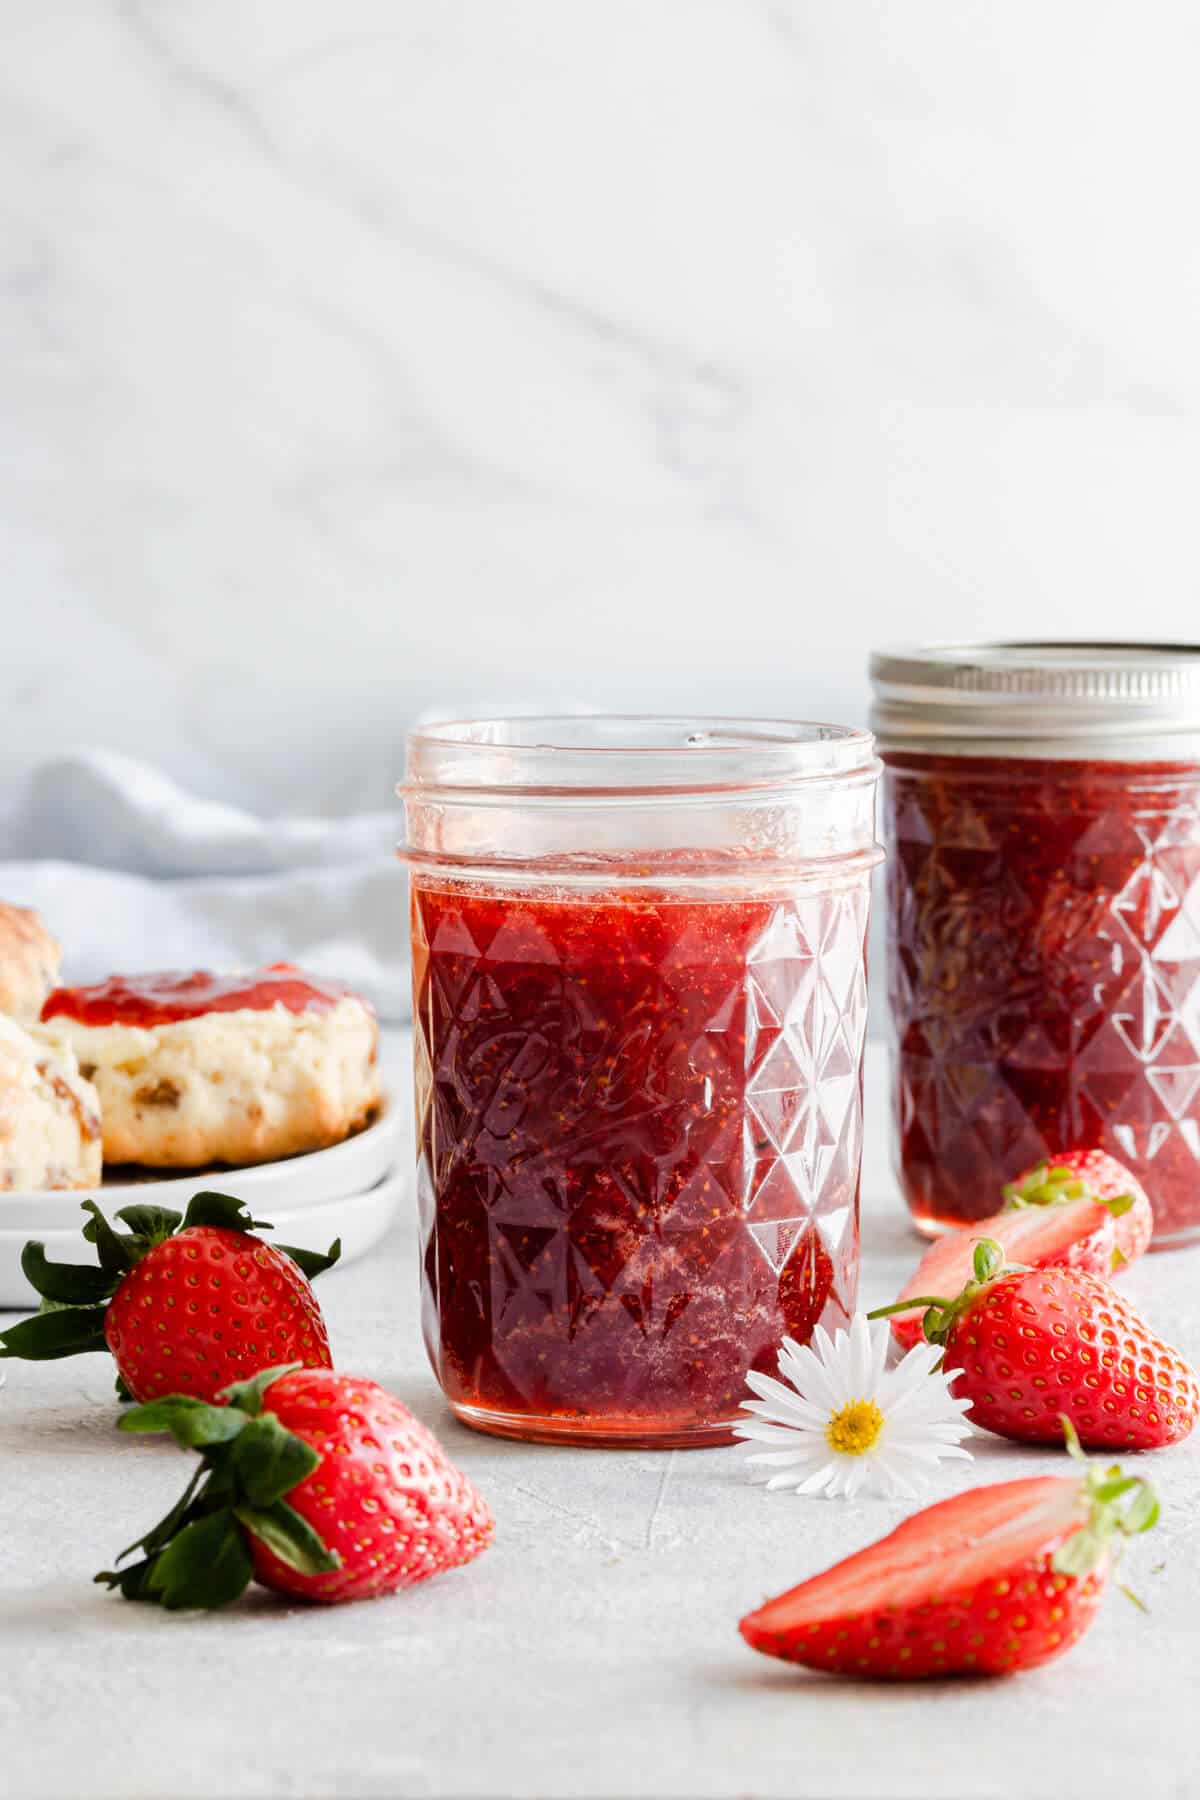
With strawberry season in a full swing, I have another exciting and delicious recipe for you friends! Easy, homemade strawberry jam to enjoy all year round!
Why to make your own jam?
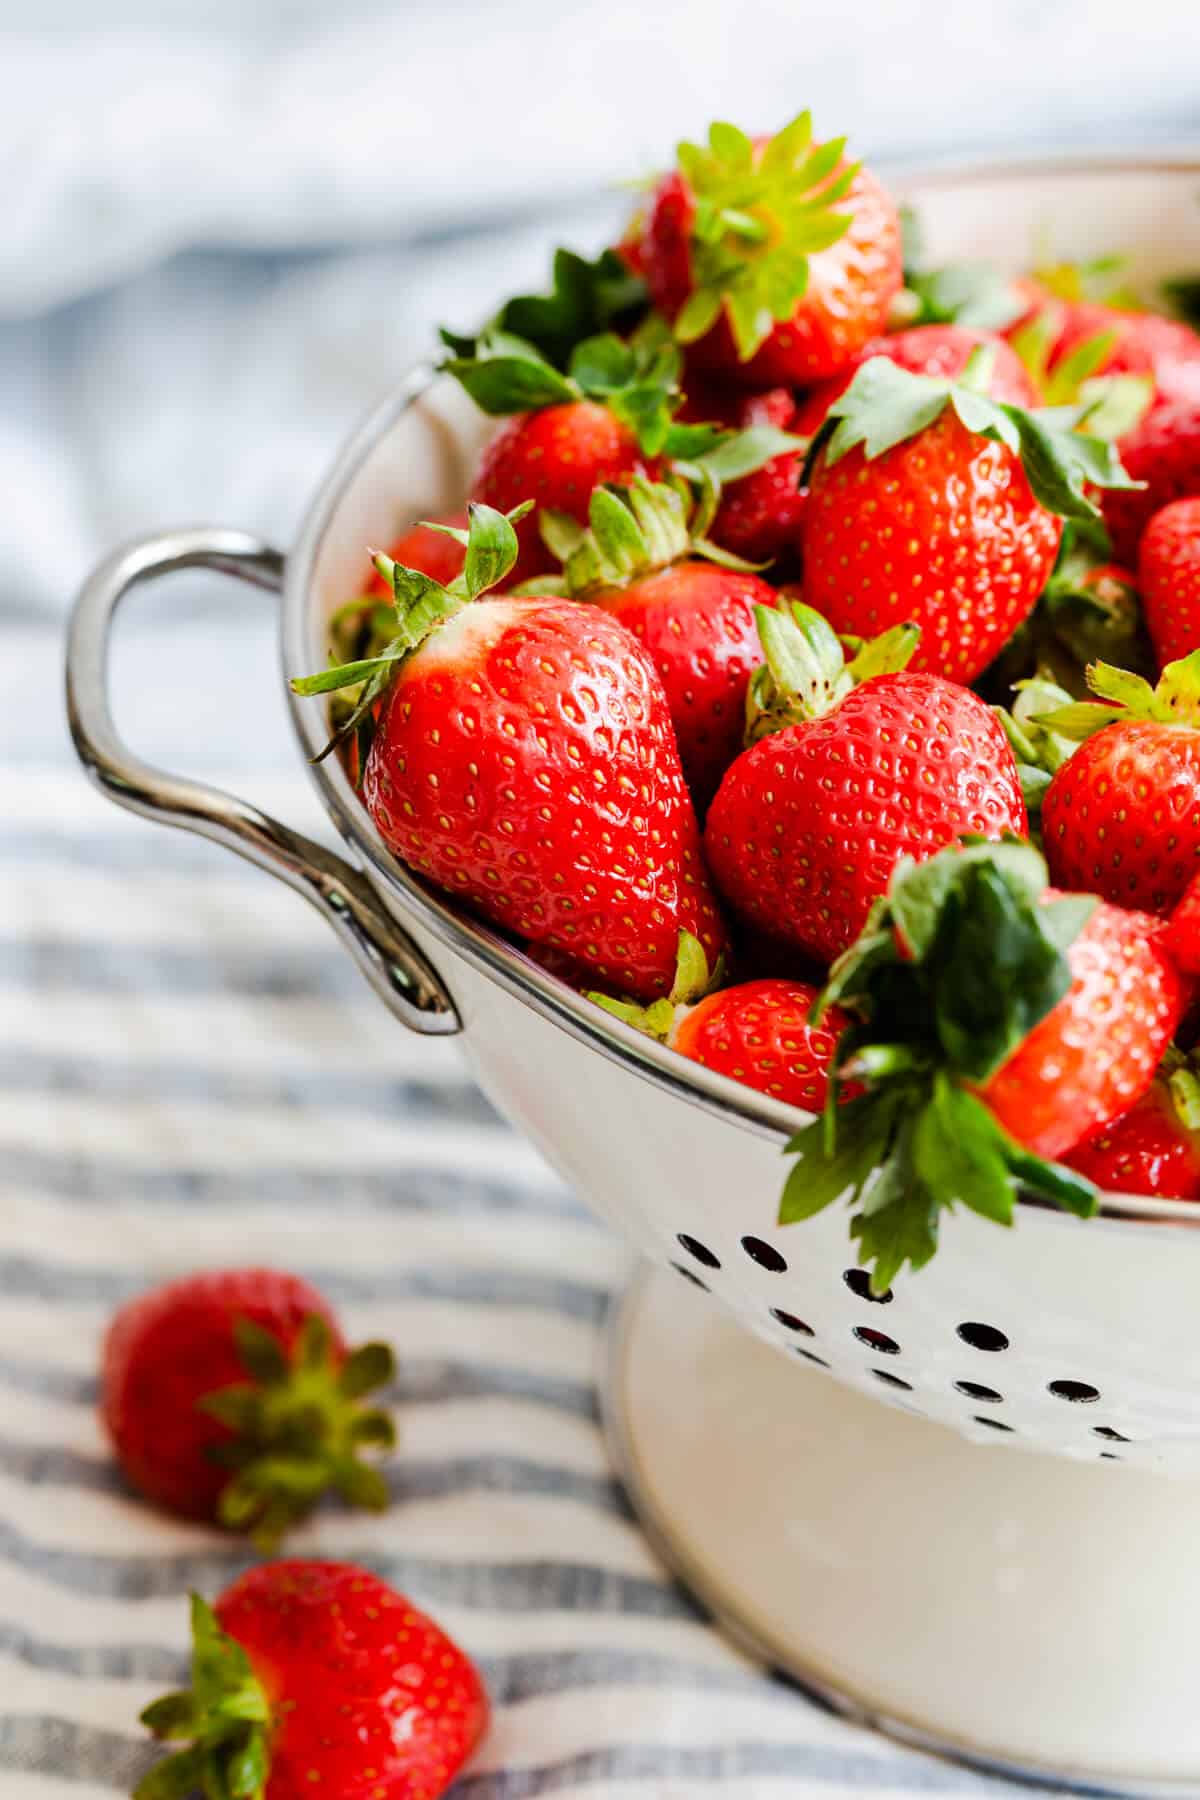
Firstly, because it is super easy. Making your own jam is very simple and really satisfying. Secondly, it tastes much better than any shop-bought jam, IMO. Plus, it is a great way of using and preserving all the beautiful, sweet and juicy seasonal strawberries. Even if the fruit is starting to look a bit tired and pass it's glory days, jam is a great way of avoiding food waste and putting all these berries into a great use.

What do I need to make homemade jam?
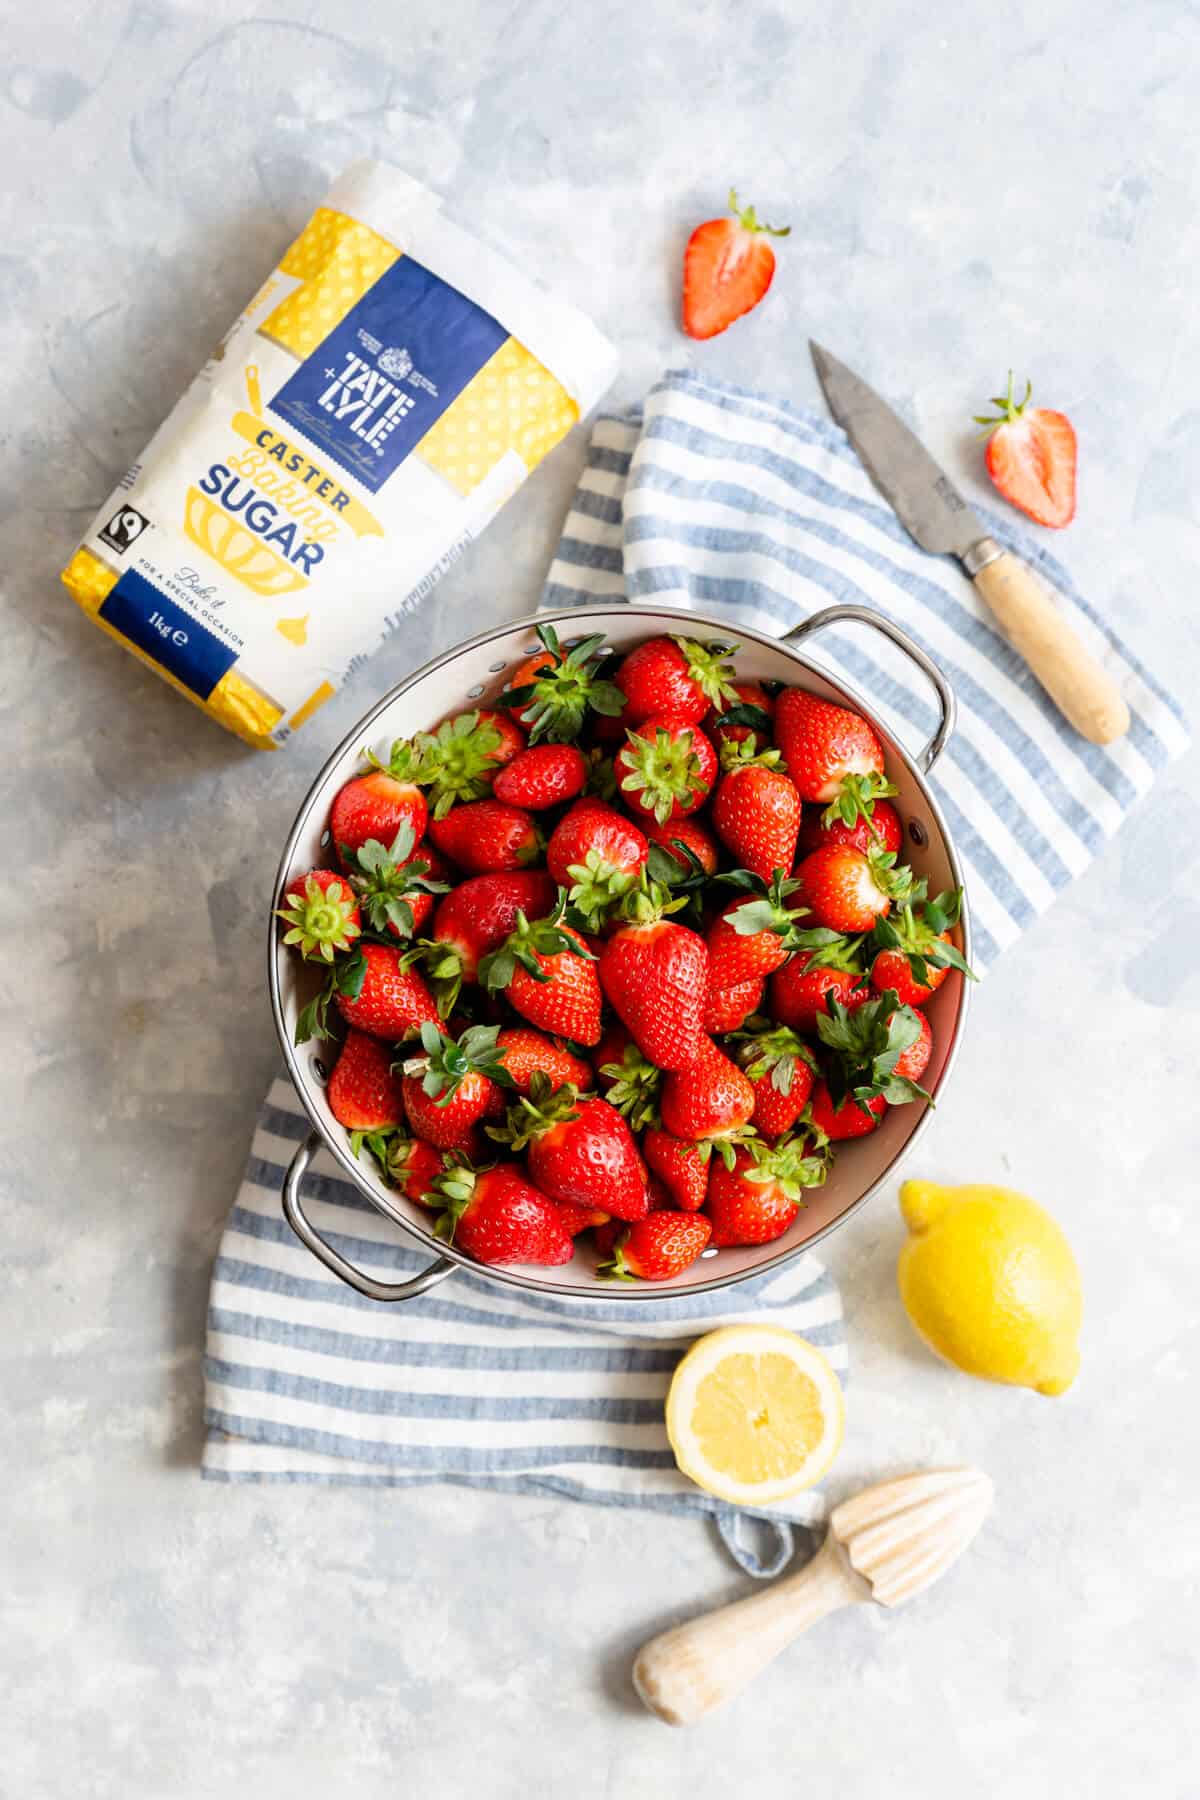
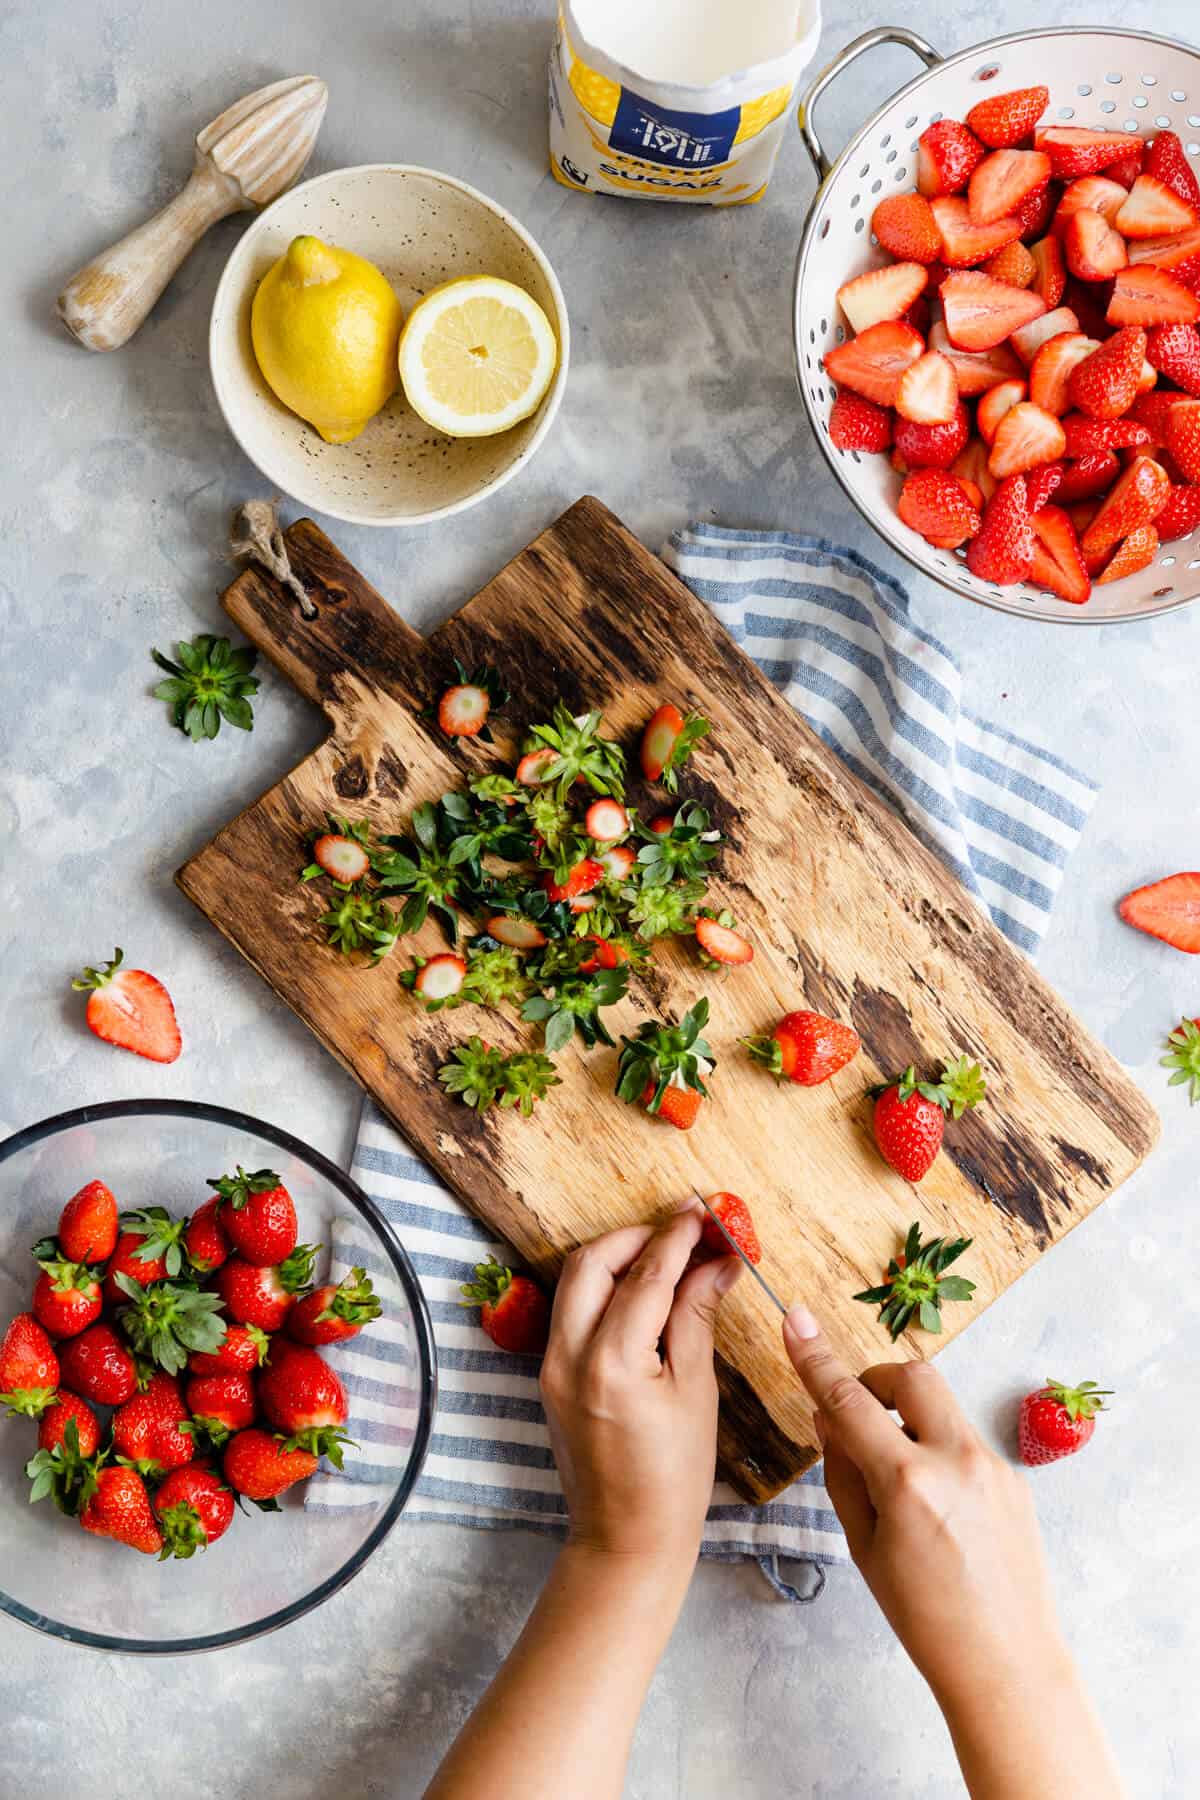
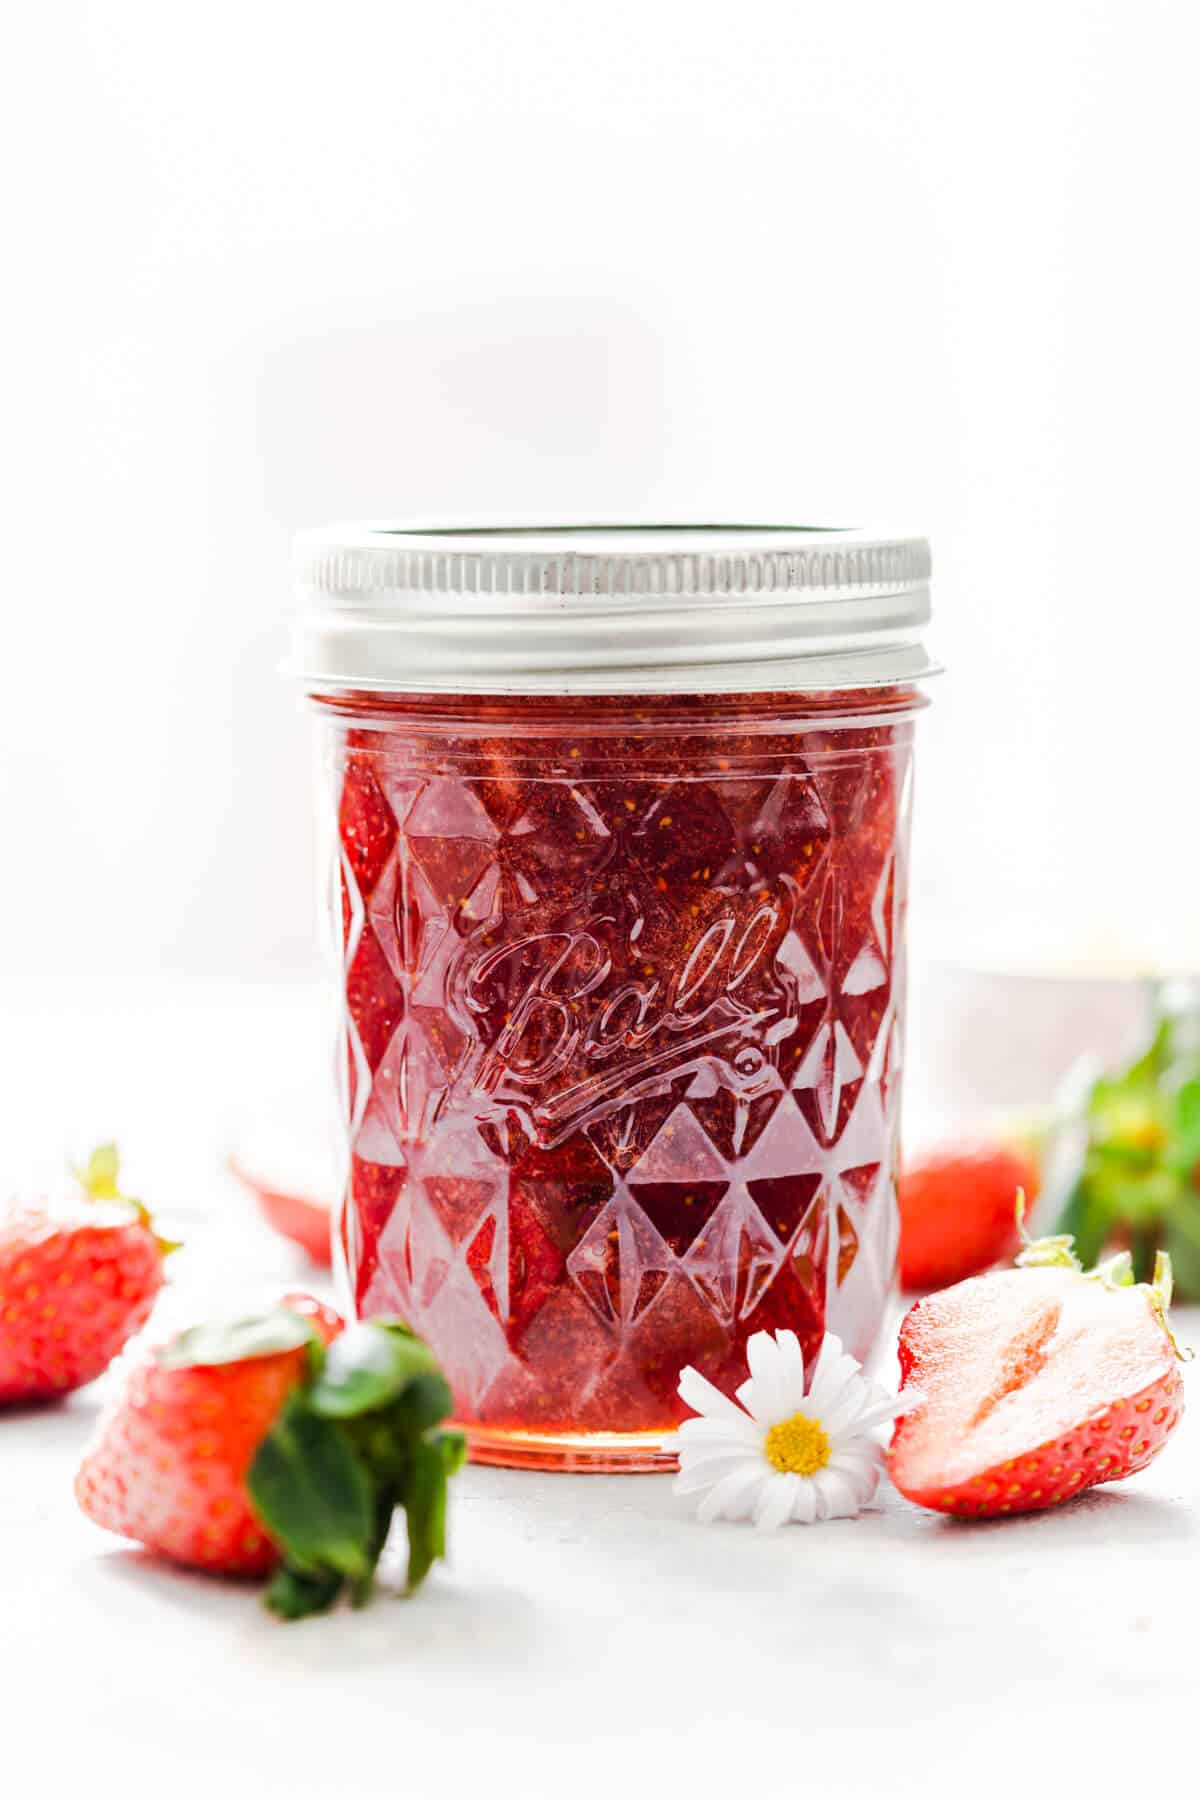
The ingredient 'list' consist of 3 things: strawberries, sugar and lemon juice. Before you decide to make your own, it is worth to check and make sure you have all the necessary equipment. Don't worry, it's not a long or complicated list, and there are high chances that you have most of it in your kitchen already!
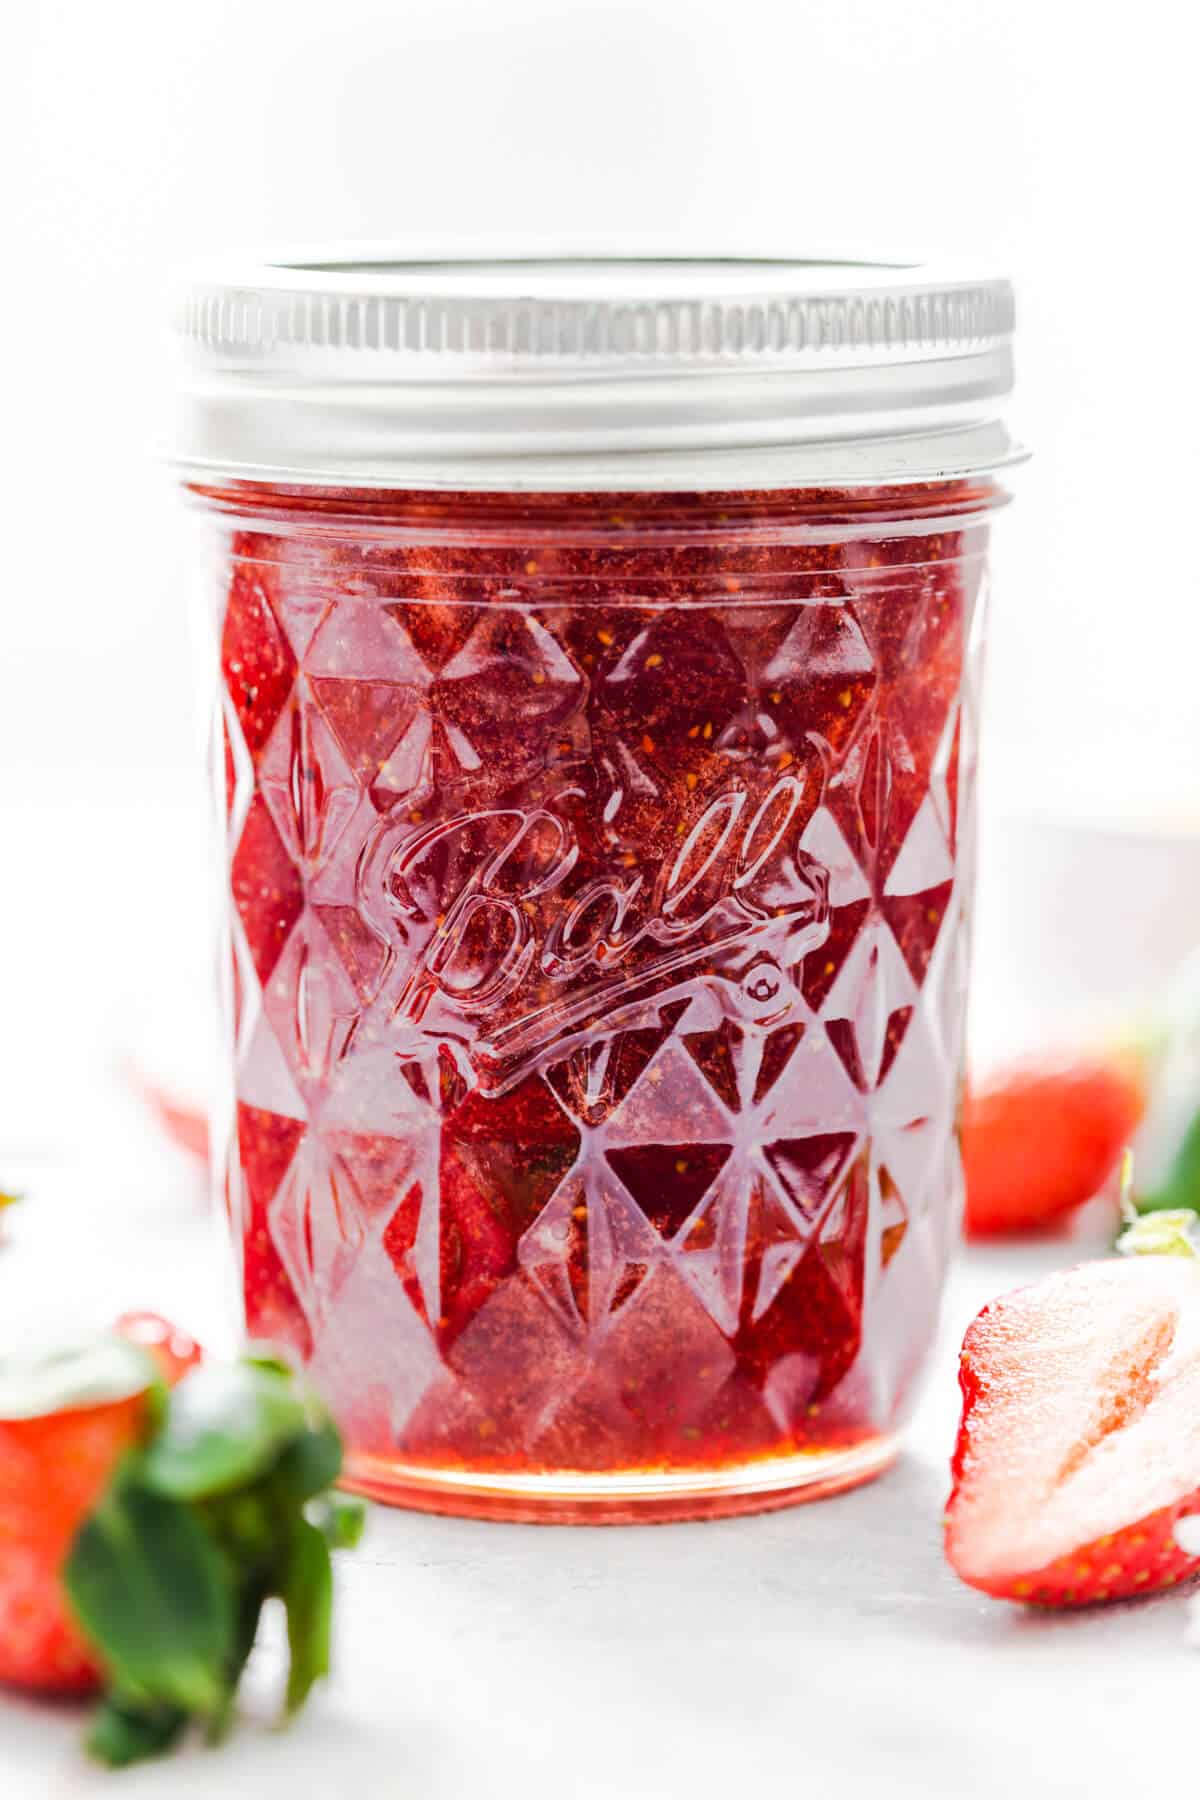
- preserving jars- you can re-use any old jars you have at home, or buy some new ones. I love using Ball Mason Jars. They have wax disks and screw-on lids, which I find to be the easiest to use. Jars will have to be sterilised before you use them, see below for more info.
- heavy bottom saucepan- they are thicker at the base, meaning they tend to absorb and distribute heat from a stovetop burner more evenly than a thin pot or pan. Good jam-making pan should be non-reactive (avoid aluminium), conduct heat well, be non-stick and ideally, have low sides.
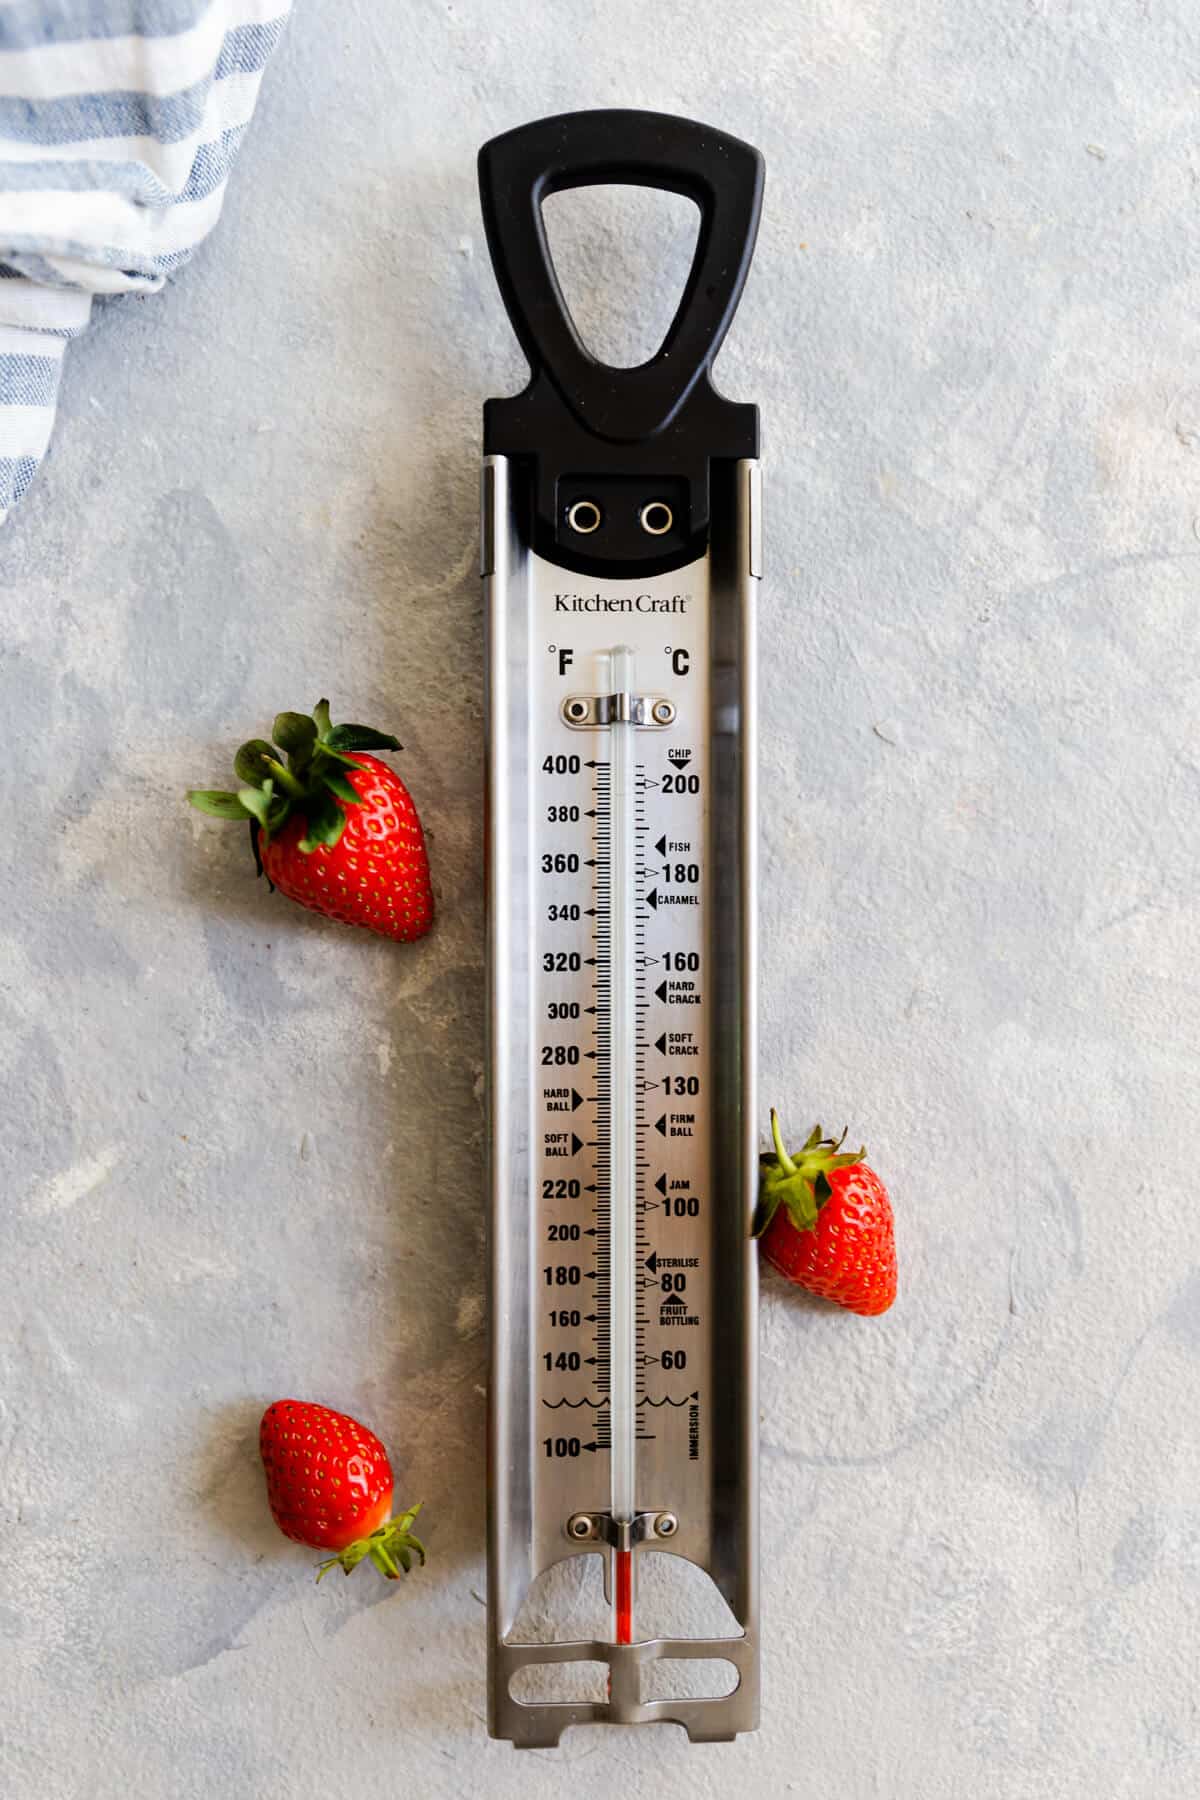
- kitchen thermometer- good to have, but it's not essential. If you have kitchen thermometer, it just makes things easier. It allows you to reach the exact temperature that your jam should reach to set.
Do I need pectin to make this jam?
No. This recipe doesn't require any pectin. Pectin is a natural fiber that holds up the cell walls of fruit and vegetables and it's often used as a thickening agent. Some fruits and veg have a higher content of it than others.
Jam made without pectin has a softer and more loose texture than the one made with it, and it will take a little bit longer to cook, but tastes just as delicious! Adding lemon juice to the jam mixture will be enough to help it to set and achieve the desired consistency.
Any tips for making this recipe?
Just a couple of things worth mentioning to make sure you succeed with your strawberry jam:
- make sure to cut the strawberries into equal pieces
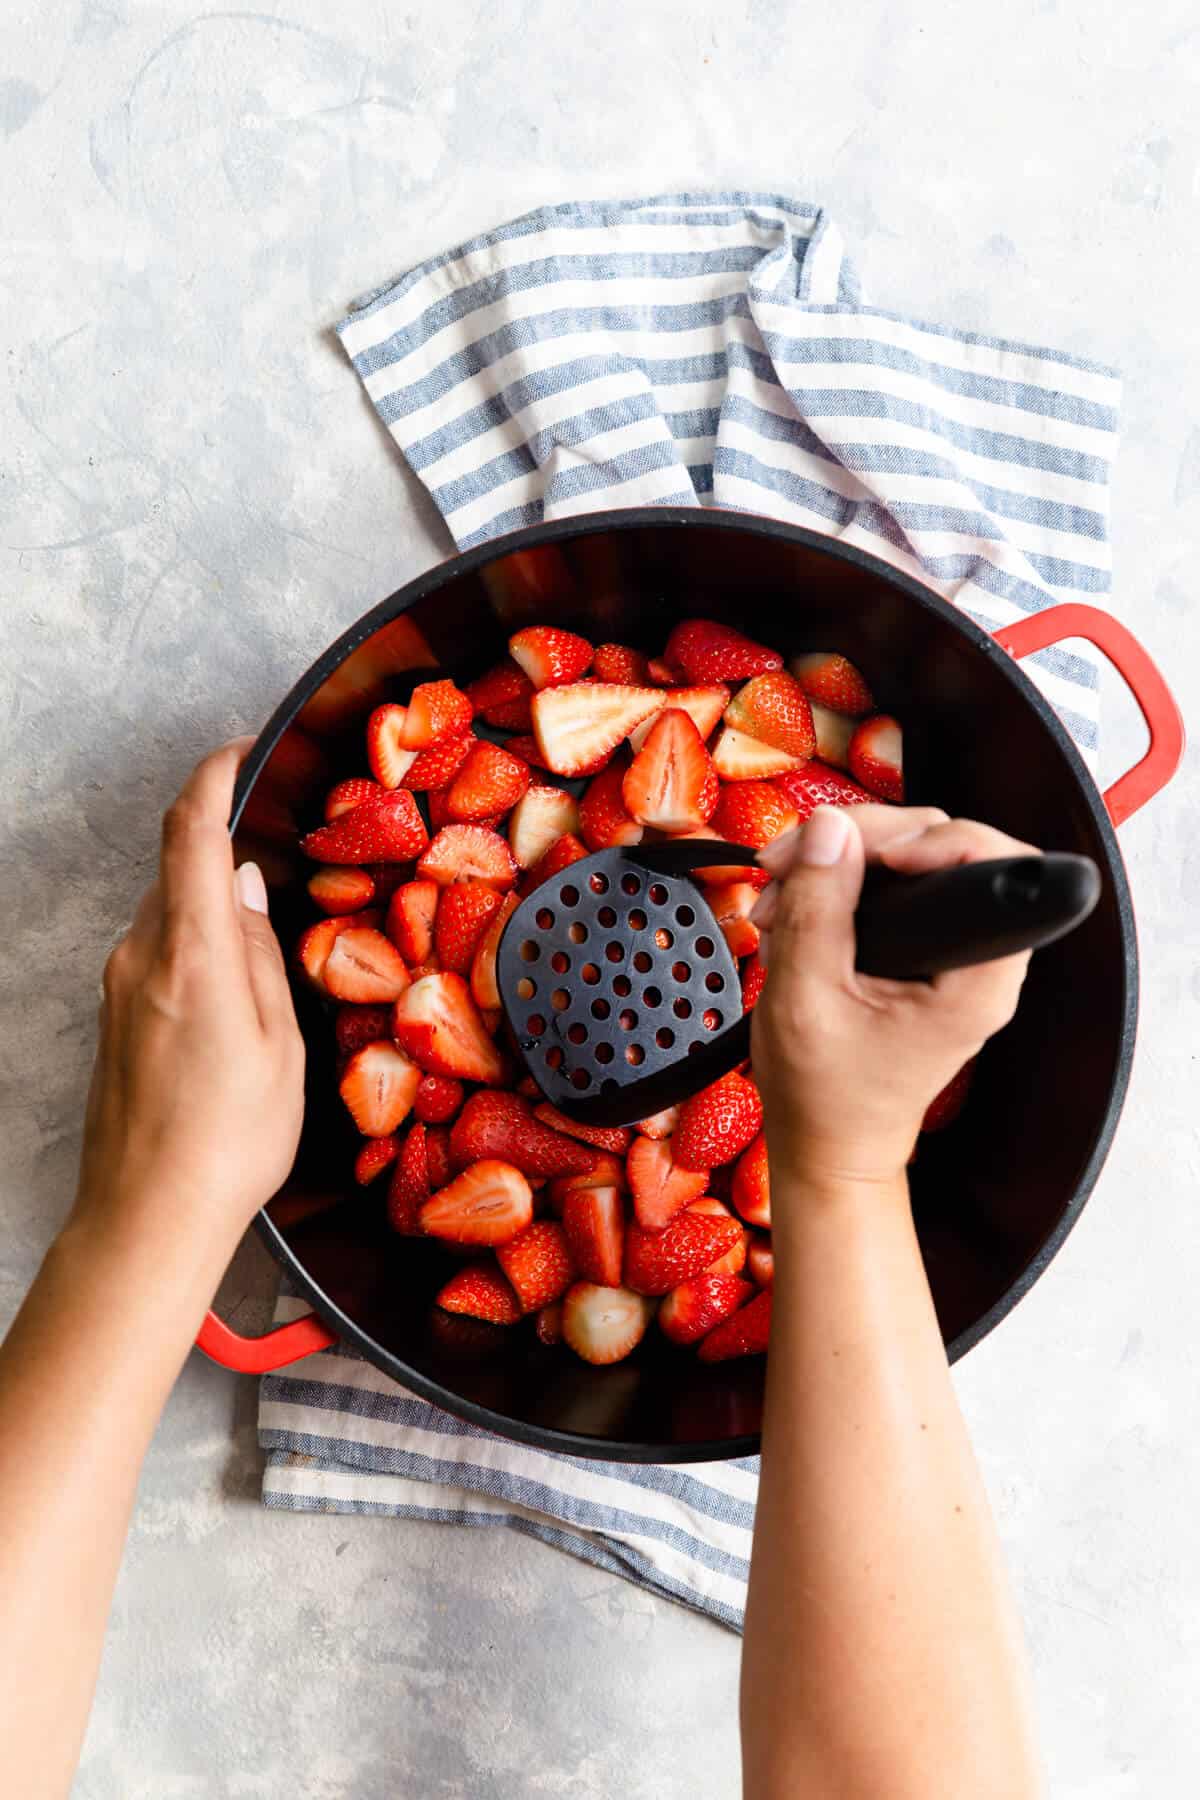
- crush the fruit with potato masher until the juices are released
- start with low heat, and keep it that way until all of the sugar has dissolved
- increase the heat to high once sugar has dissolved
- you can also use granulated sugar or jam sugar (with added pectin) to make this recipe
How to sterilise jars for jam making?
Sterilising your jars is an important process in preserving any fruit or veg. It removes all bacteria from the jar so that when you use it for preserving, the food will remain fresh within the vaccum.
I would suggest to sterilise your jars straight after you have finished cooking the jam. Preheat the oven to 160 C and wash jars and lids in hot, soapy water. Rinse, but do not dry them. Instead, place the washed jars on a baking tray and place them in the oven for 10 minutes.
Place the lids into a boiling water for a couple of minutes, then turn the heat off and keep the lids there until you use them. Remove the jars from the oven and fill them up with jam (leaving about 1 cm headspace), top with wax disk and seal with the lid.
What if I don't have kitchen thermometer?
Don't worry, it is still possible to make jam without it. You can check if your jam is ready by performing the simple plate test. Place a couple of small plates/ saucers in your freezer before starting to cook your jam mixture.
When your jam has been hard boiling for about 15- 20 minutes, spoon out a little bit of jam onto one of the cold plates. Leave it for 30 seconds, then push it with your finger. If the jam wrinkles and doesn't flood to fill the gap, it is ready (watch the recipe video to see exactly what I mean). If not, return the jam into boil for 2 more minutes, then take off the heat and perform the test again. Repeat until it is ready.
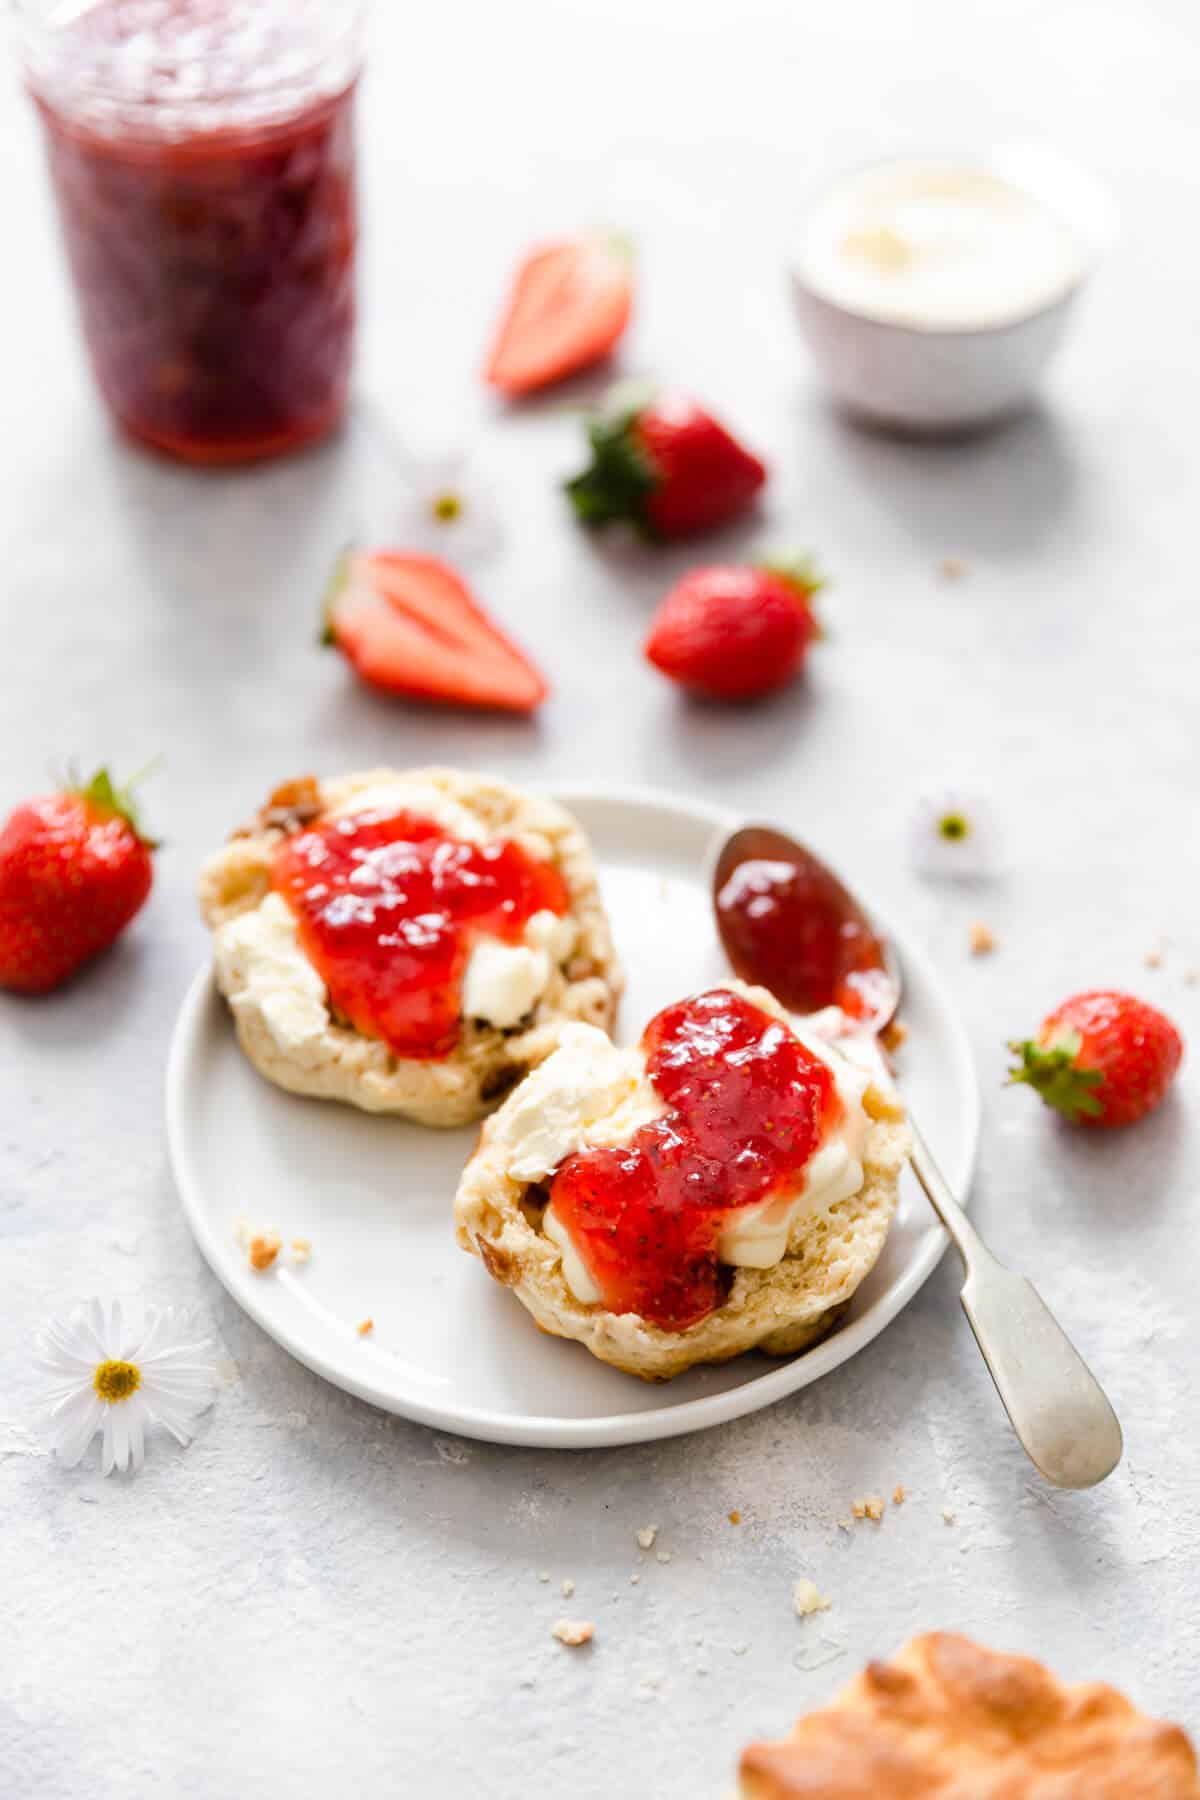
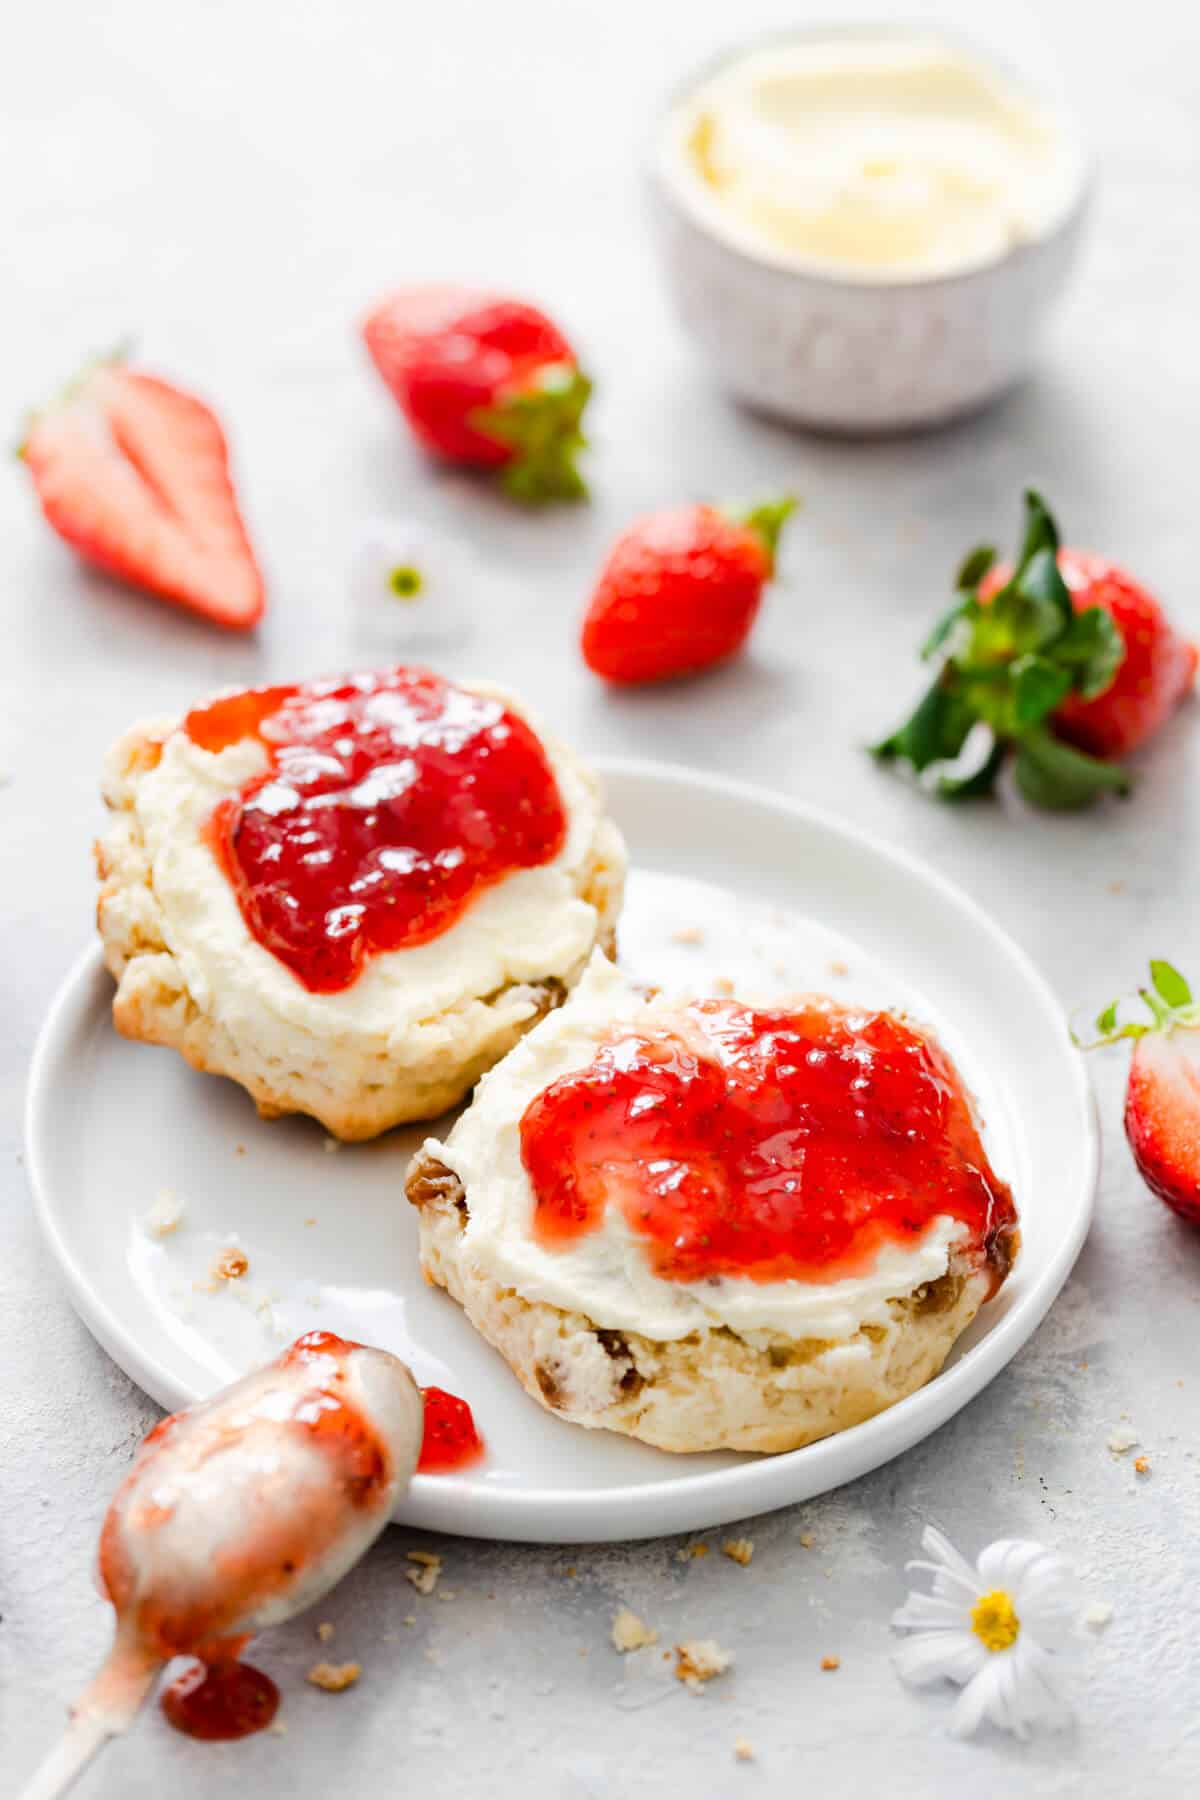
If you are looking for some ideas on how to use the jam, here are few suggestions for you:
- simply spread it on toast or scones
- use it as a topping for crepes or pancakes
- use it in bakes (Victoria sponge cake, muffins or cupcakes)
As always, thanks for reading today's post. Remember that you can follow me along on my social channels: Instagram, Pinterest and Facebook
📖 Recipe

Easy homemade strawberry jam
Equipment
- medium heavy bottom saucepan
- potato masher
- wooden spoon or rubber spatula
- 3 x 450g sterile jars with lids
- kitchen thermometer
Ingredients
- 900 g fresh strawberries hulled and halved
- 800 g Tate & Lyle pure cane caster sugar
- 2 medium lemons (juice only)
Instructions
- Place strawberries in a heavy bottom saucepan and using a potato masher, crush the strawberries a little bit, until they release their juices.
- Add sugar and lemon juice (about 4 tbsp) and place it on a low heat. Stir gently until the sugar has dissolved. Increase the heat to high and bring the mixture to boil. Continue to boil, stirring it often, until the mixture reaches 105 C on kitchen thermometer. If you don't have kitchen thermometer, perform the 'plate test'. Place a small plate in the freezer for few minutes. Take it out and spoon small amount of jam onto the cold plate. Wait 30 secs and push your finger through the jam. If it wrinkles and doesn't flood to fill the gap, it is ready.
- Turn the heat off under the jam mixture and let it sit for 15 minutes. Meanwhile, sterilise the jars.
- Transfer hot jam to sterile jars, leaving about 1 cm headspace. Seal jars with wax discs and lids immediately. (Depending on your jar lids, you may have to process your jam jars in a boiling water, please see the notes for further instructions). Refrigerate and enjoy!
Please note that all my recipes are developed and tested in metric grams. I recommend that you use digital scales for a more accurate results. I have provided a conversion to US customary in the recipe but please note that I haven’t tested using this method.
Video
Notes
- To sterilise the jars, preheat the oven to 160 C and wash the jars and lids in hot, soapy water and rinse them, but do not dry them. Place the jars onto a baking tray and into the oven for 10 minutes. Soak the jar lids in a boiling water for few minutes.
- If using the jars with rubber seals, make sure to remove the rubber seals before placing the jars in the oven.
- If using the jars with wax disks, make sure to cover the jam jars with wax disk immediately after filling them.
- To process the jars in a water bath, place lids on jars, screw on rings and lower jars back into the pot of boiling water. The water should cover the jars. Boil the jars for 10 minutes, transfer them to a towel and allow to cool for 12 hours.
Nutrition
If you would like to receive my future recipes straight into your inbox, make sure to subscribe to my mailing list!
Jo
Can there be anything better than homemade strawberry jam. that vibrant color of the jam is tunning! Best thing to make during strawberry season.
Marwin Brown
What a tasty looking and versatile recipe! This is perfect for summer!
Jenny Graves
Absolutely delicious and easy to make! I love strawberry jam and your recipe is the bomb! Thank you so much for sharing it!
Anna
Haha, thanks so much Jenny, really happy to hear that you enjoyed this recipe!
Denise
Home made jam is always a good idea! Not only is it delicious, it does make great gifts.
Paige
Love this, and I make jam every year, so I'll give your recipe a try. I admit, I have made it this way before too, and it's awesome. Your pictures are pretty and makes me want to get in the kitchen!
Anna
Thanks so much Paige, so happy to hear that you like the recipe and the photos! Have a lovely week ahead!
Nicole
I've never made jam, and the whole canning process seems intimidating. Your post makes it all seem like a very easy process, and I would totally be willing to give it a try, especially if it means preserving all those delicious summer strawberries.
Anna
I can totally understand Nicole, I used to be very intimidated by making my own jam and the whole process! But I promise, it is really easy and once you start, you will never look back at shop-bought jam!
Jen
Homemade jam is the best and the instructions were easy to follow. Potato masher is key 👍
Anna
Thanks so much Jen! heh, potato masher definitely makes things easier when crushing the berries!
Carol Borchardt
Homemade strawberry jam always reminds me of my mom. My dad loves strawberries and always planted a ton. Strawberry jam was always one of the ways she used the strawberry patch bounty! I don't have her recipe, however, so am looking forward to trying this!
Anna
Hey Carol, so happy to read that this recipe reminds you of these sweet memories! I think homemade jam always brings a bit of nostalgia, and it's probably one of the reasons I love it so much. I hope you will enjoy this recipe!
Chef Dennis
you've inspired me to try and make jam. It's been years and my attempt wasn't good, so with your recipe I'm ready to try again!
Anna
That's great to hear Dennis, I promise this recipe is fool-proof and works every time, as long as you follow the steps. Happy jamming!
Nicoletta De Angelis Nardelli
I love making jams and like you, I only use fruit, sugar and lemon juice. It looks awesome, spread on crumpets is amazing!
Anna
Thanks Nicoletta, I'm a true believer that simple recipes are the best recipes!
Gloria
With strawberry season here, this is the perfect time for this recipe. Homemade jam is the best. What a great food gift to take to a bbq party.
Anna
Thanks so much Gloria, I love homemade anything and jams are always great to giveaway to friends and family!